Halloween Resin Moulds: 4 Spooky Designs for Your Next Project
(Disclaimer: AD I was sent this product to review by Mouldd, however, all opinions are my own. This post also contains affiliate links, which means that any purchase may give me a small commission at no extra cost to you)
Here are four easy-to-make Halloween themed resin projects.
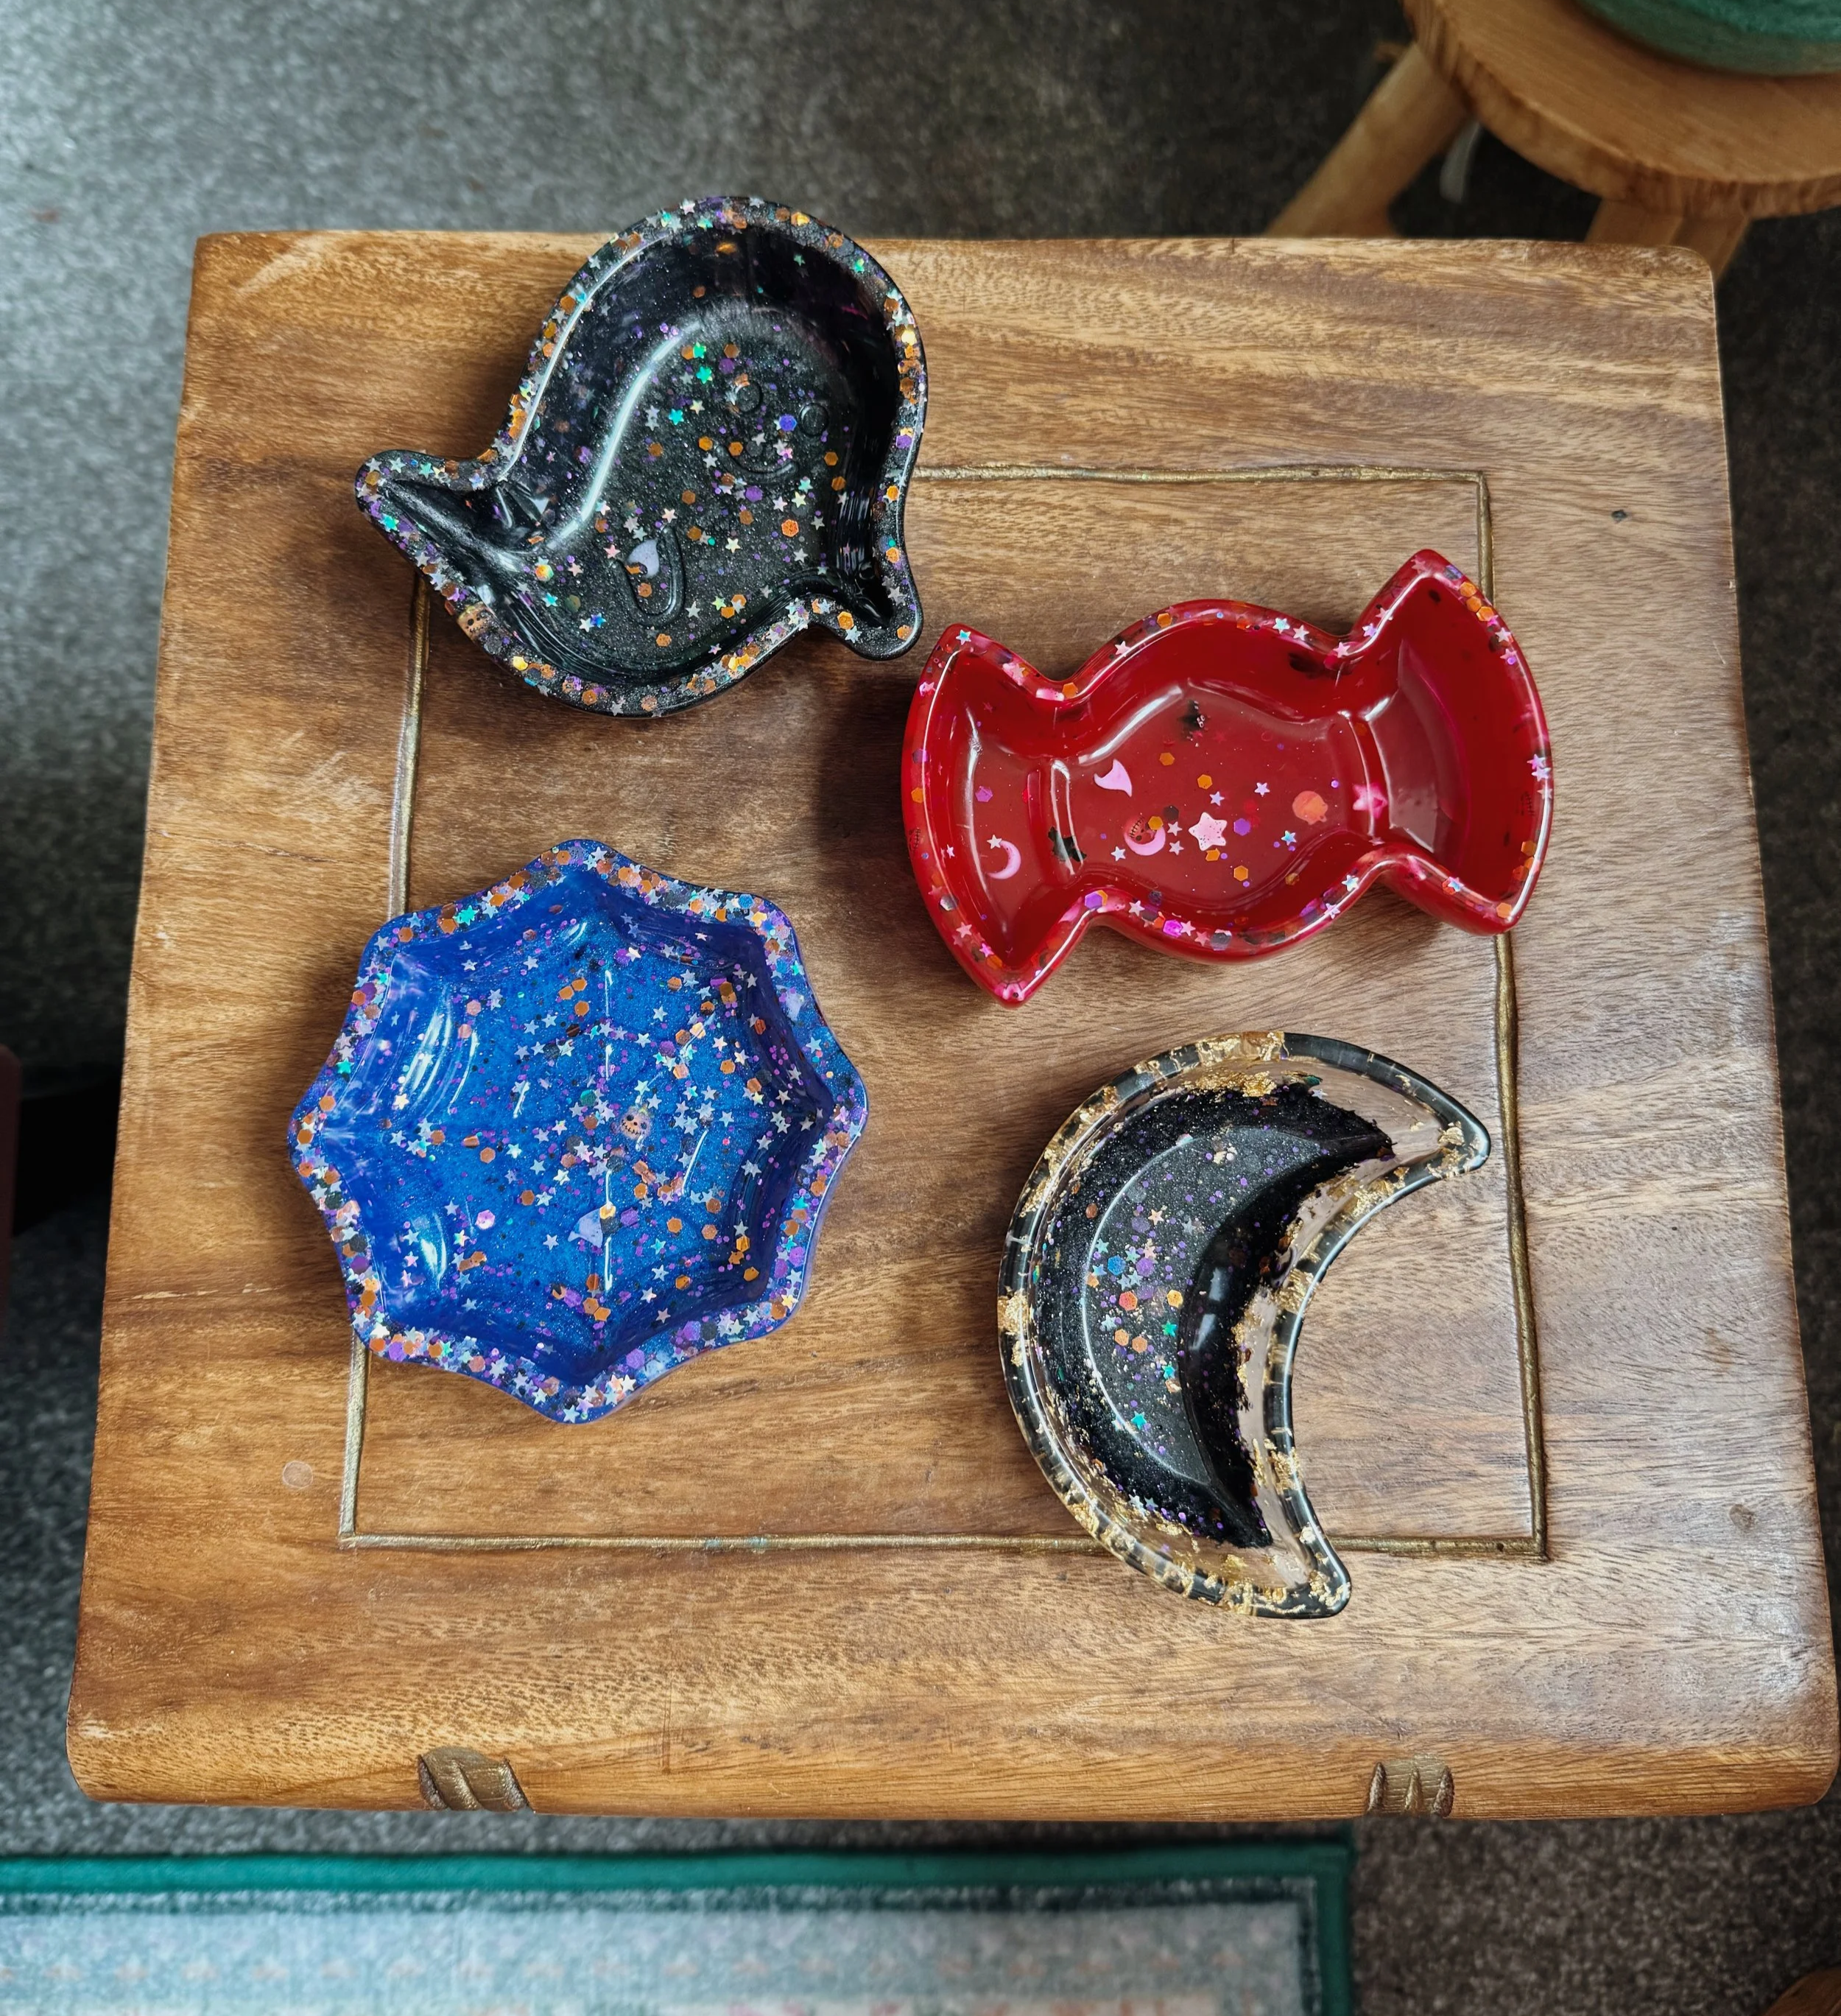
Resin art is so much fun, and it’s never been easier to create stunning home decor pieces for all seasons.
While it can be very tempting to head to your favourite home decor shop to stock up on Halloween decorations, I think it’s much more fun to make your own at home. This way you’ll have something completely unique, and get to enjoy the process of making it with your own hands.
You don’t need to be a gifted artist - all you need are the right tools and a willingness to give it a go.
This blog post will focus on some Halloween themed designs that are simple enough for beginners, but with lots of potential for experienced artists who want to create more complex pieces.
Don’t Have Time to Read This Post?
Buy this set of Halloween moulds and charms on the Mouldd website here.
Use my code ‘JULIAMITCHELL’ for 10% off your entire purchase.
Halloween Resin Moulds
Here are four of my favourite Halloween moulds for epoxy resin, plus a few bonus extras. All of these are super easy to use, highly customisable, and make cute pieces of home decor for the spooky season.
Note that these moulds require a total of 300ml of epoxy resin, or 600g of marbelux for all four shapes. They are available as a set, and come with a pouch of 100 charms that include pumpkins, spiders, cobwebs and bats, as well as a variety of Halloween themed glitters.
1) Ghost Resin Mould
These little ghosties have quickly become one of my favourite things to make with epoxy resin.

I’ve poured a few of these now and really like how they look, both with and without colouring. I do think that if you’re pouring clear resin, it’s particularly important to add something like glitter or confetti to give it a bit of sparkle.
Cobweb Resin Mould
I had to pour a few of these before I felt happy with it, but I love how this cobweb looks!
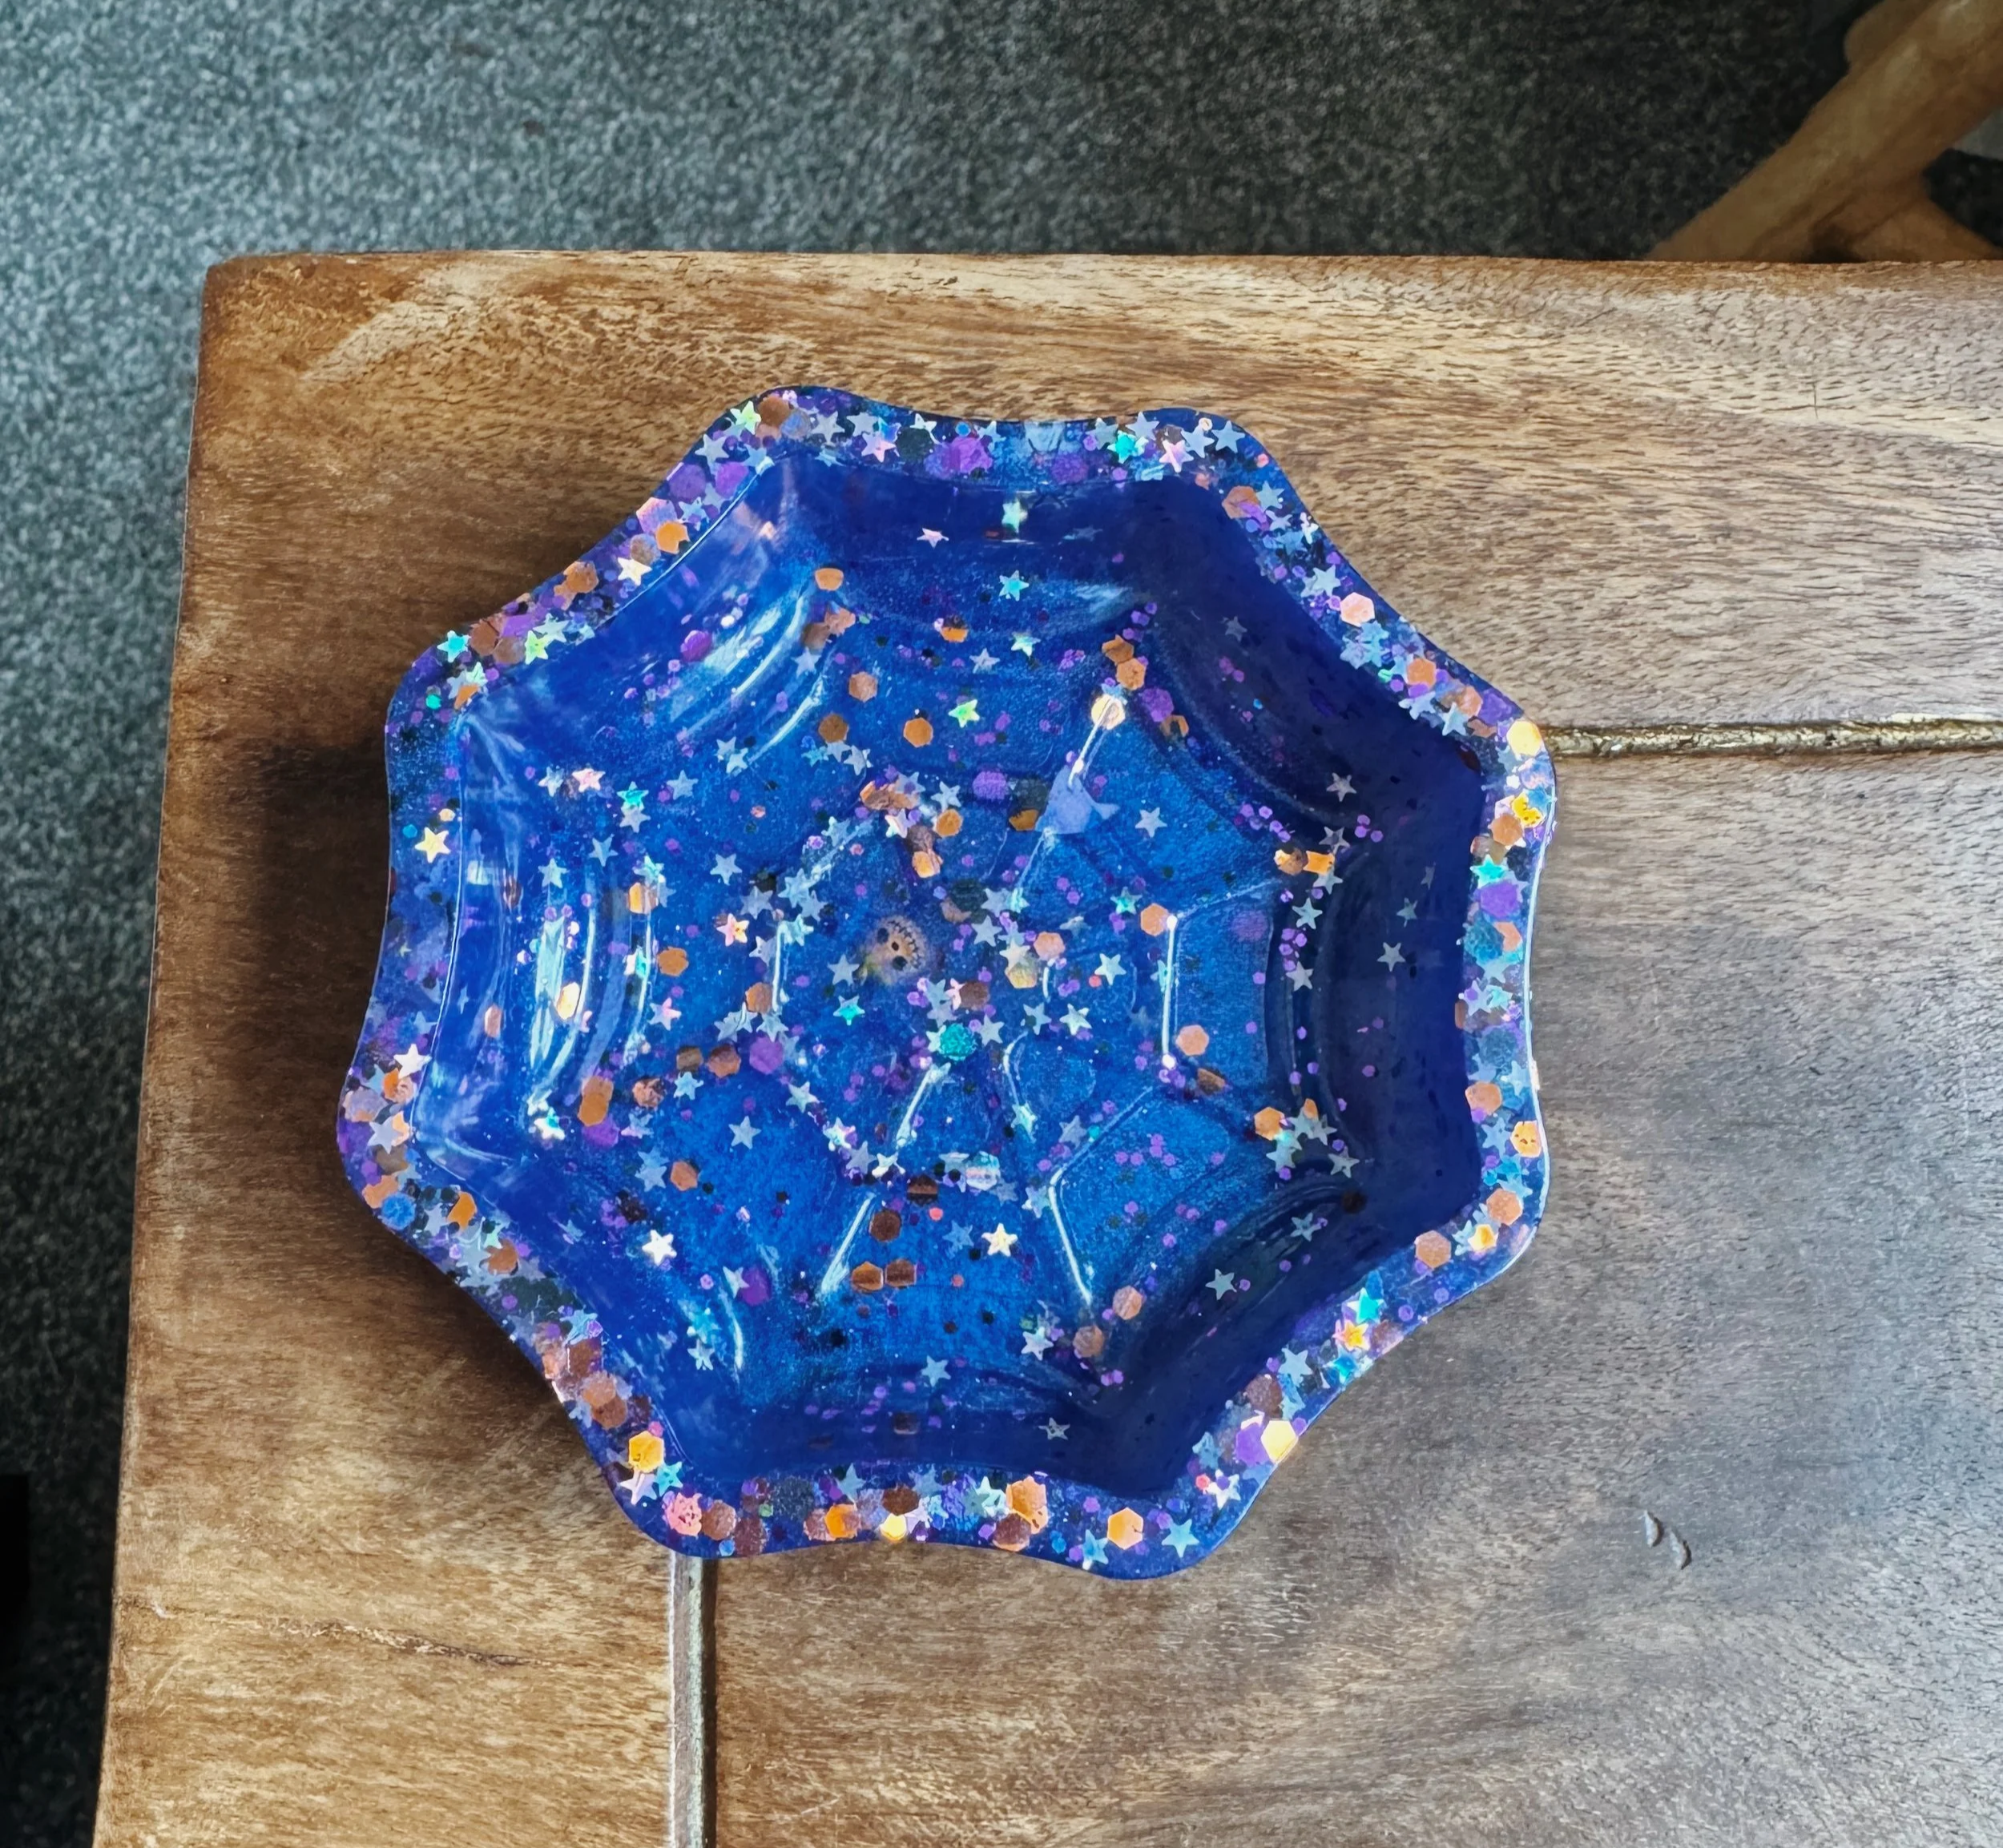
You’ll notice here that I’ve added sparkles to everything that I’ve photographed. I did experiment by pouring a blue cobweb without sparkles, but I wasn’t too happy with it.
This mould would look great poured in two colours, with one colour around the edges (poured first) and then a lighter colour poured second. It would also be so cool to see one of these with the cobweb details drawn or painted on after demoulding.
Moon Resin Mould
This trinket dish is adorable and the first of these Halloween pieces that I tried pouring in two different colours.

The moon on the left is actually the product of two pots of leftover resin - one that’s transparent with gold foil, and another that’s black with Halloween glitter. I actually love how this one looks and definitely want to experiment more with this technique in the future.
Sweet Resin Mould
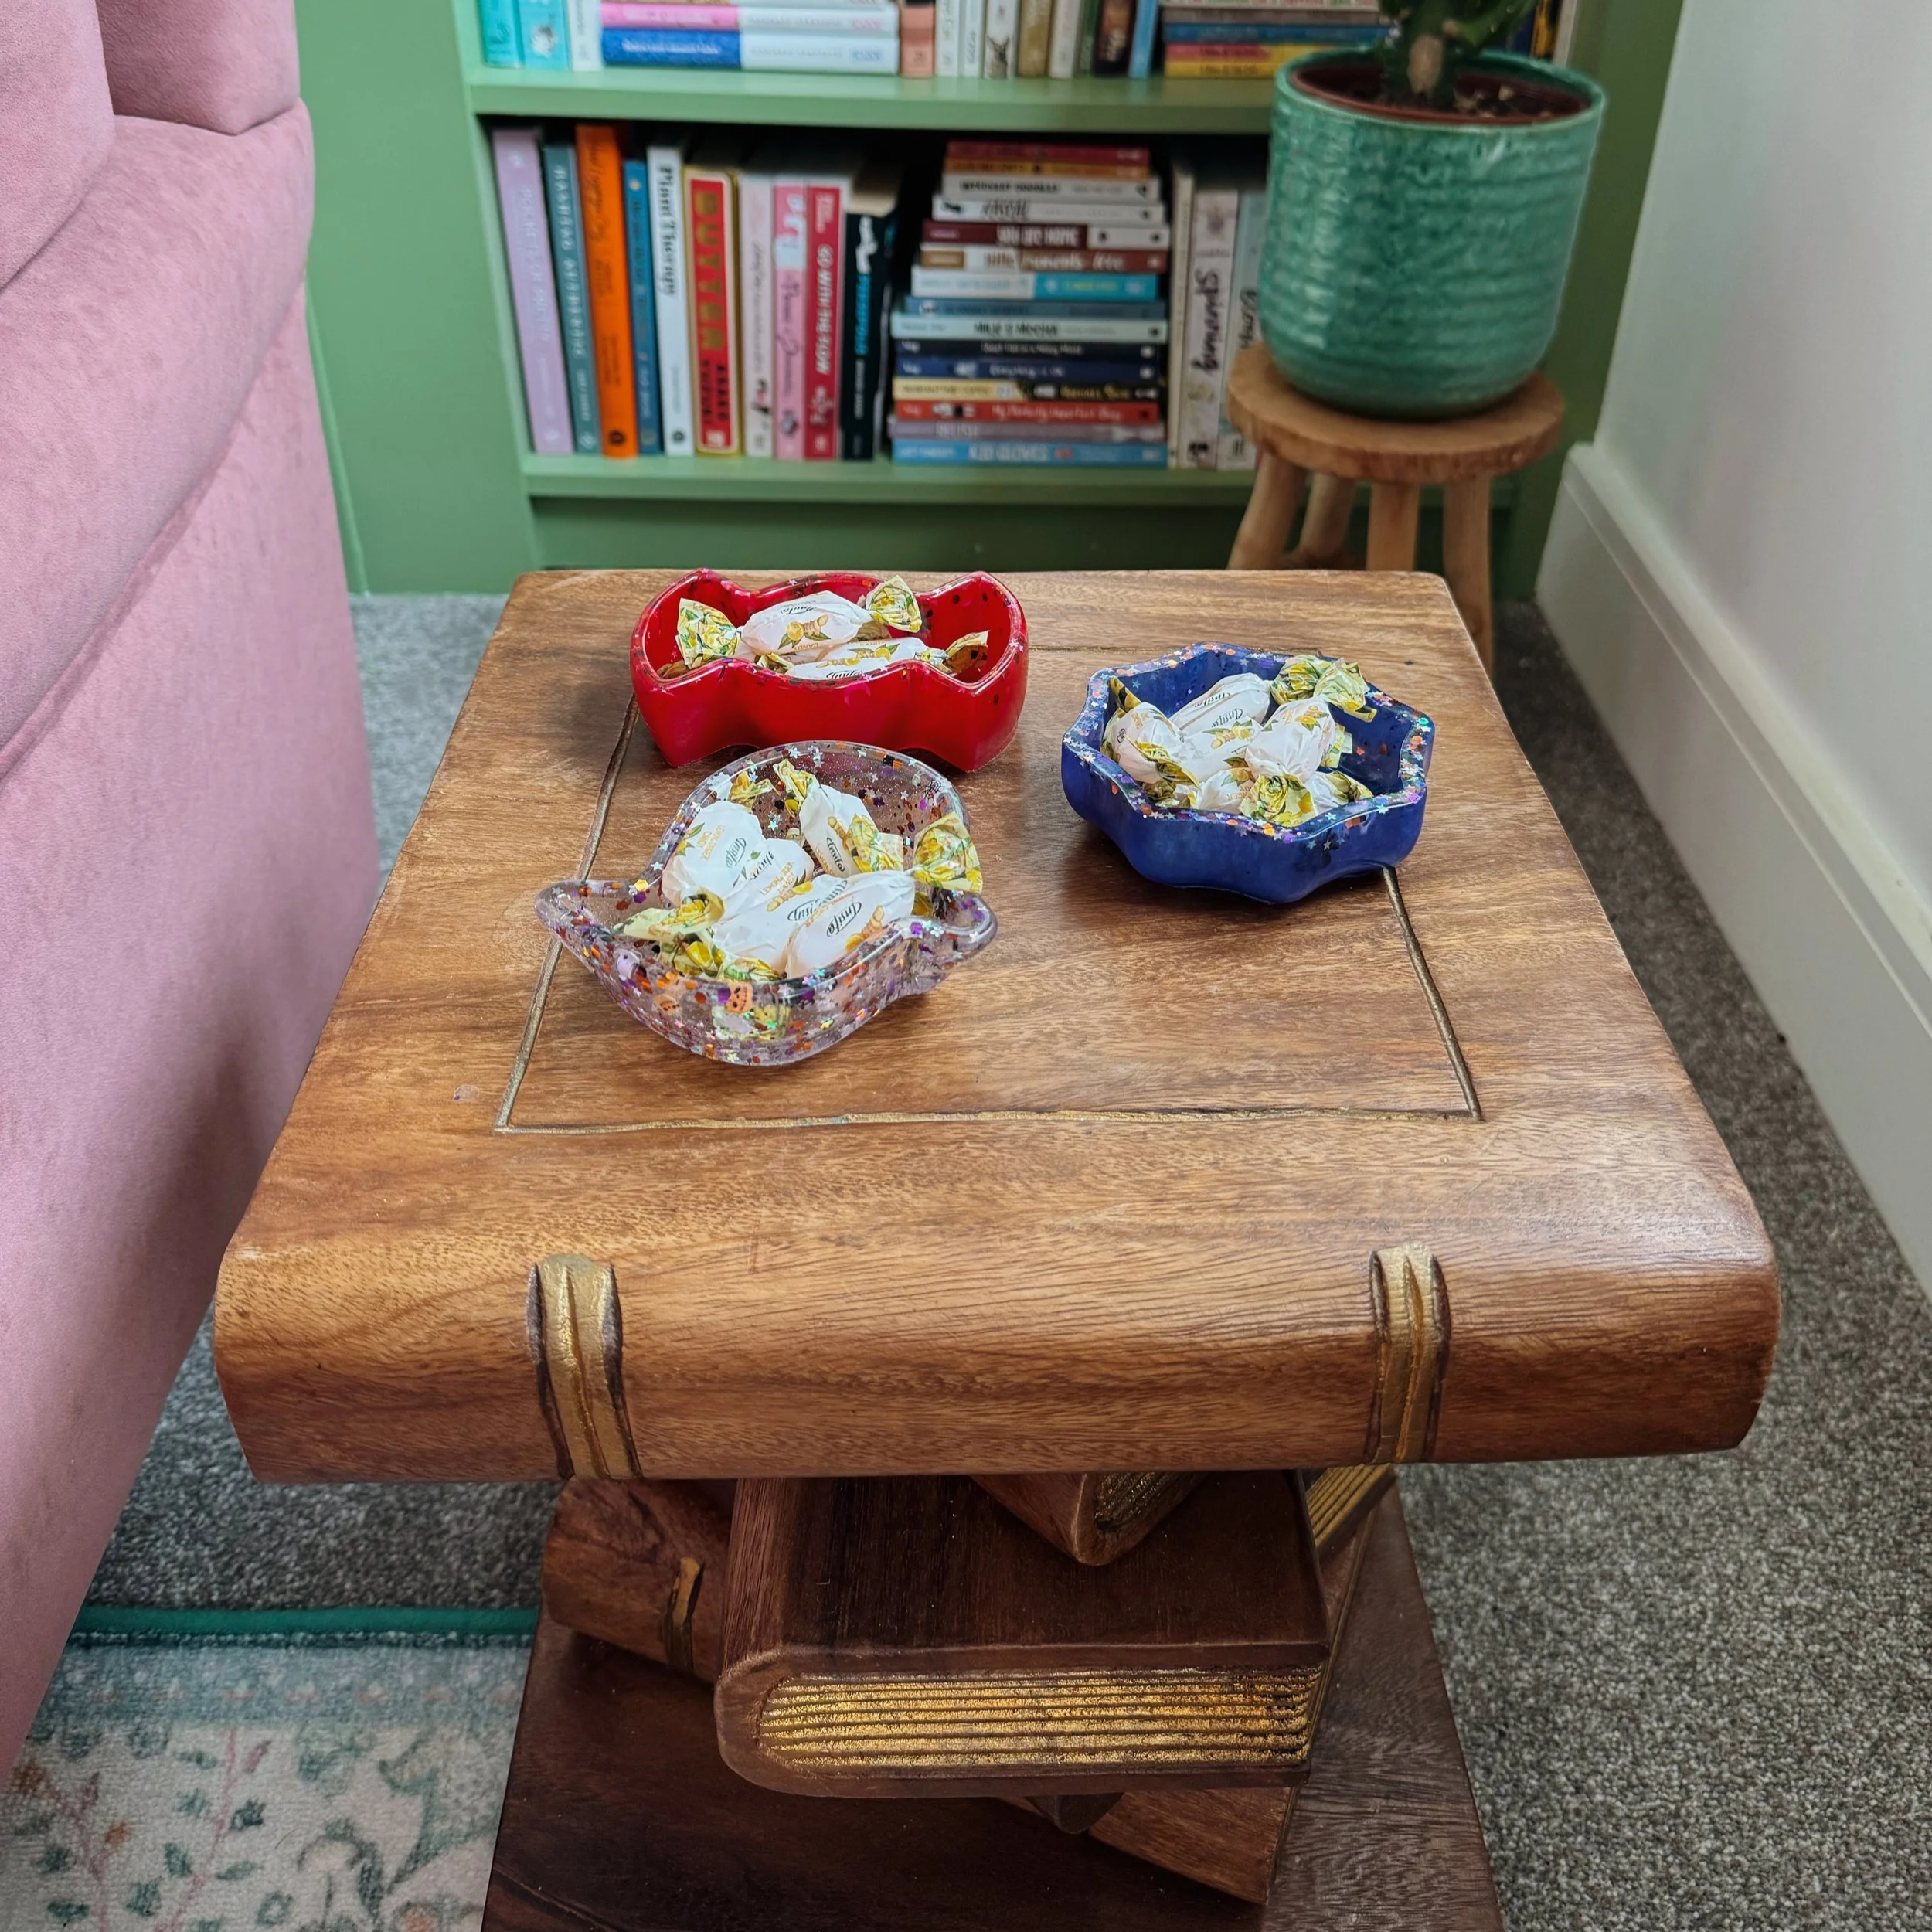
Last but not least, is this adorable sweet shape. This one is perfect for filling with treats on Halloween night, or leaving out as decor for a Halloween party.
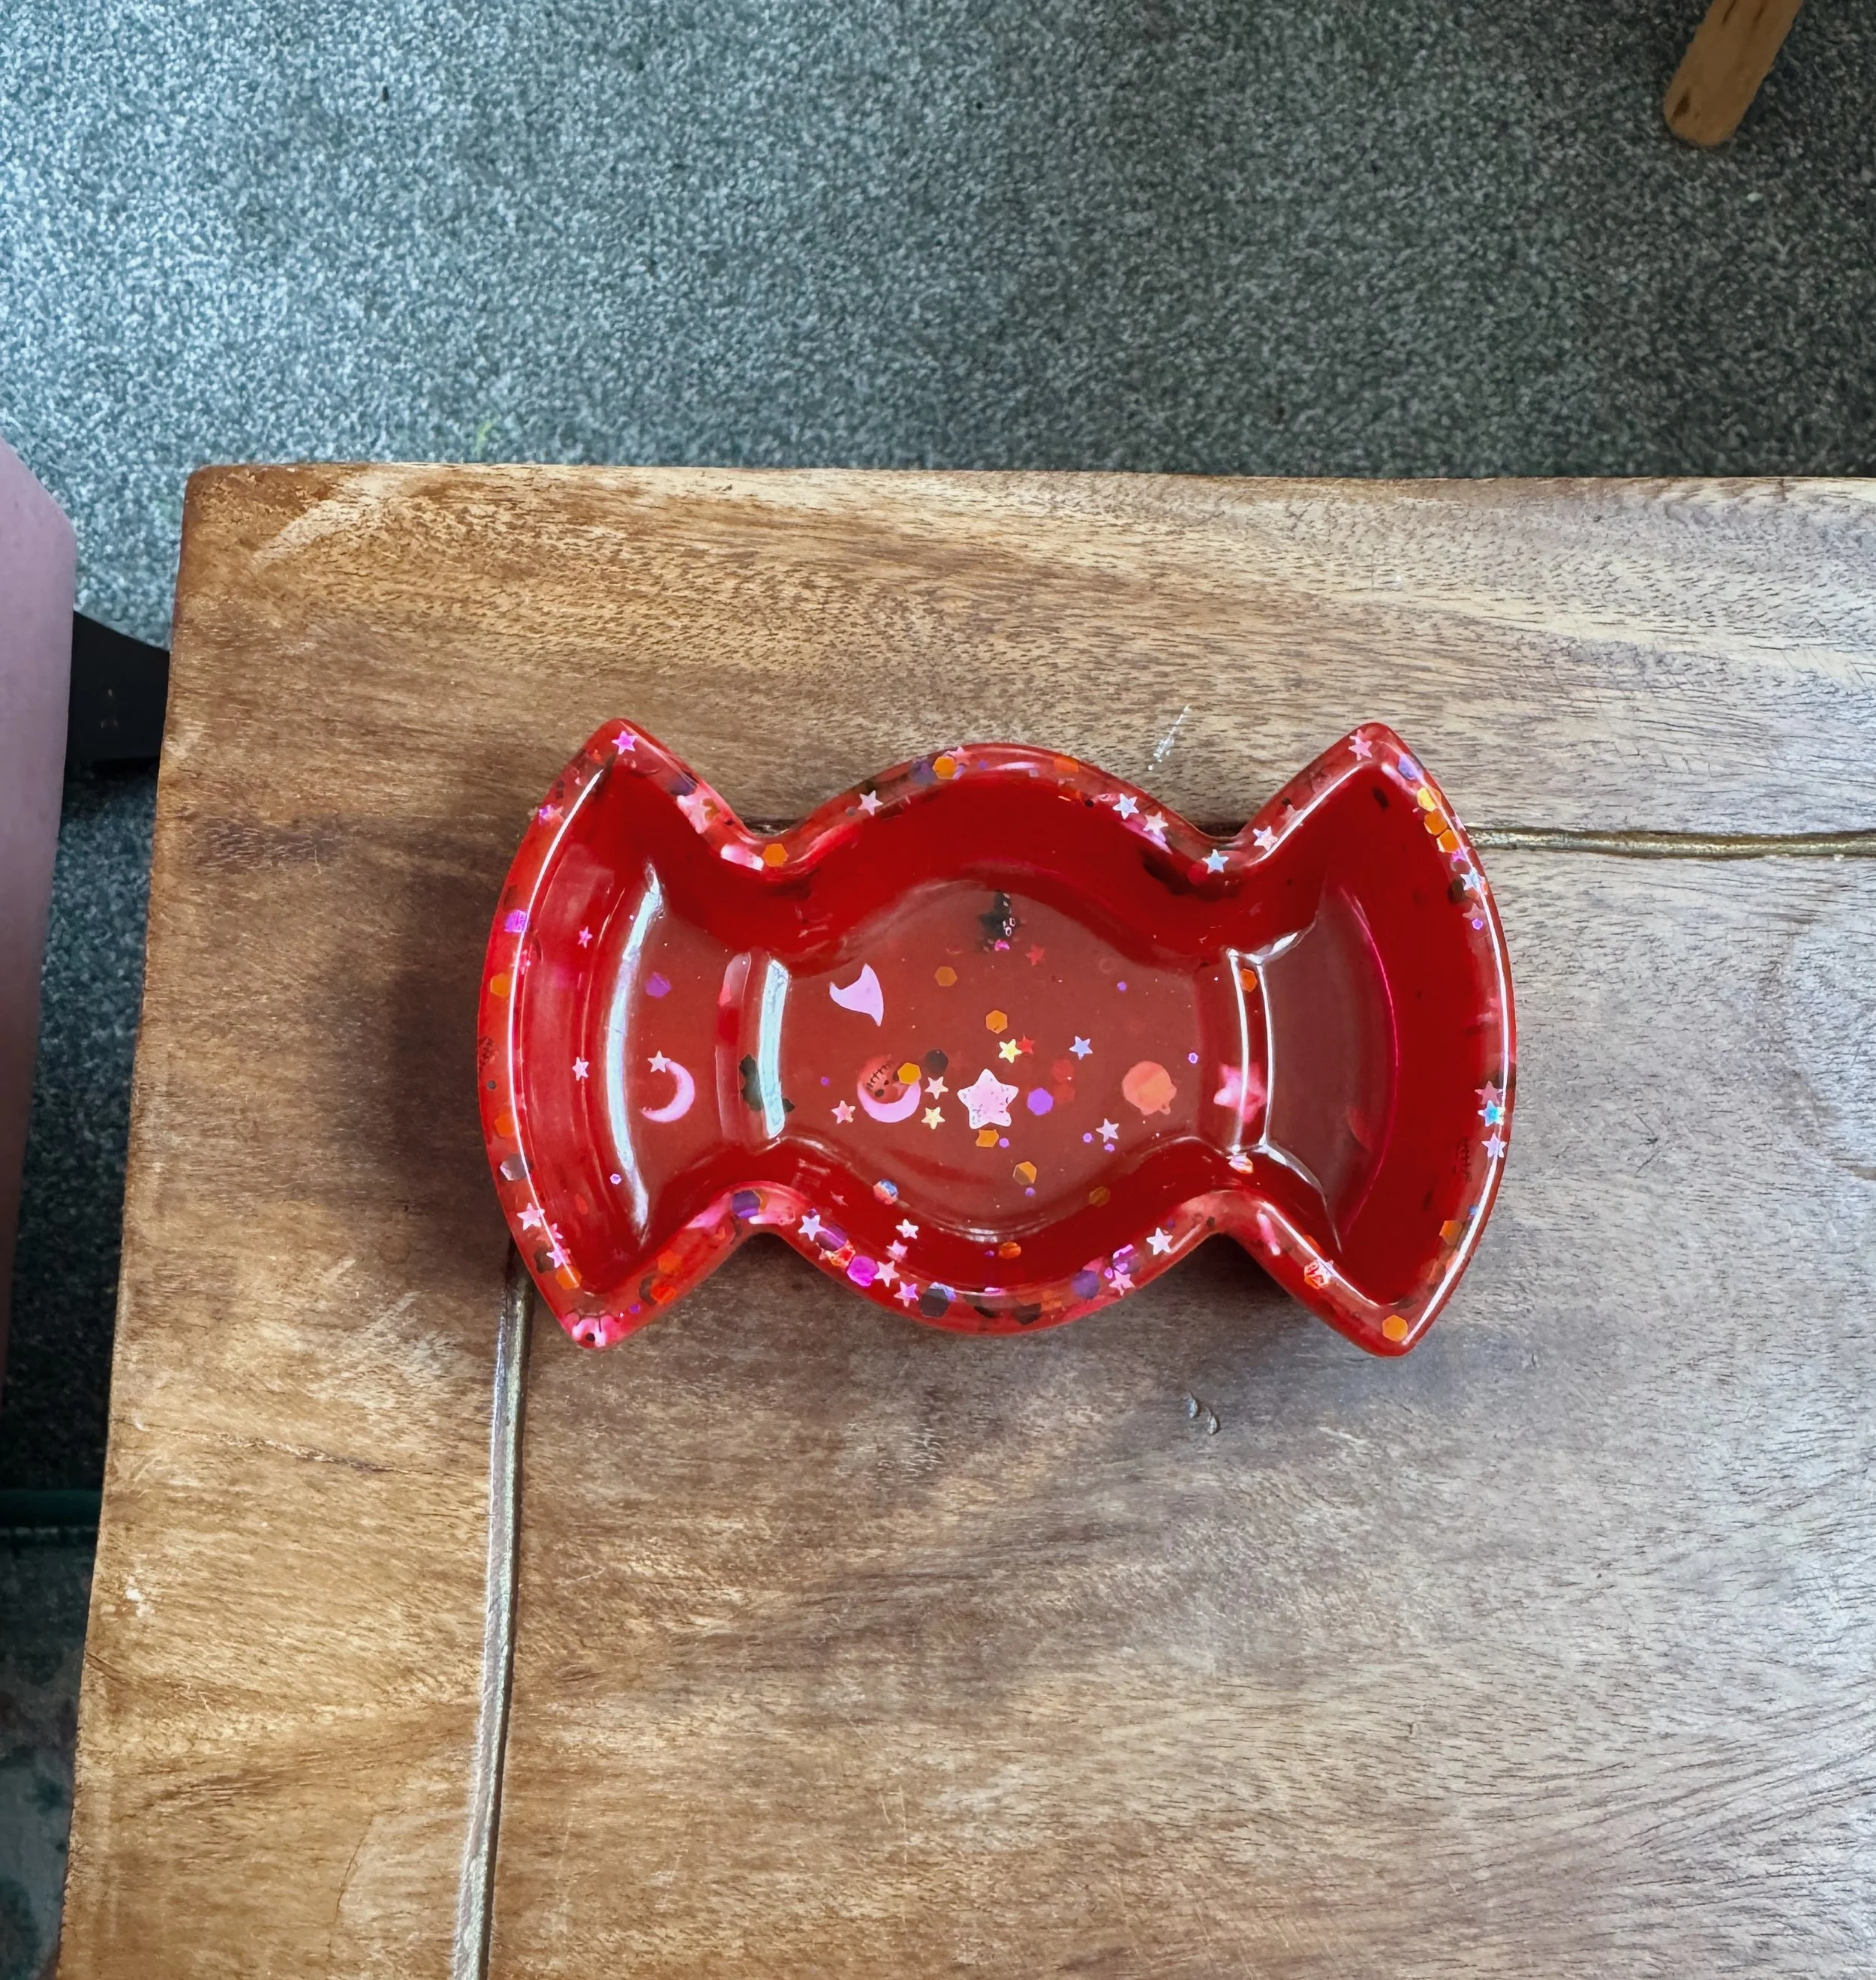
I love how this one turned out. It looks so good in red! This is another shape that would look great with one colour poured first to line the edges, and another to fill the rest of the mould.
I think you can tell that I added the spooky confetti slightly differently for this pour. Instead of mixing the glitter and gems into the resin mixture, I pushed them into the edges and sprinkled a few more on top.
Other Spooky resin Project Ideas
Here are a few bonus projects to try once you’ve mastered the four Halloween moulds above.
Pumpkins
Not just for the spooky season, pumpkins are a popular piece of home decor for the entire autumn. I love the idea of making my own resin pumpkins, and feel these would make really nice gifts for loved ones too.
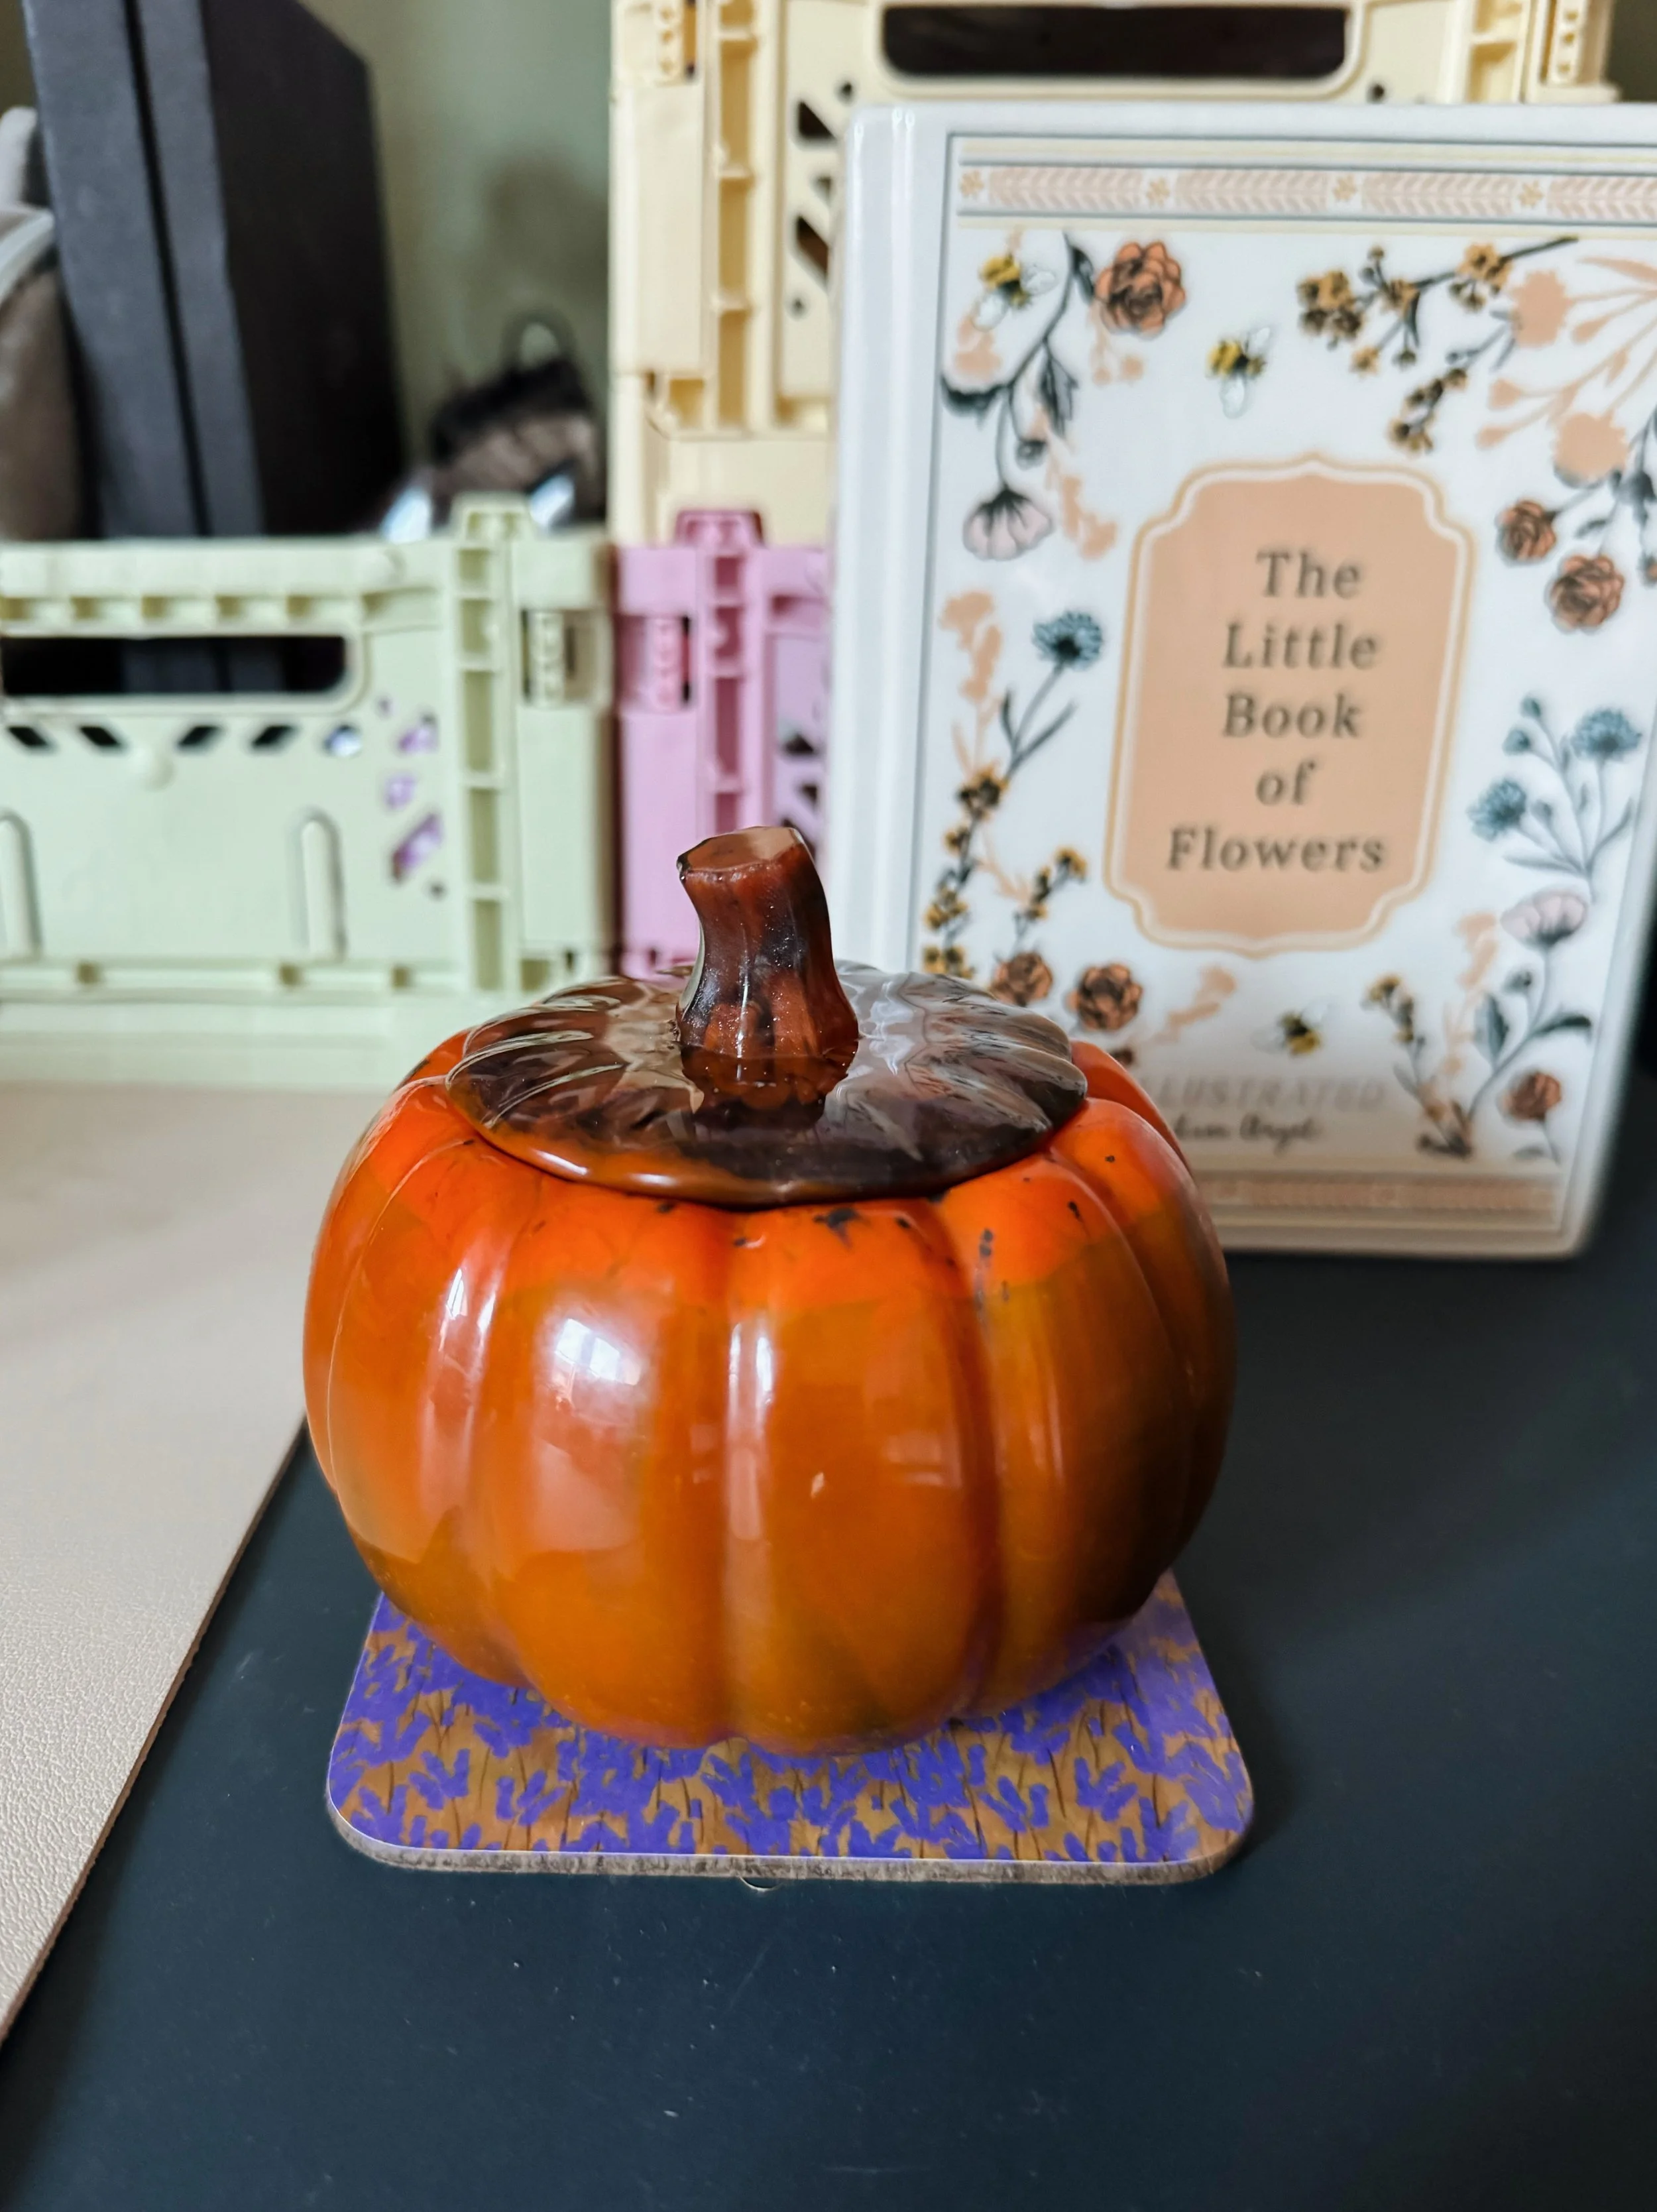
(Above photo from Mouldd)
Decorative Skull Shape
This piece of home decor is perfect for the spooky season. It has lots of potential for different colour combinations, and is a fun mould for experimenting with patterns and techniques.
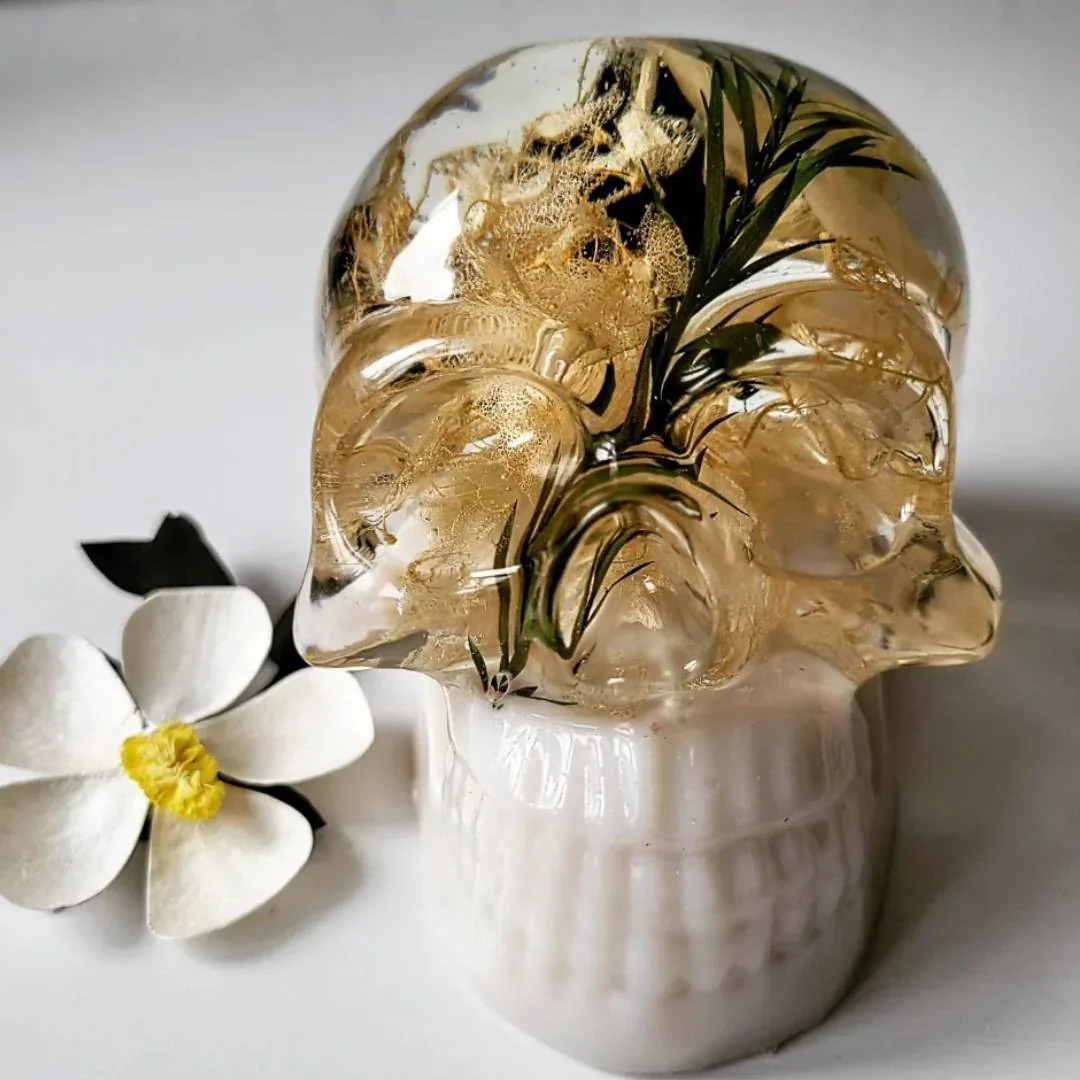
(Above photo from Mouldd)
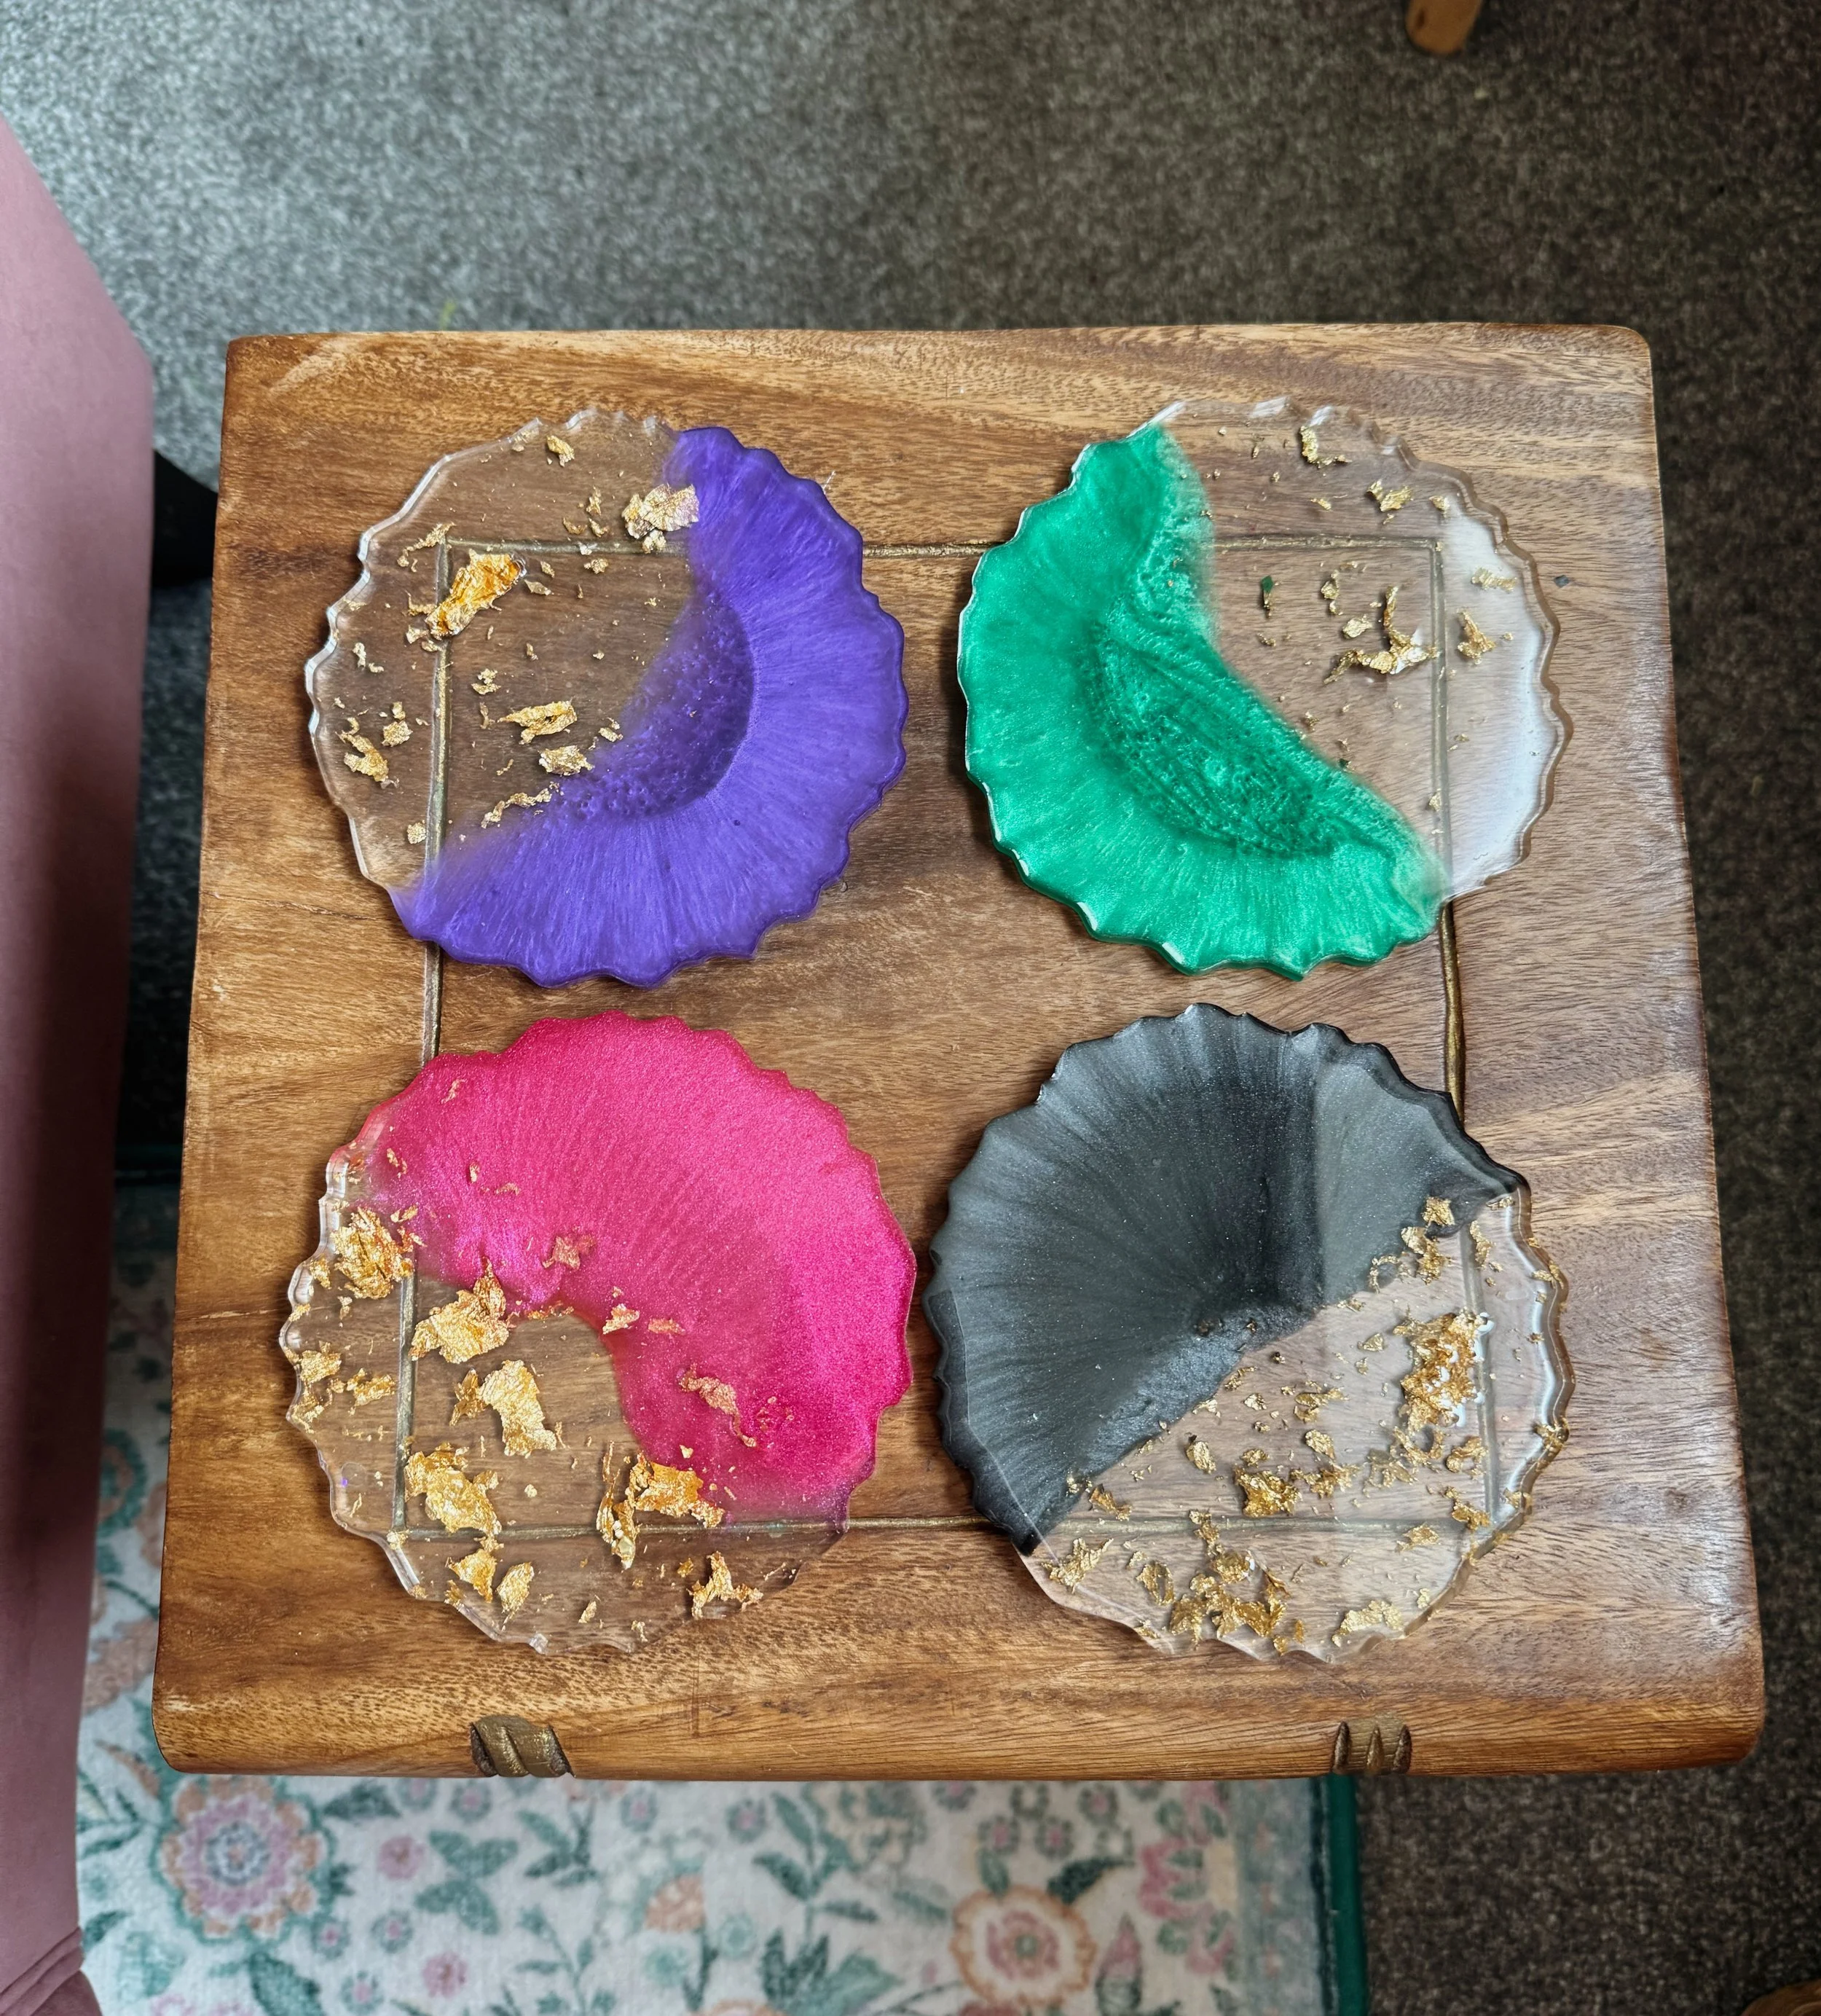
Drinks Coasters
While not inherently spooky, drinks coasters are easy to customise and I love the idea of having seasonal coasters to pull out during Halloween.
I’m thinking Halloween themed colour combinations, such as red, black and orange, as well as glitter and spooky gems.
Click here to read my step-by-step guide to making your own resin coasters.
Final Thoughts
While these are just a few examples, the potential for Halloween themed resin projects really is endless. All you need are a few silicone moulds and some decorations to add some extra sparkle.
Each of the projects listed here are super easy and suitable for beginners. More seasoned resin artists may wish to use more complex colour combinations and techniques, but in my opinion, the simple single colour pours still look great.
Thank you for reading, and I hope that I’ve inspired you to make some Halloween themed decor this spooky season.
Ready To Make Some Spooky Resin Art?
Buy these Halloween resin moulds on the Mouldd website here.
Use my code ‘JULIAMITCHELL’ for 10% off your entire purchase.
To learn more about creating your own resin pieces, take a look at my other blog posts below.
Read More About Resin Art
10 Epoxy Resin Projects For Beginners
How To Make Resin Coasters: An Easy Step-by-Step Guide
Other Craft Ideas
Latch Hook Cushion Kit Reviews (to come)