How To Make Resin Coasters: Easy Guide
(Disclaimer: AD I was sent this product to review by Mouldd, however, all opinions are my own. This post also contains affiliate links, which means that any purchase may give me a small commission at no extra cost to you)
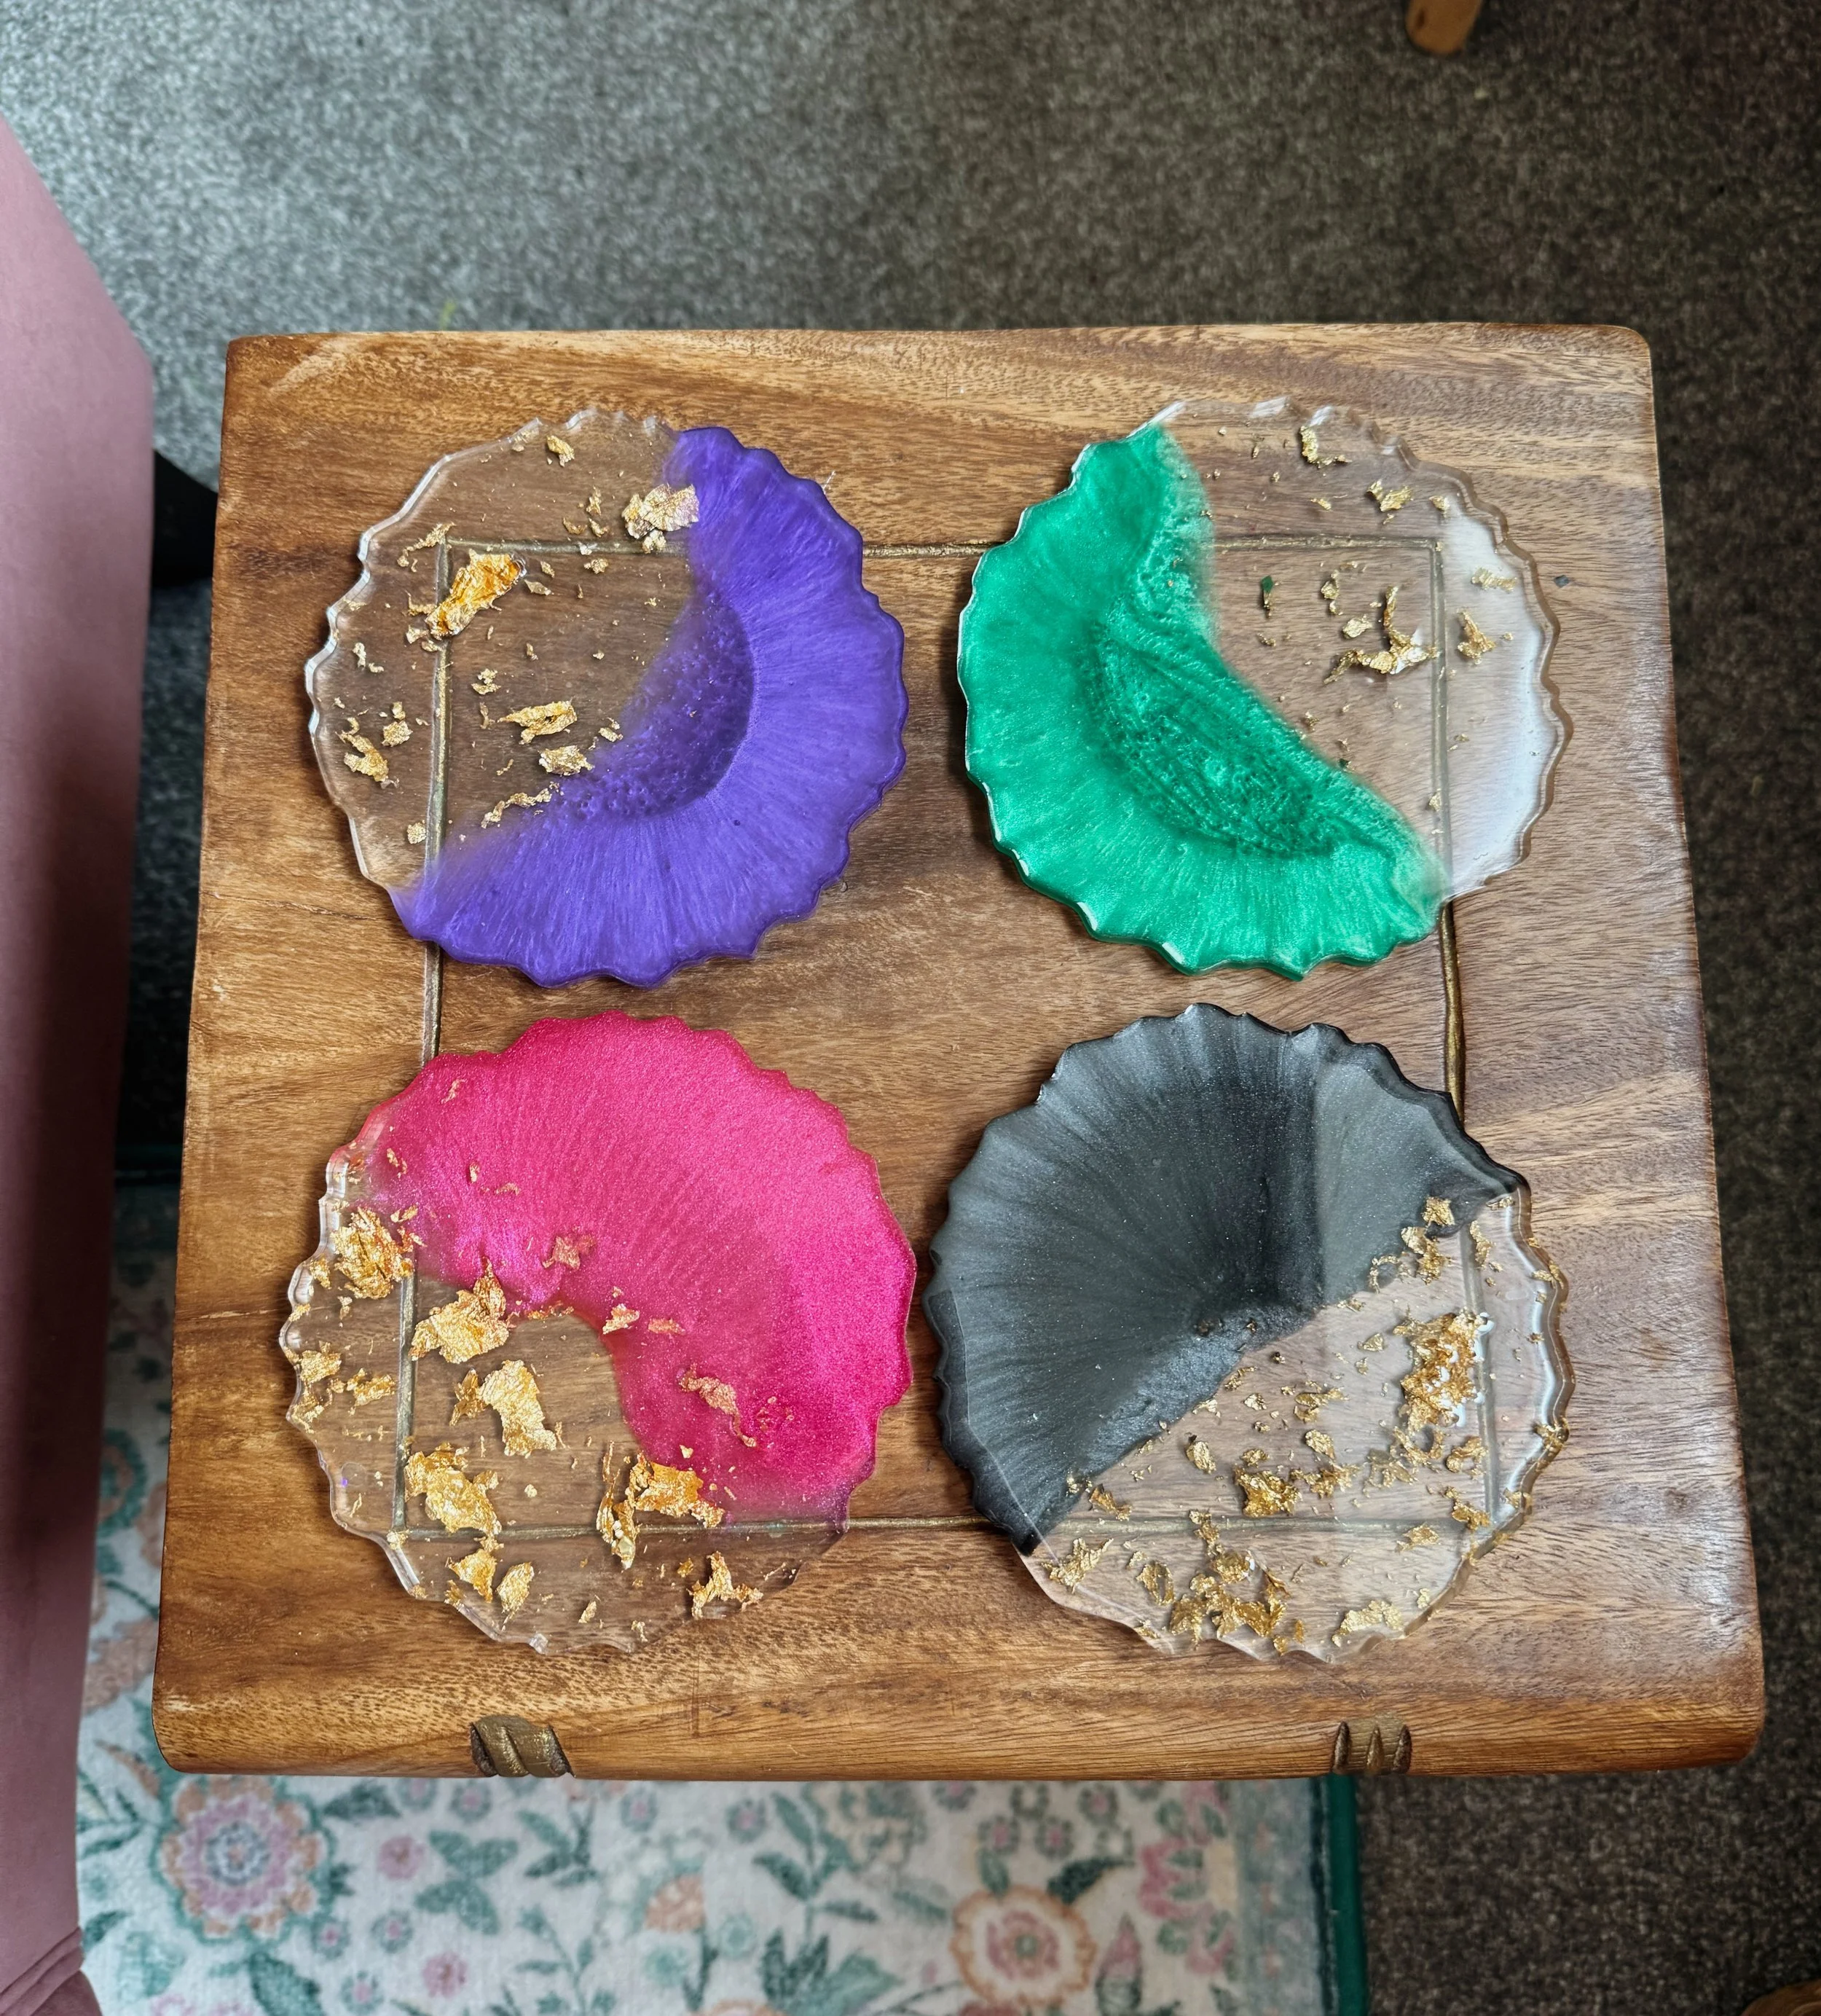
Here is my easy step-by-step tutorial for making epoxy resin coasters.
Don’t Have Time To Read This Post?
Buy an epoxy resin coaster starter kit on the Mouldd website here.
Make sure you use my code ‘JULIAMITCHELL’ for 10% off your entire order.
Resin art has soared in popularity since going viral in 2020, and it’s easy to understand why. This is a medium that’s easy to work with, very versatile, and perfect for beginners.
I should know - I only started working with resin recently, and have been able to make a variety of lovely pieces that include vases, trinket trays, dishes, and coasters.
Here is my easy step-by-step guide to making resin coasters, with photos for each step.
What You Need to Make Resin Coasters
Here is the complete list of everything you need to make stunning resin coasters. Note that all of the items below are included in Mouldd’s resin coaster starter kit.
Disposable mixing cups
Stirring sticks
Measuring cups
Disposable gloves
Protective work surface
Optional:
Decorative elements such as dried flowers, glitter or gold leaf
Heat gun or resin torch for removing bubbles
What Type of Resin Is Best for Coasters?
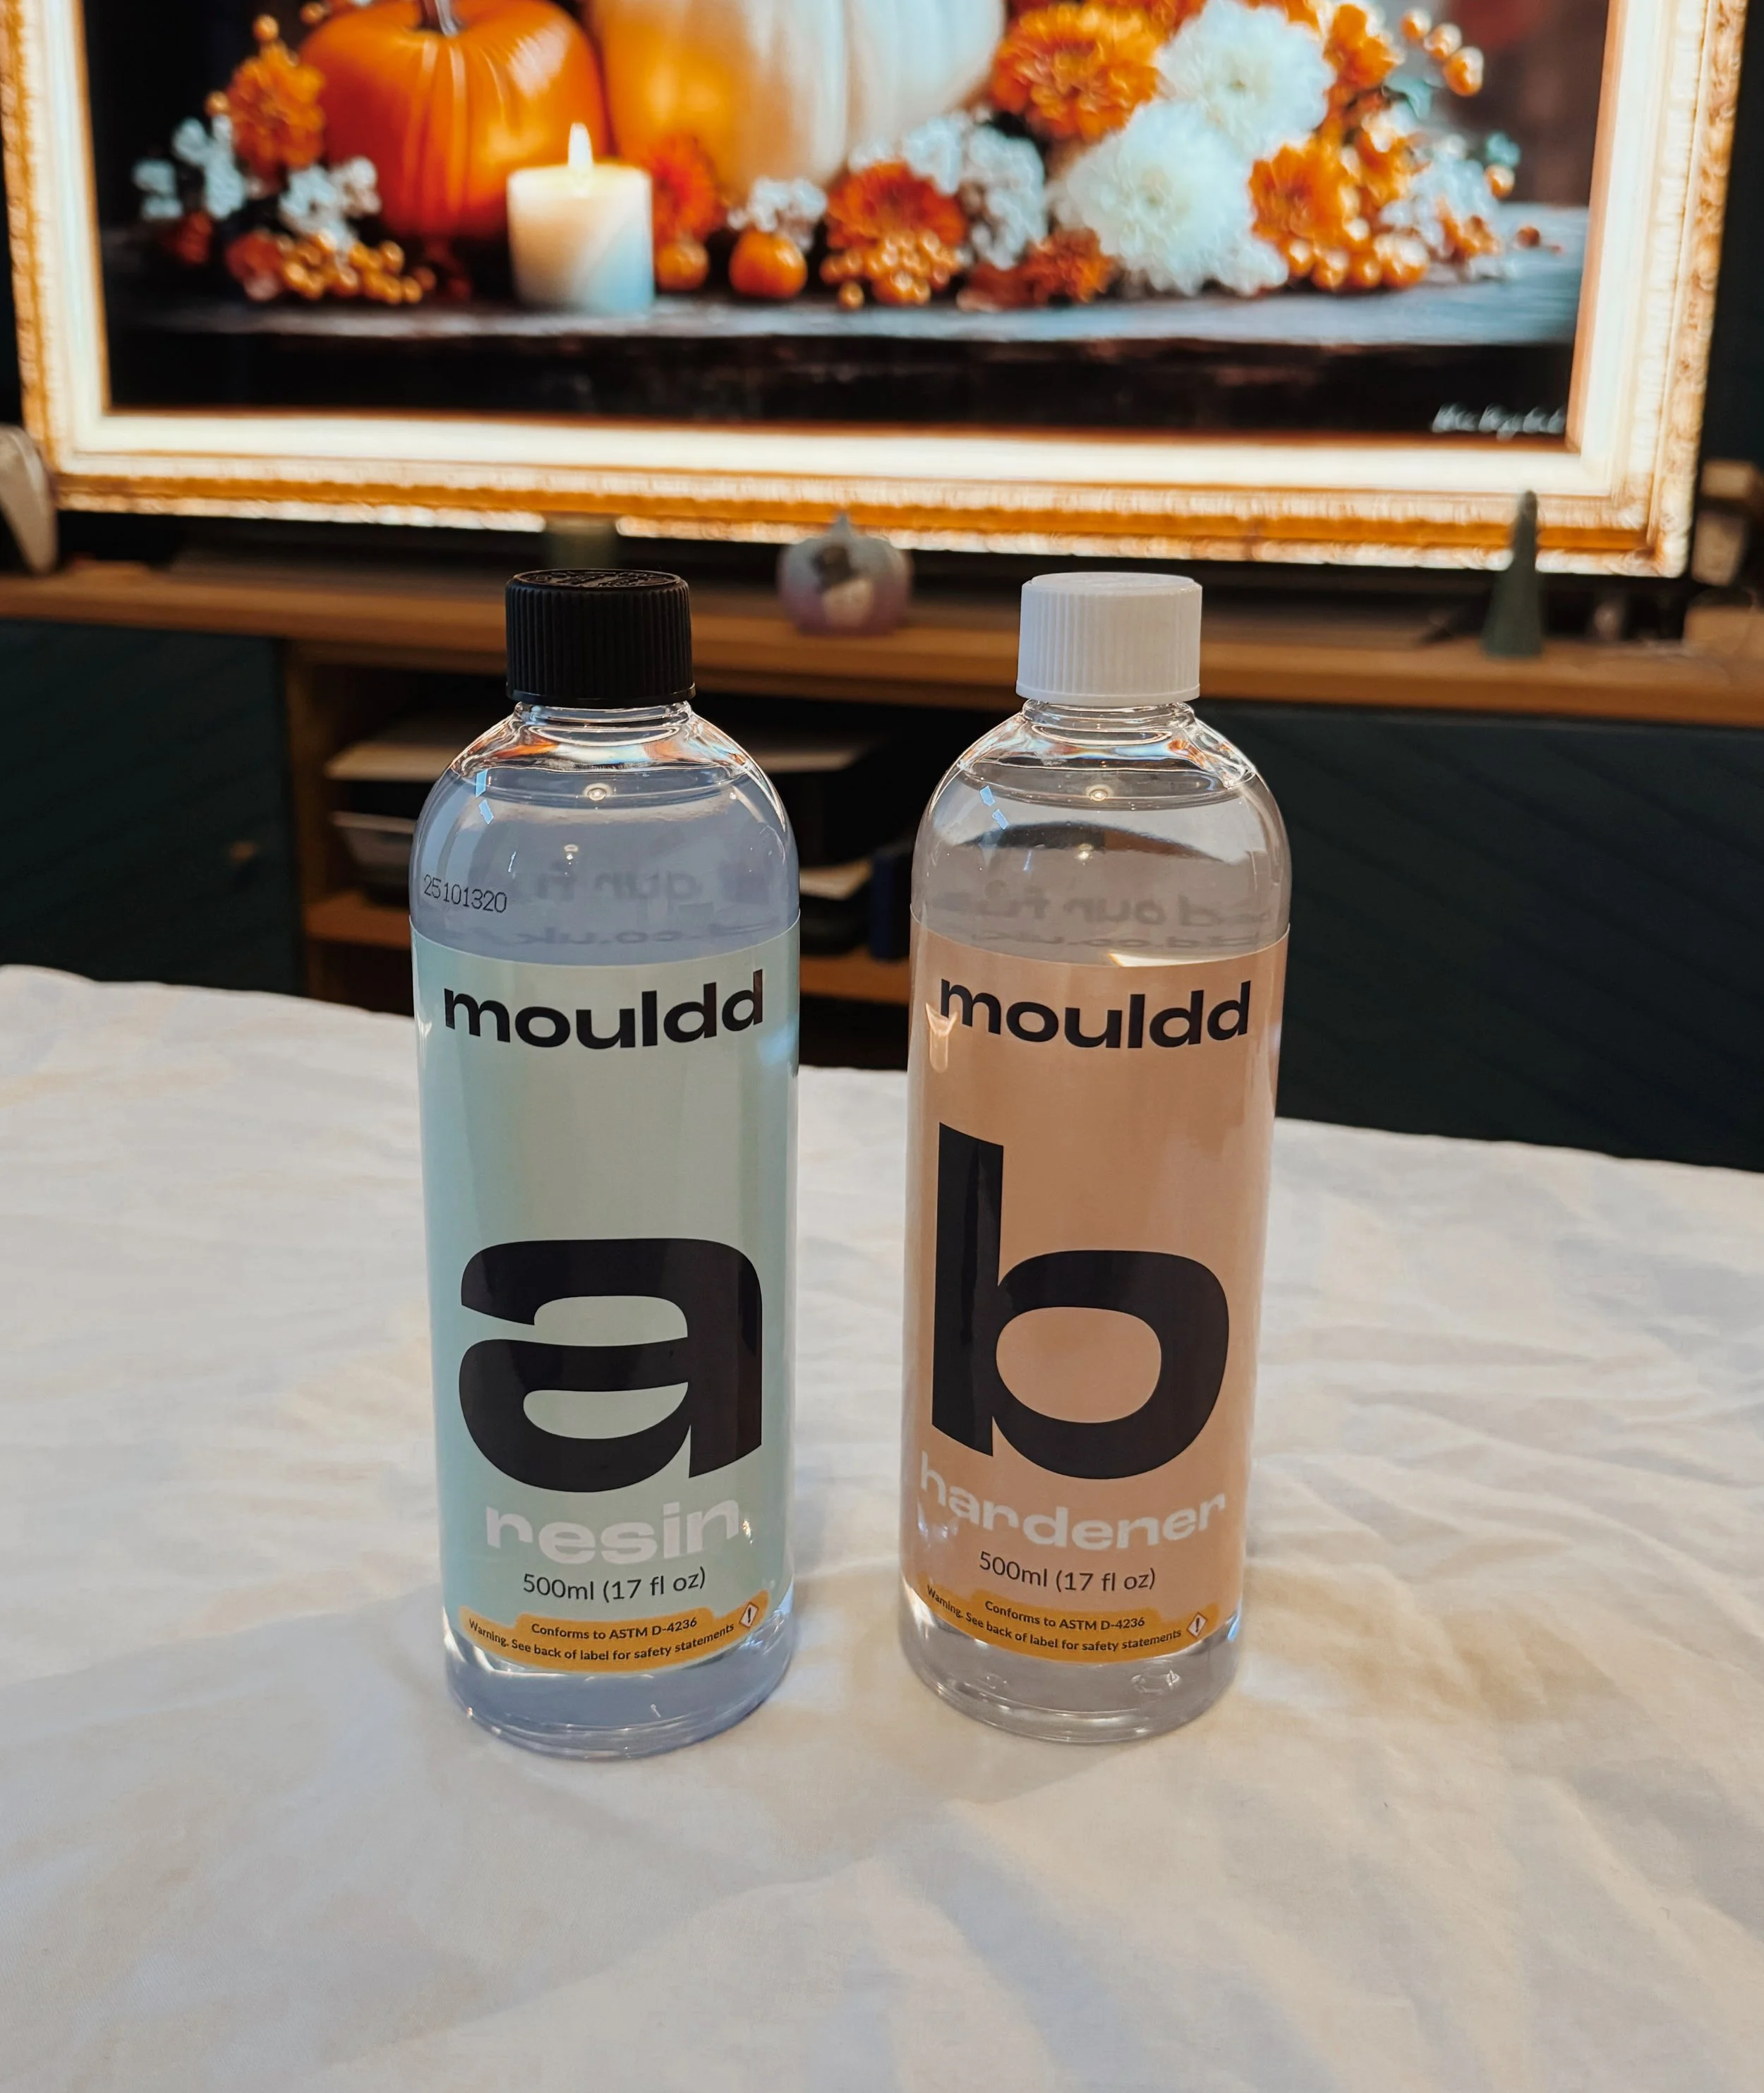
Epoxy resin is widely considered to be the best type of resin for arts and crafts. This is because it’s easy to use, cures quickly (within 72 hours), and is highly durable. The finished pieces are heat resistant and very hard, which makes them difficult to scratch through everyday use.
So, how does epoxy resin compare to other commonly used types?
While epoxy resin is ideal for many types of craft projects, many other types of resin exist and can be used for other purposes.
For example, UV Resin is another frequently used material that’s ideal for smaller pieces like jewellery making and for coating polymer clay. This type of resin cures very quickly when exposed to a UV lamp, but will also cure over a longer period of time when exposed to the sun.
Other types of resin are better suited for things like construction. Polyester resin is one of these, which cures more quickly and is cheaper to buy, but tends to cure more brittle than epoxy resin.
Reasons to Use Mouldd’s Epoxy Resin
Mouldd’s epoxy resin is particularly great as it is food safe, heat resistant up to 90°C and doesn’t yellow over time. Their bubble release technology means that any bubbles that have formed in the resin mixture will naturally rise to the surface, instead of remaining embedded within your pieces.
While this resin has a lower toxicity, make sure you follow the instructions closely and use any necessary protective equipment.
Shop Mouldd’s epoxy resin here.
How Much Resin Do You Need for Coasters?
When crafting with resin it’s important to calculate the exact volume needed for each of your silicone moulds. The coasters that I made for this project required 90ml of resin each, although I recommend mixing slightly more than you need, to ensure that you don’t run short and end up with unevenly filled moulds.
Make sure you follow the instructions exactly as they are provided by the manufacturer. Mouldd resin is mixed using a 50/50 mix of parts A and B (resin and hardener), which means that 45ml of each is needed for every coaster.
All of the silicone moulds available on the Mouldd website explain how much resin is needed for each item.
How to Make Resin Coasters: Step by Step
1. Prepare Your Workspace
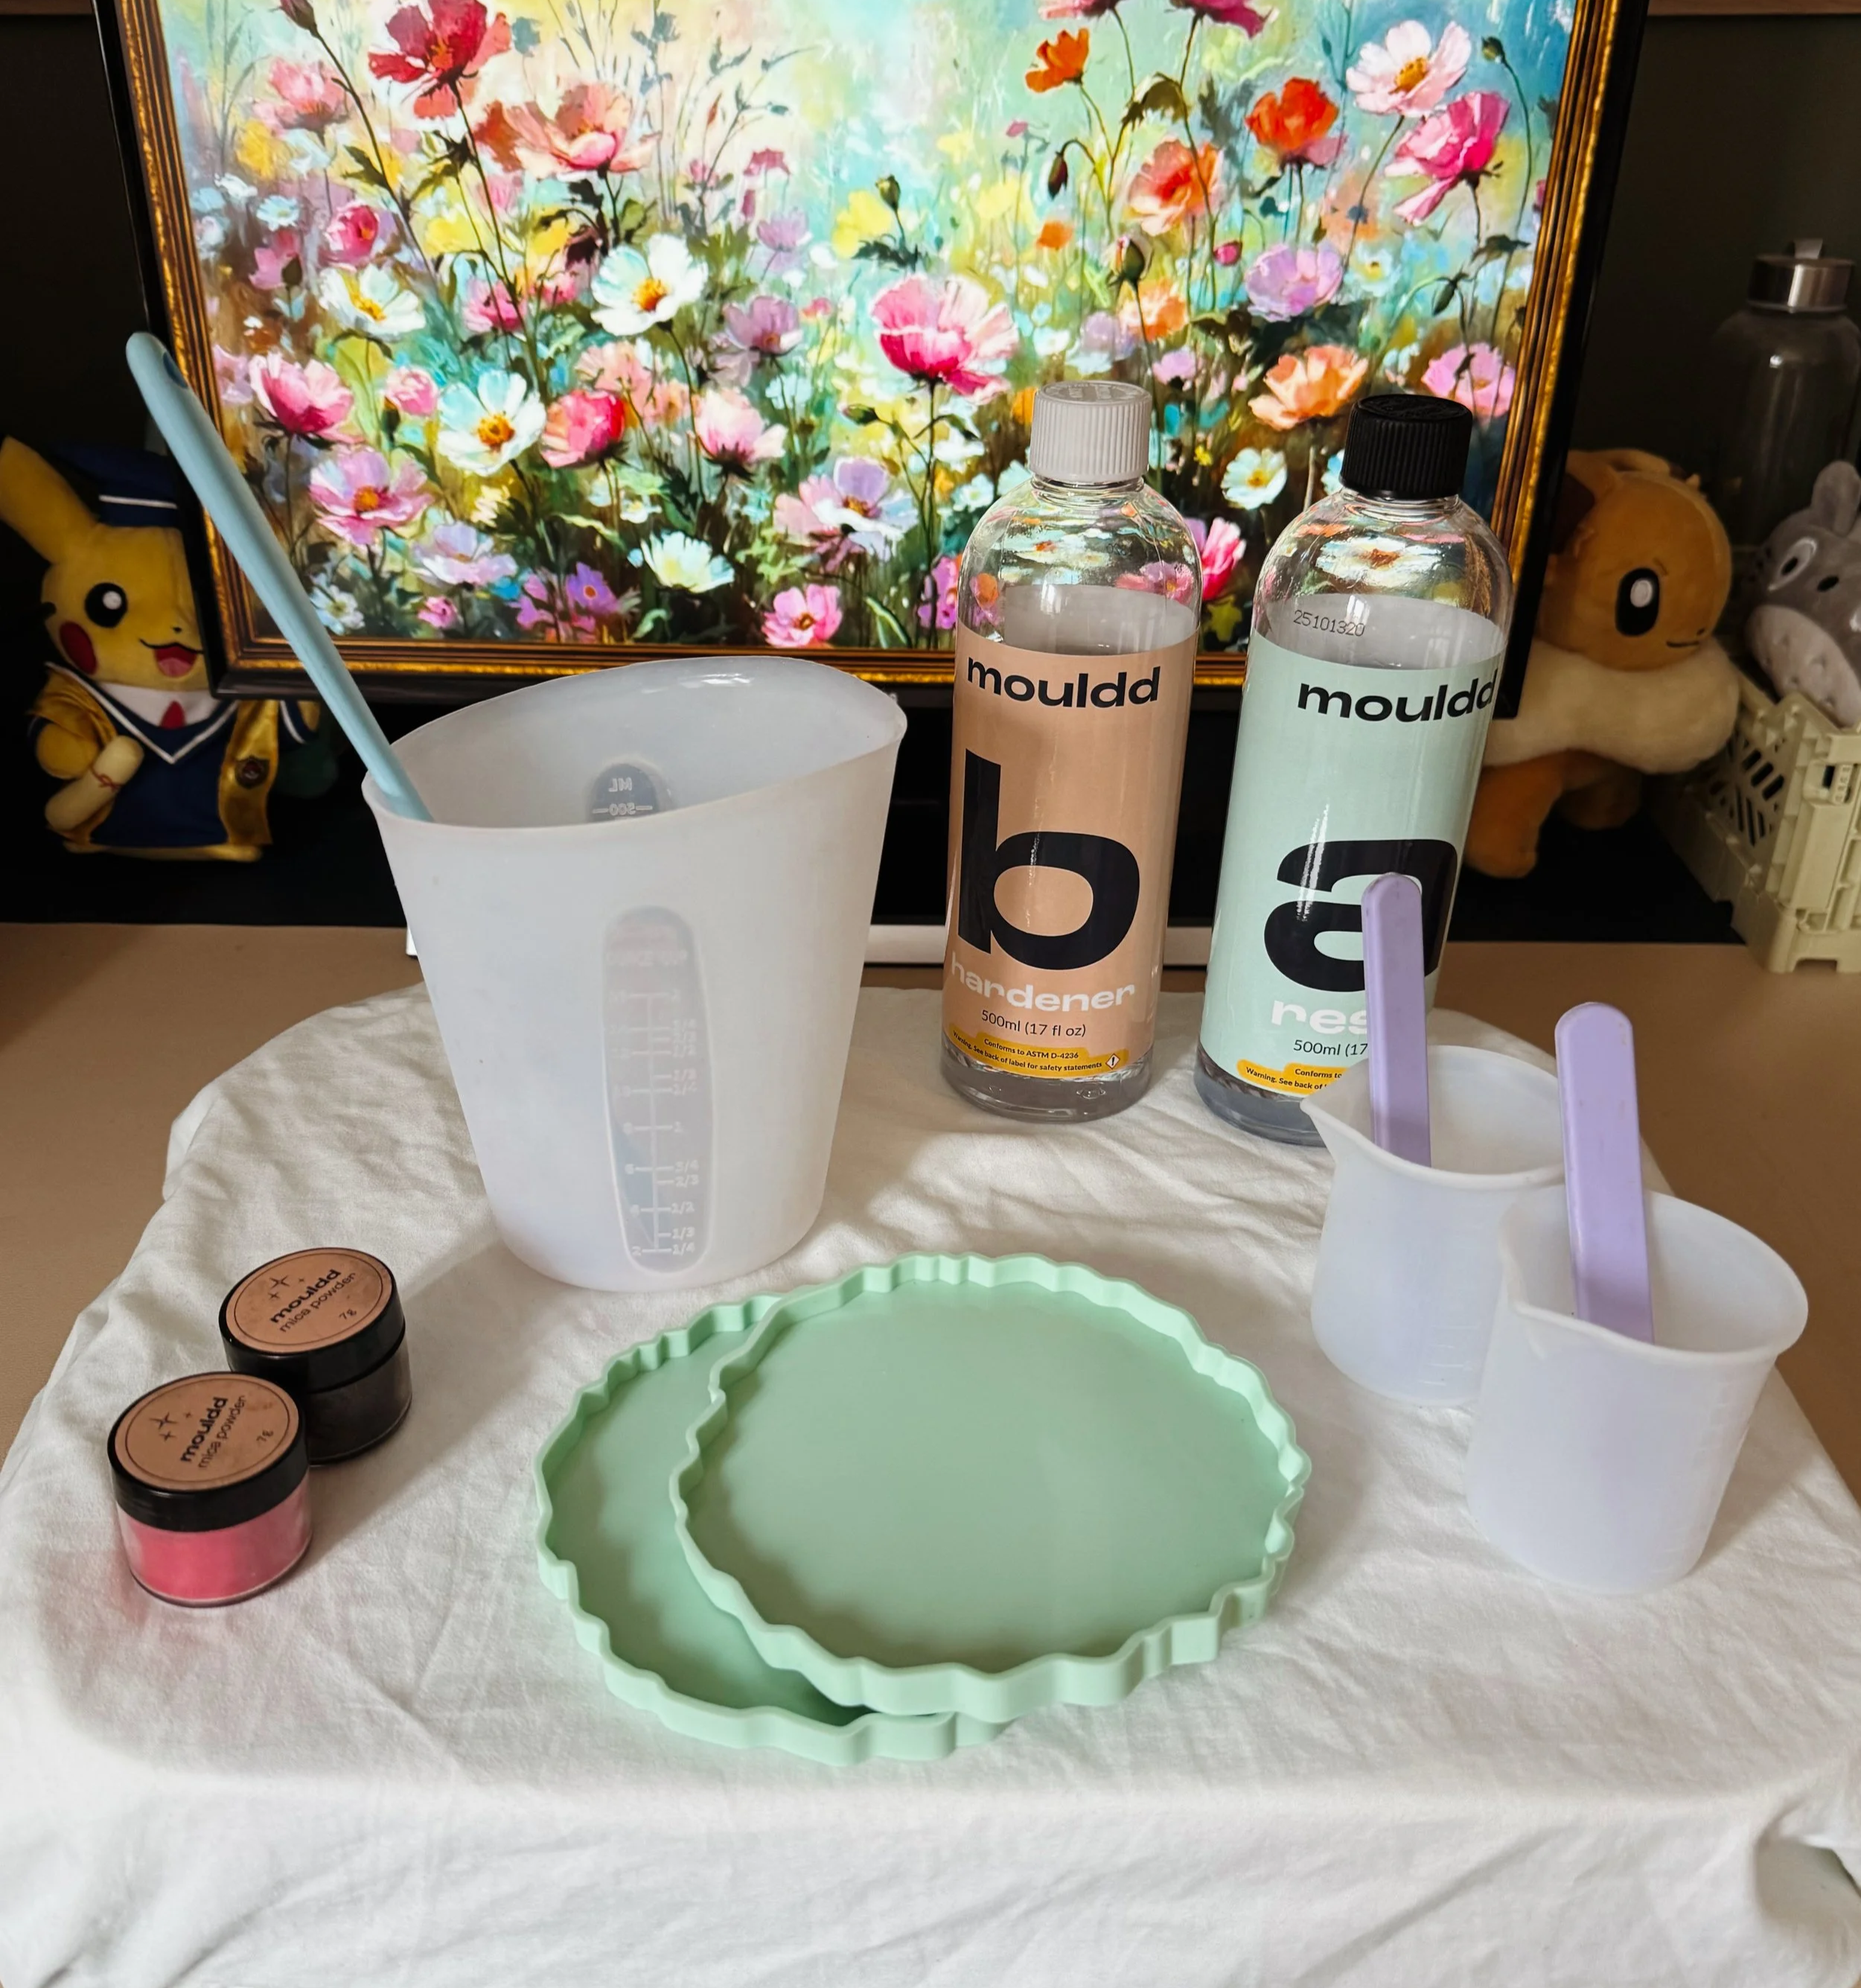
Preparation is important when working with resin. Make sure you have a level, protected workspace that is well ventilated. I like to work next to an open window, where I have good airflow. Mouldd resin is actually non-toxic, but as these are man made chemicals, it’s best to be safe.
Nitrile gloves are included in the kit for protecting your hands, as mixing resin can be messy, and you don’t want to get it on your skin.
2. Prepare the Silicone Moulds
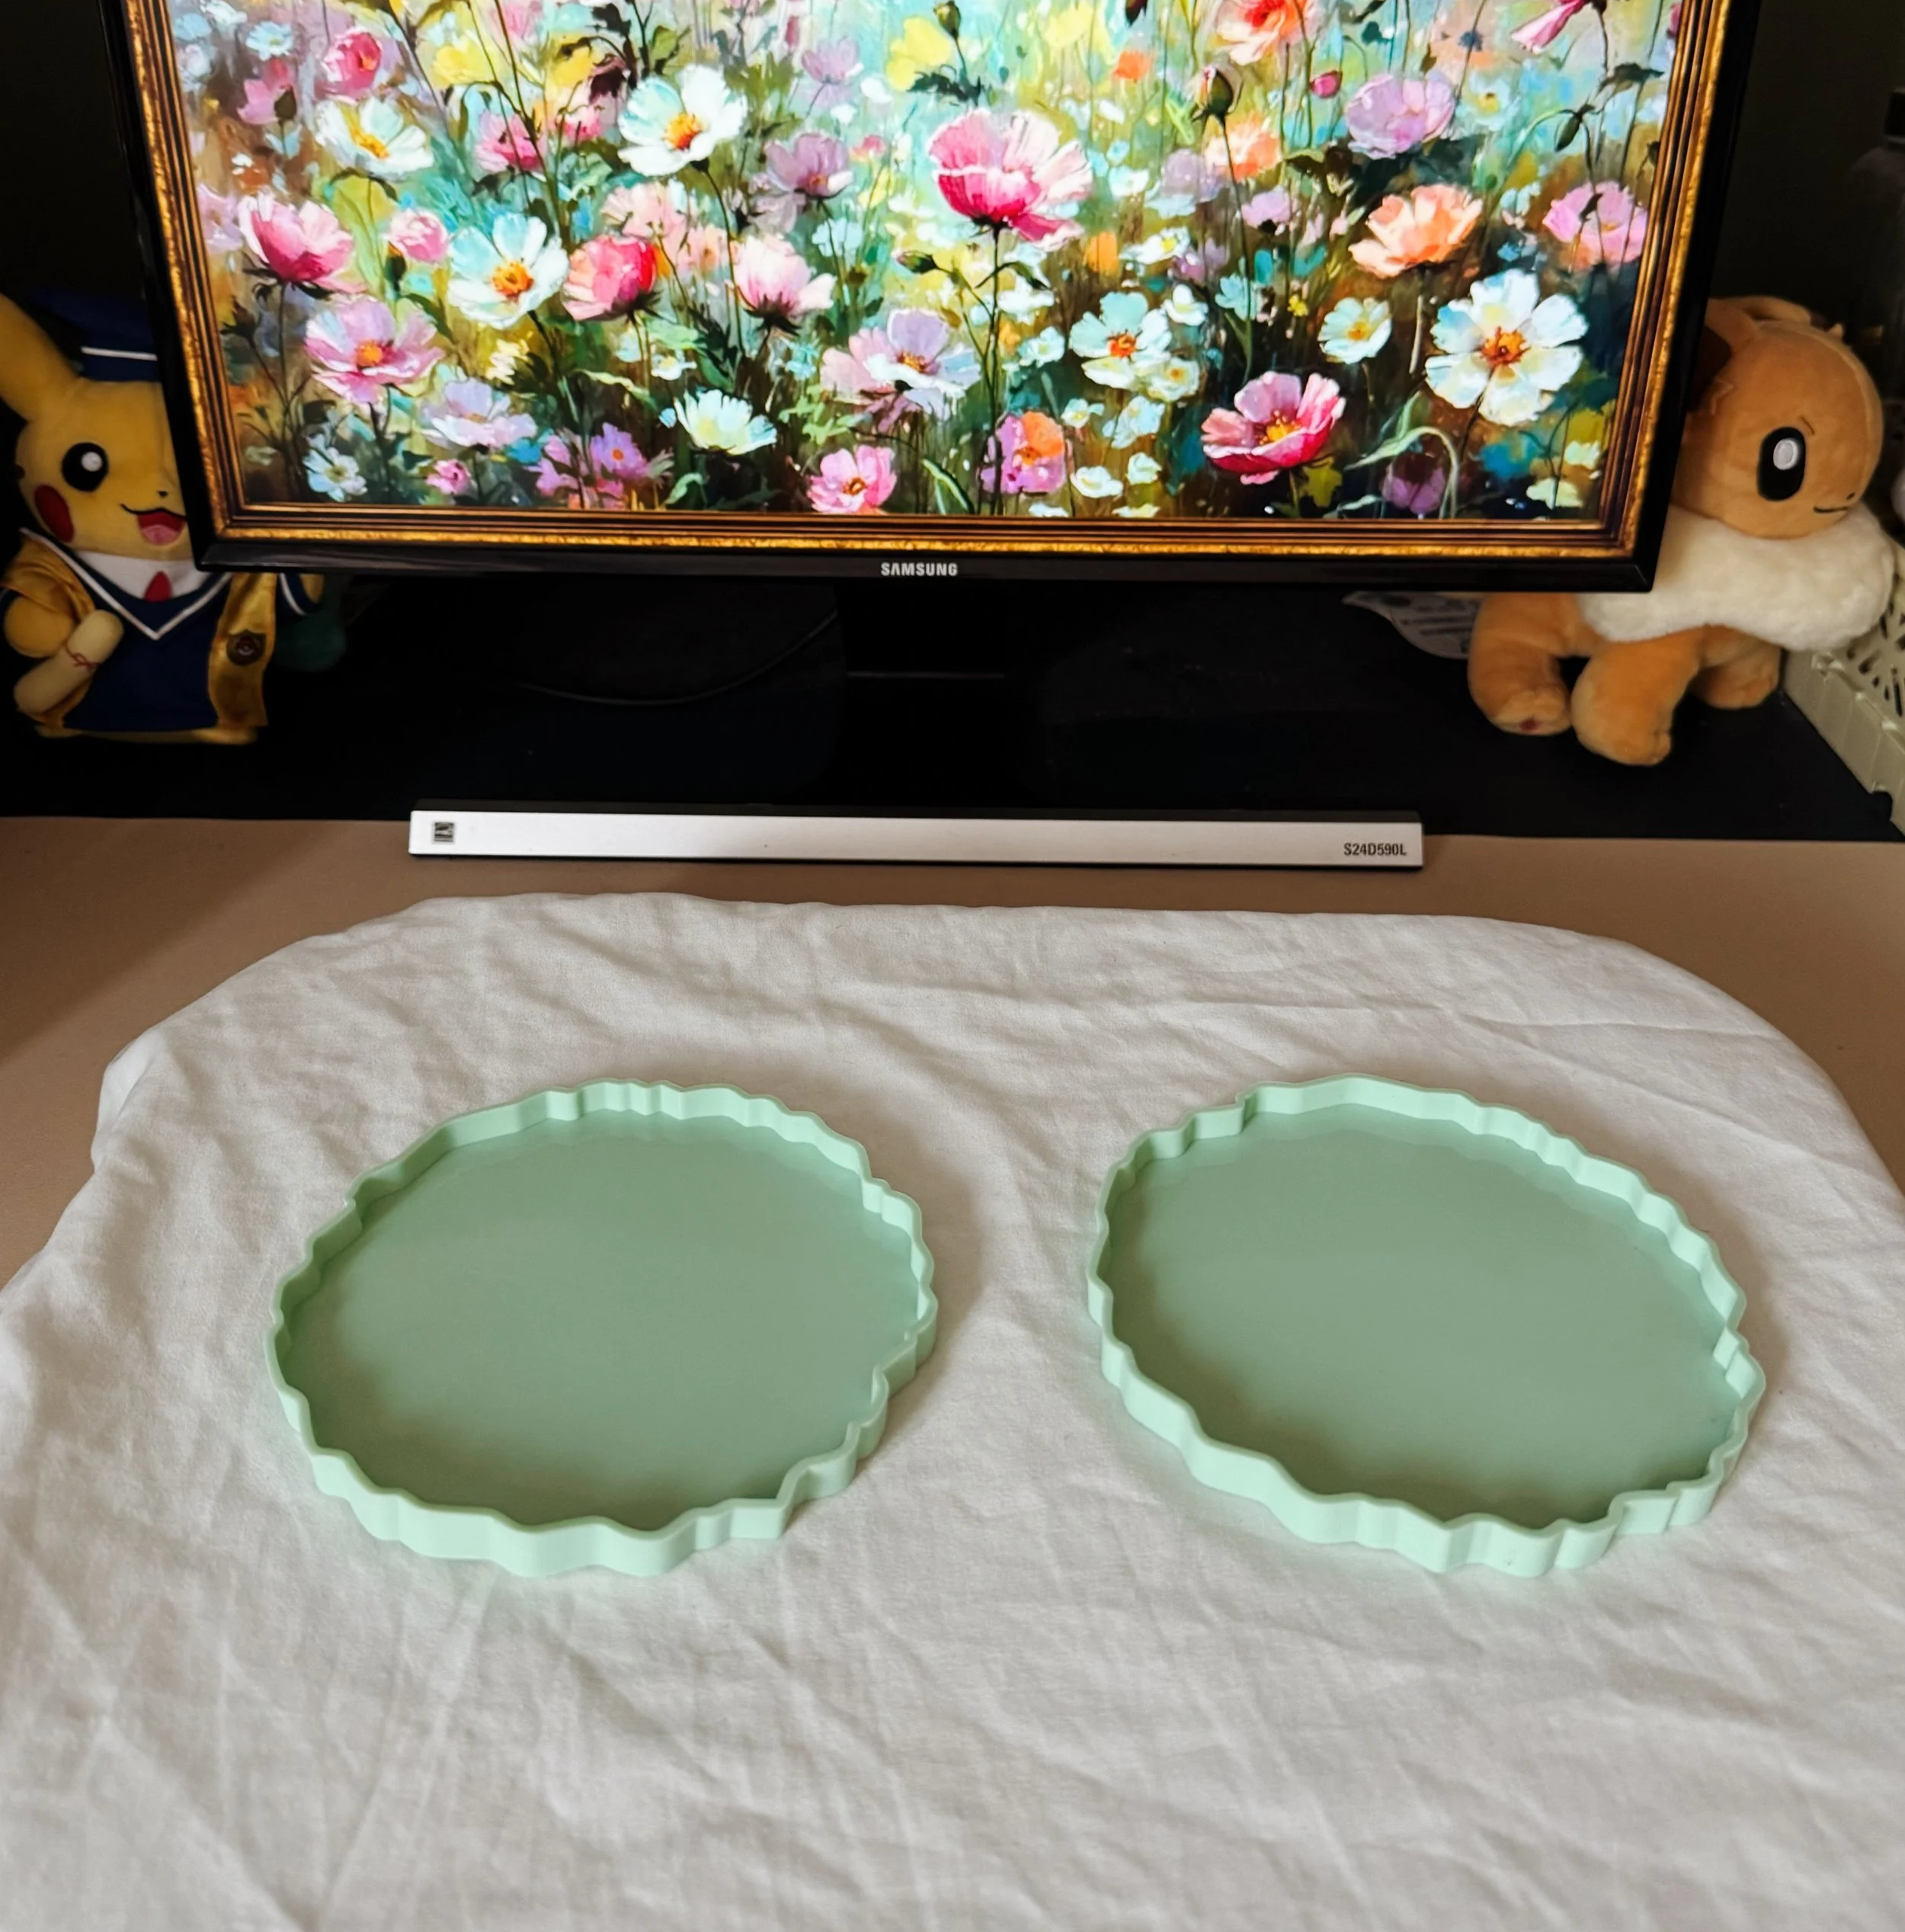
Get out your silicone moulds and make sure that they are clean and dry, without any dust. You may want to give them a quick rinse if they have been in storage for a long time.
When you’re done, set the moulds out on a flat surface, so that the resin will fill them evenly.
3. Measure and Mix the Resin
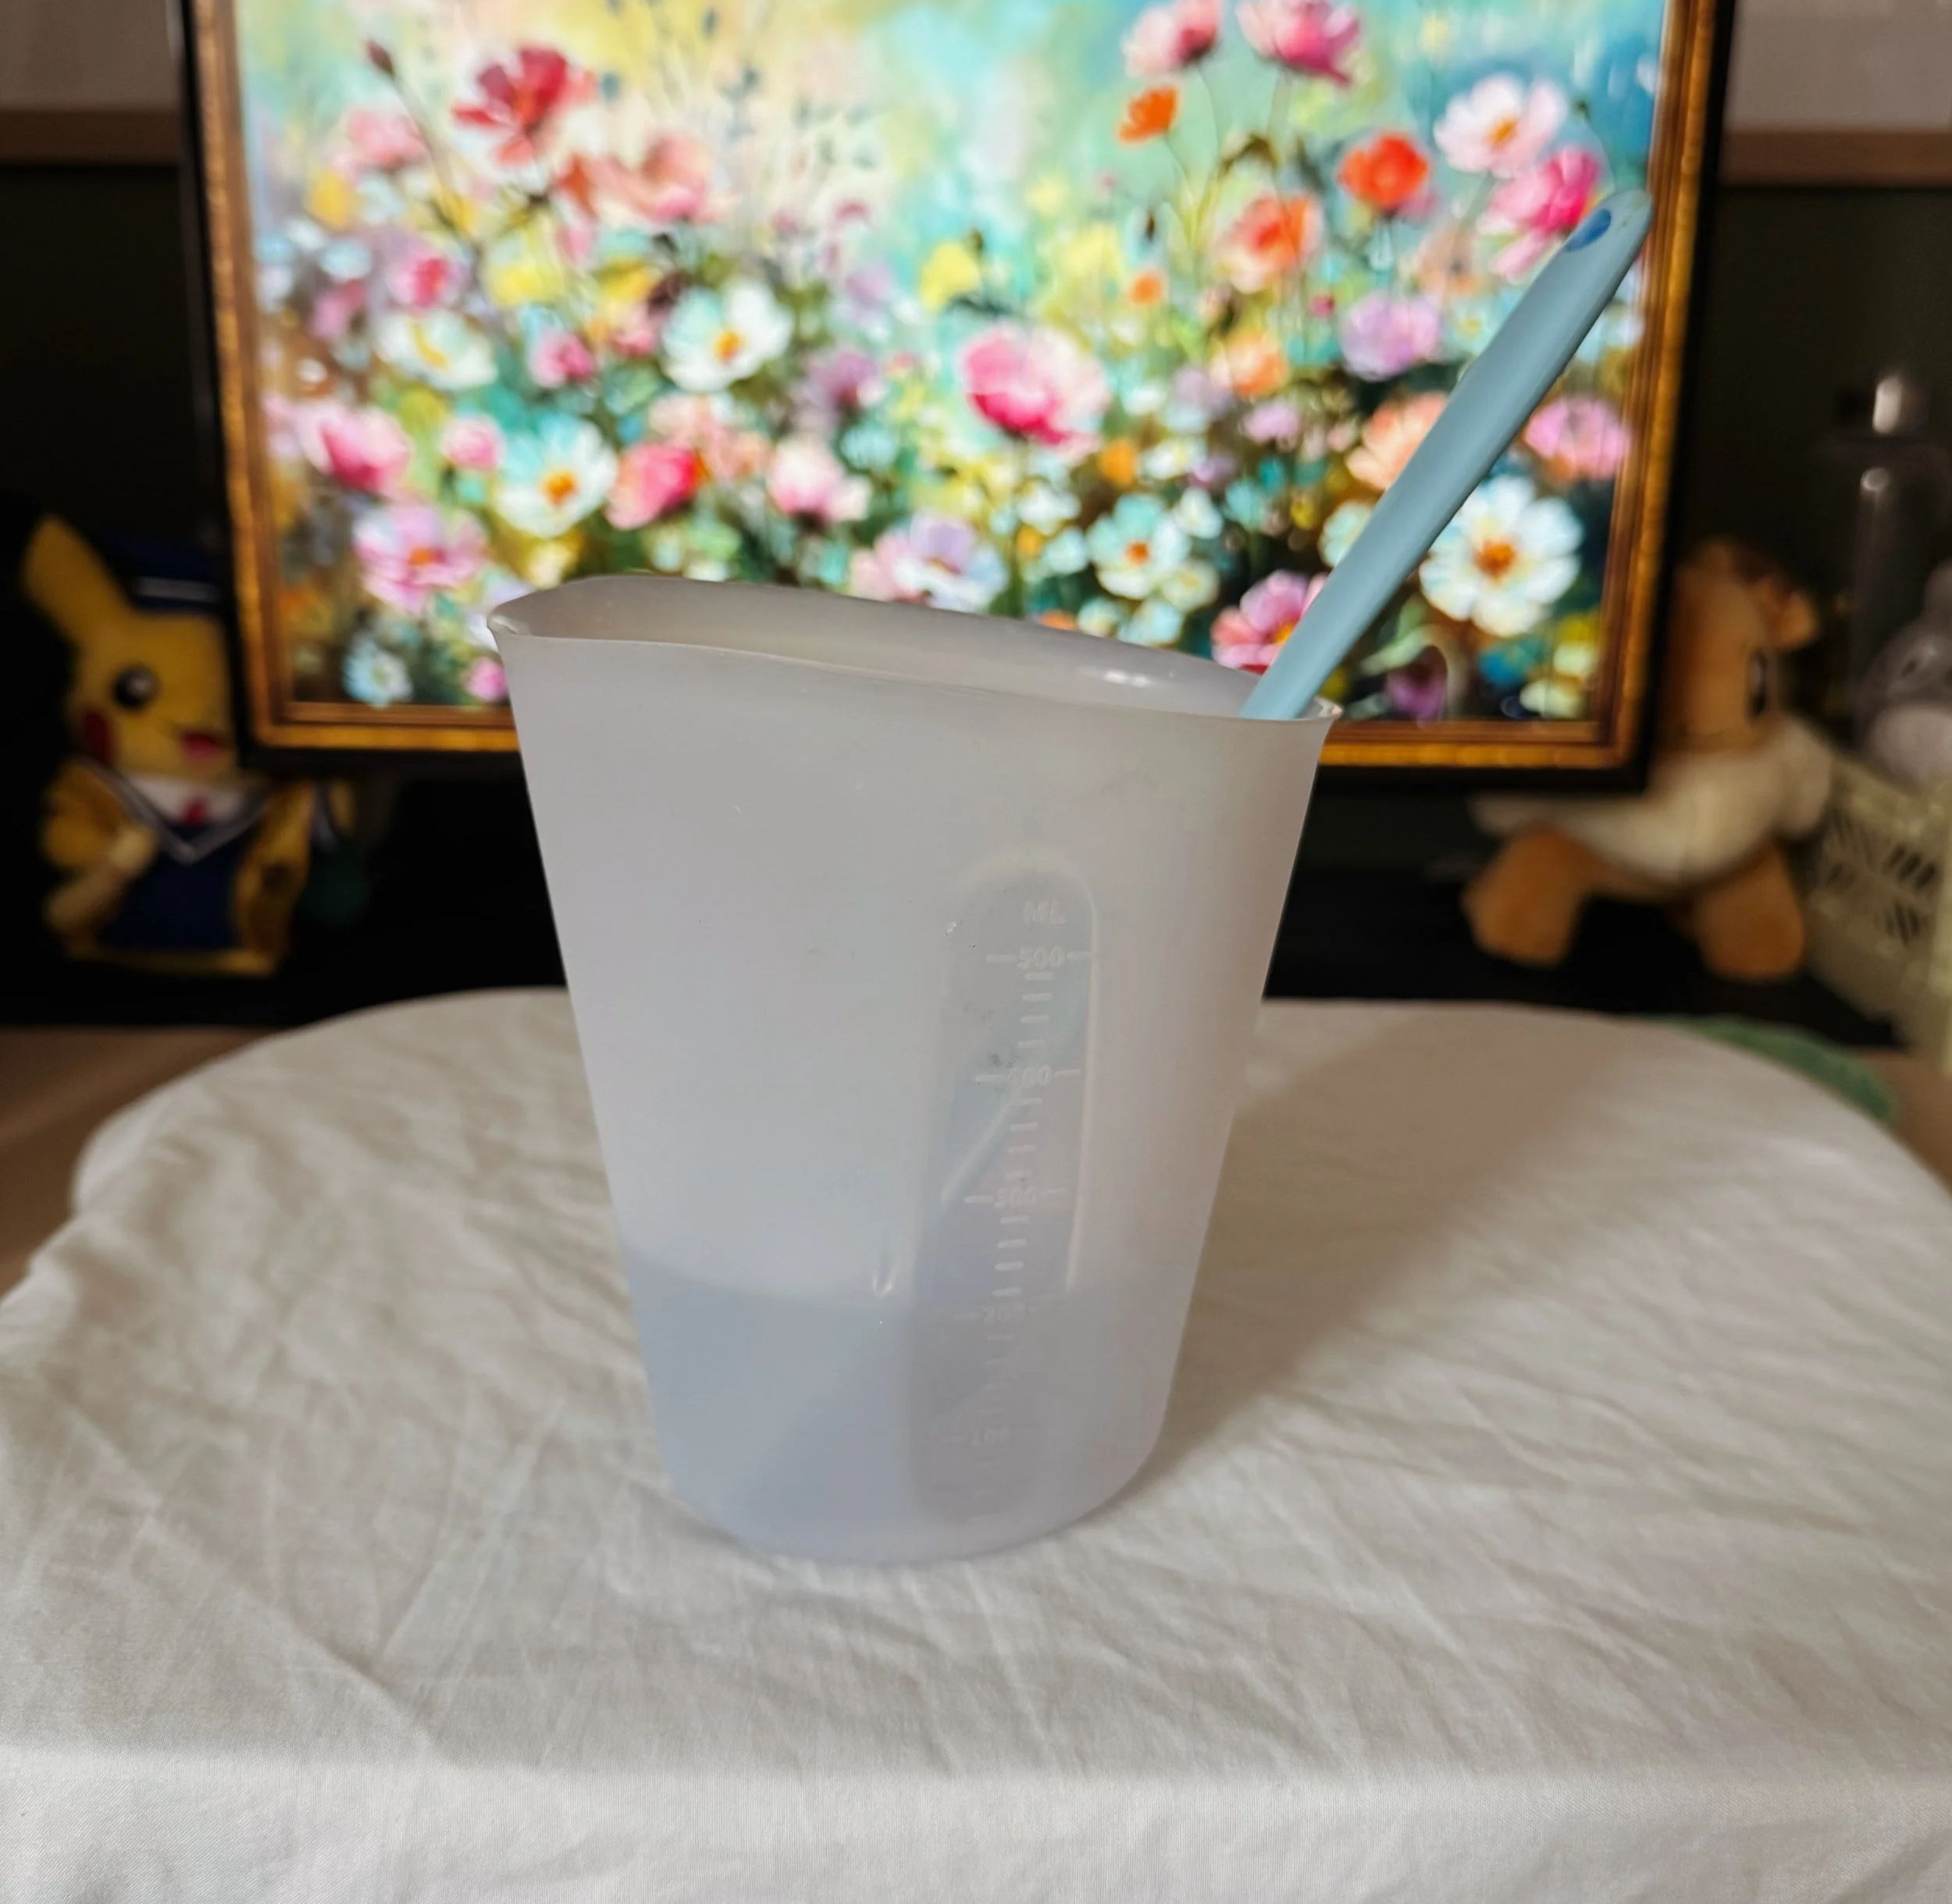
Now that you have everything ready to go, it’s time to measure out and mix the resin. Ensure that you to follow the manufacturer’s guidelines exactly, as incorrect measurements can result in the mixture not curing fully.
I used Mouldd’s epoxy resin, which is created with equal amounts of resin and hardener (part A and part B). Measure them out and mix the two slowly to reduce bubbles and prevent new ones from forming. This resin should be mixed for at least three minutes, until the mixture is clear without streaks.
Make sure you regularly scrape the sides and bottom of the jug to ensure that the whole mixture is properly combined.
4. Add Colour and Decorations
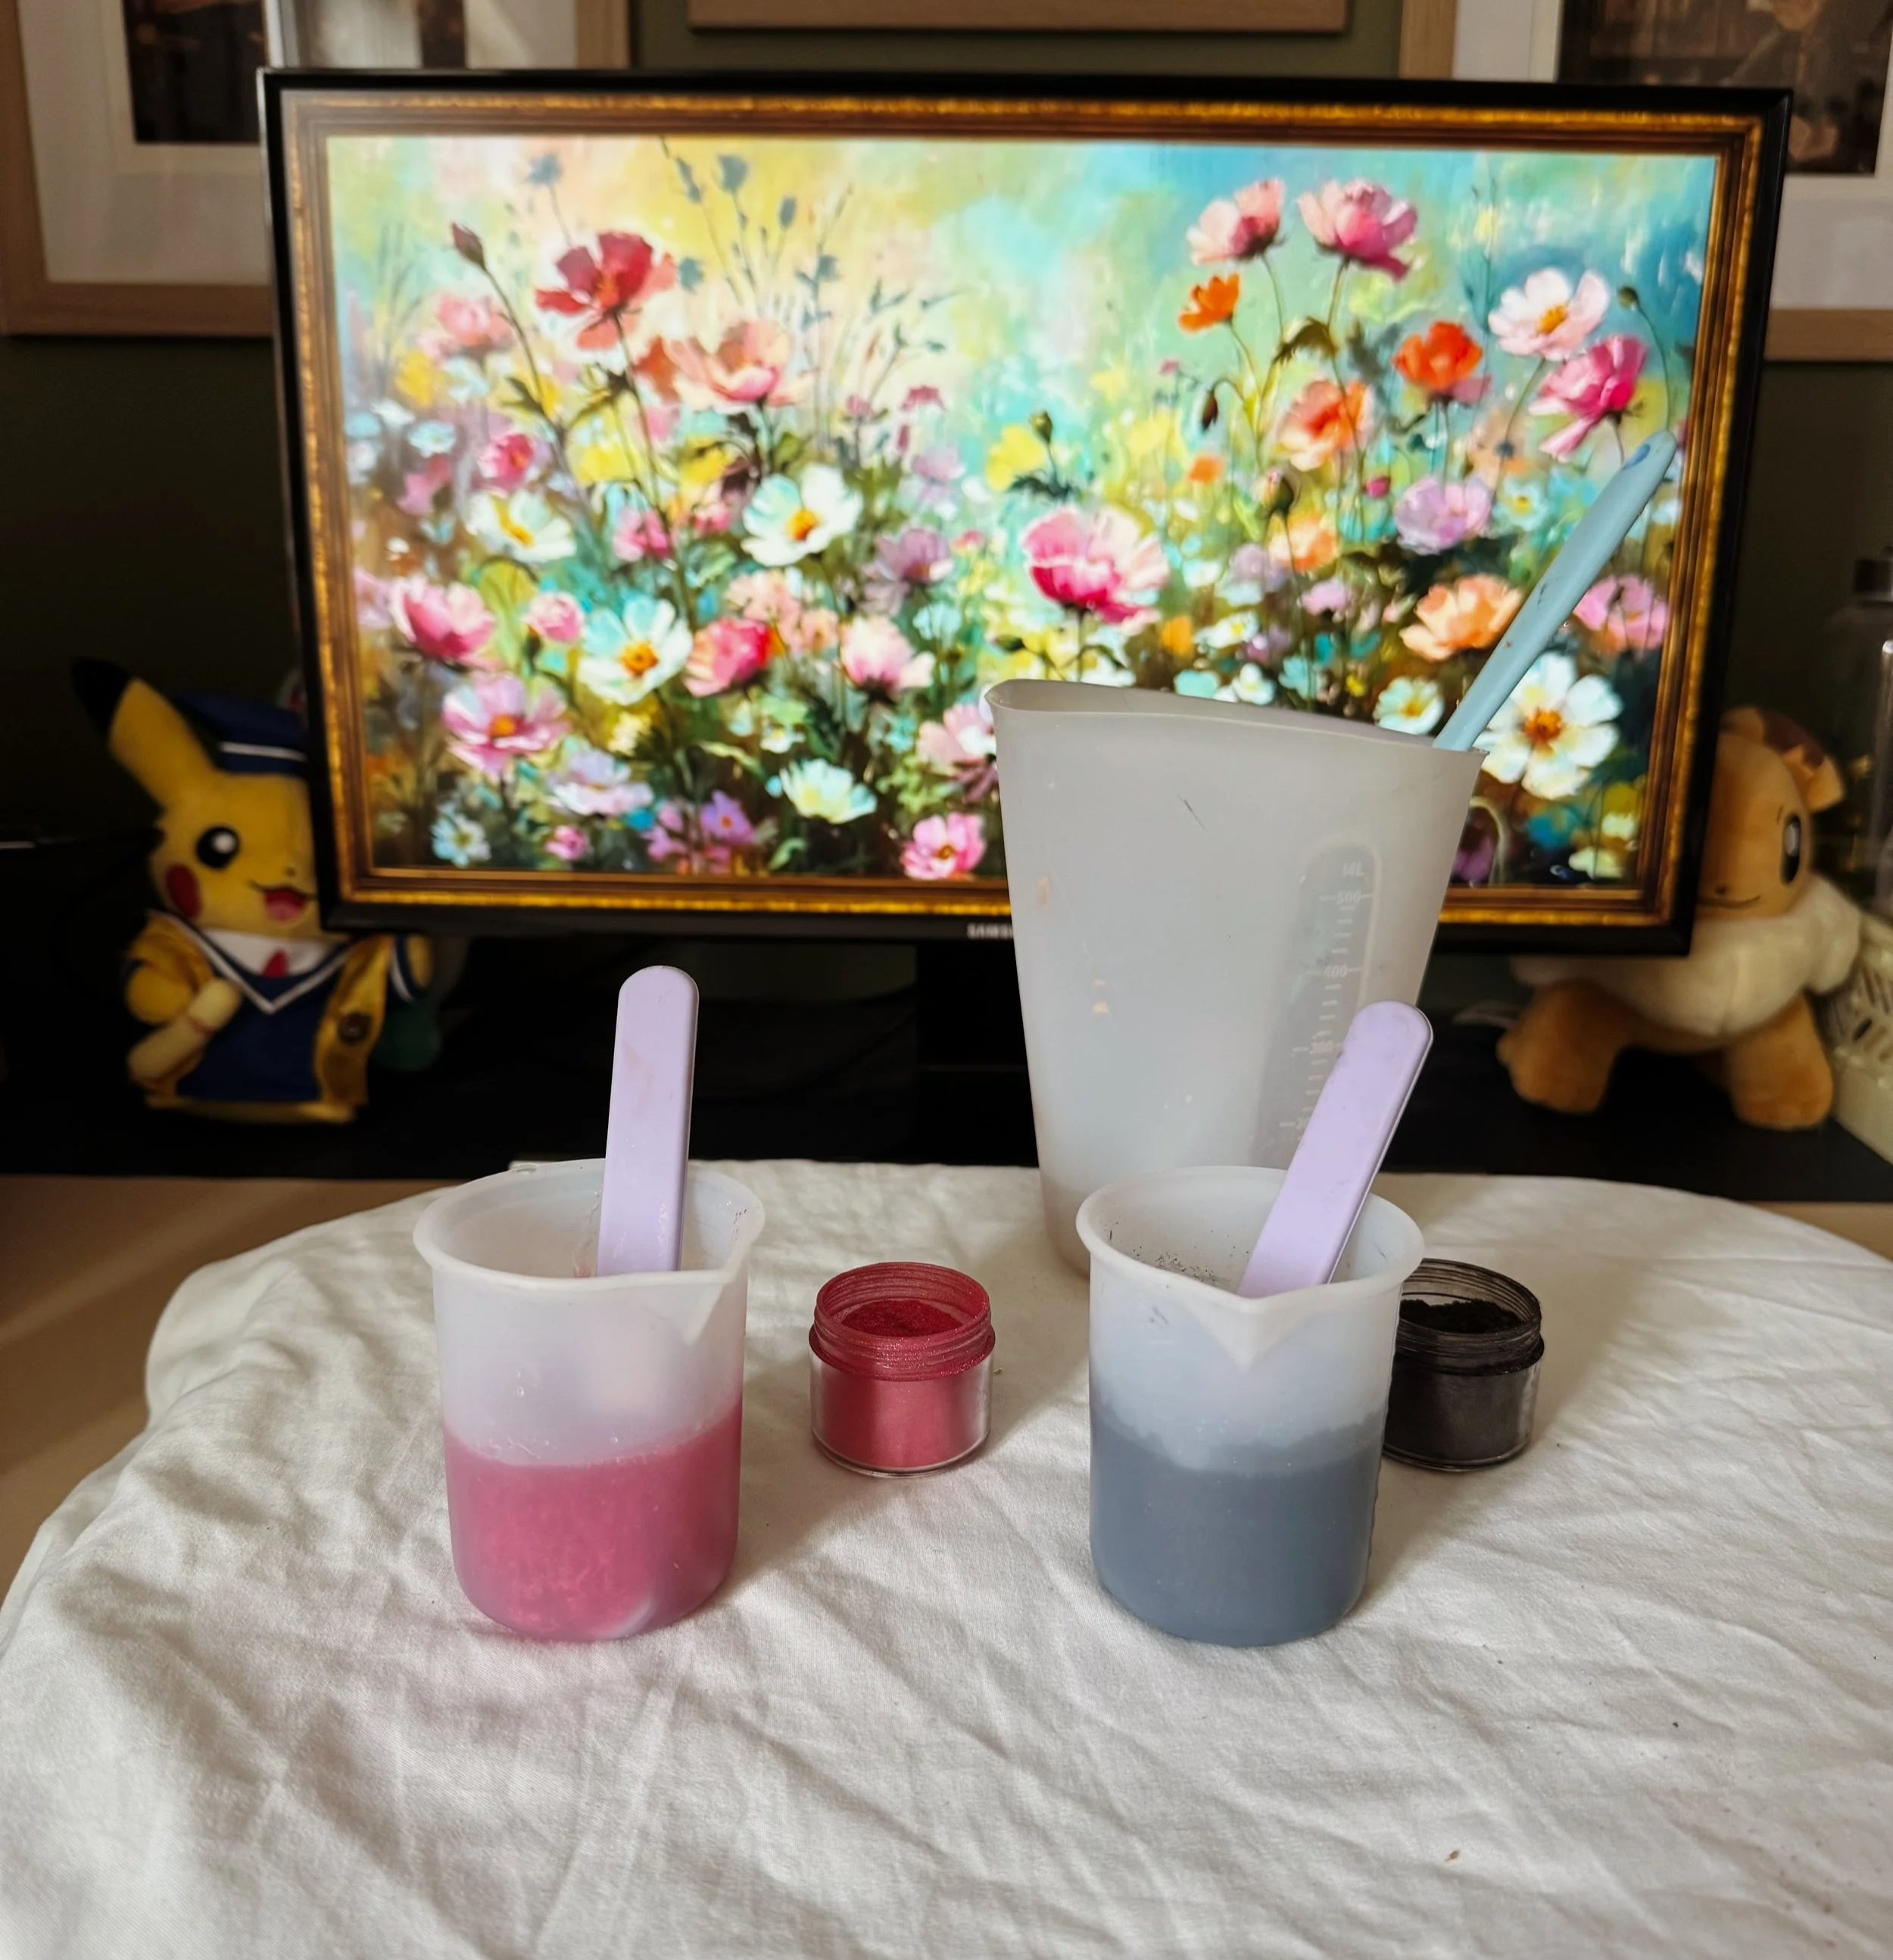
Before you pour the resin, you’ll want to add any of the colours that you want for your design.
For these coasters I split my resin into parts. One of these would remain clear, while the others were coloured with small scoops of mica powder and mixed thoroughly.
I also added gold foil to the clear mixture, although this is optional.
5. Pour the Resin
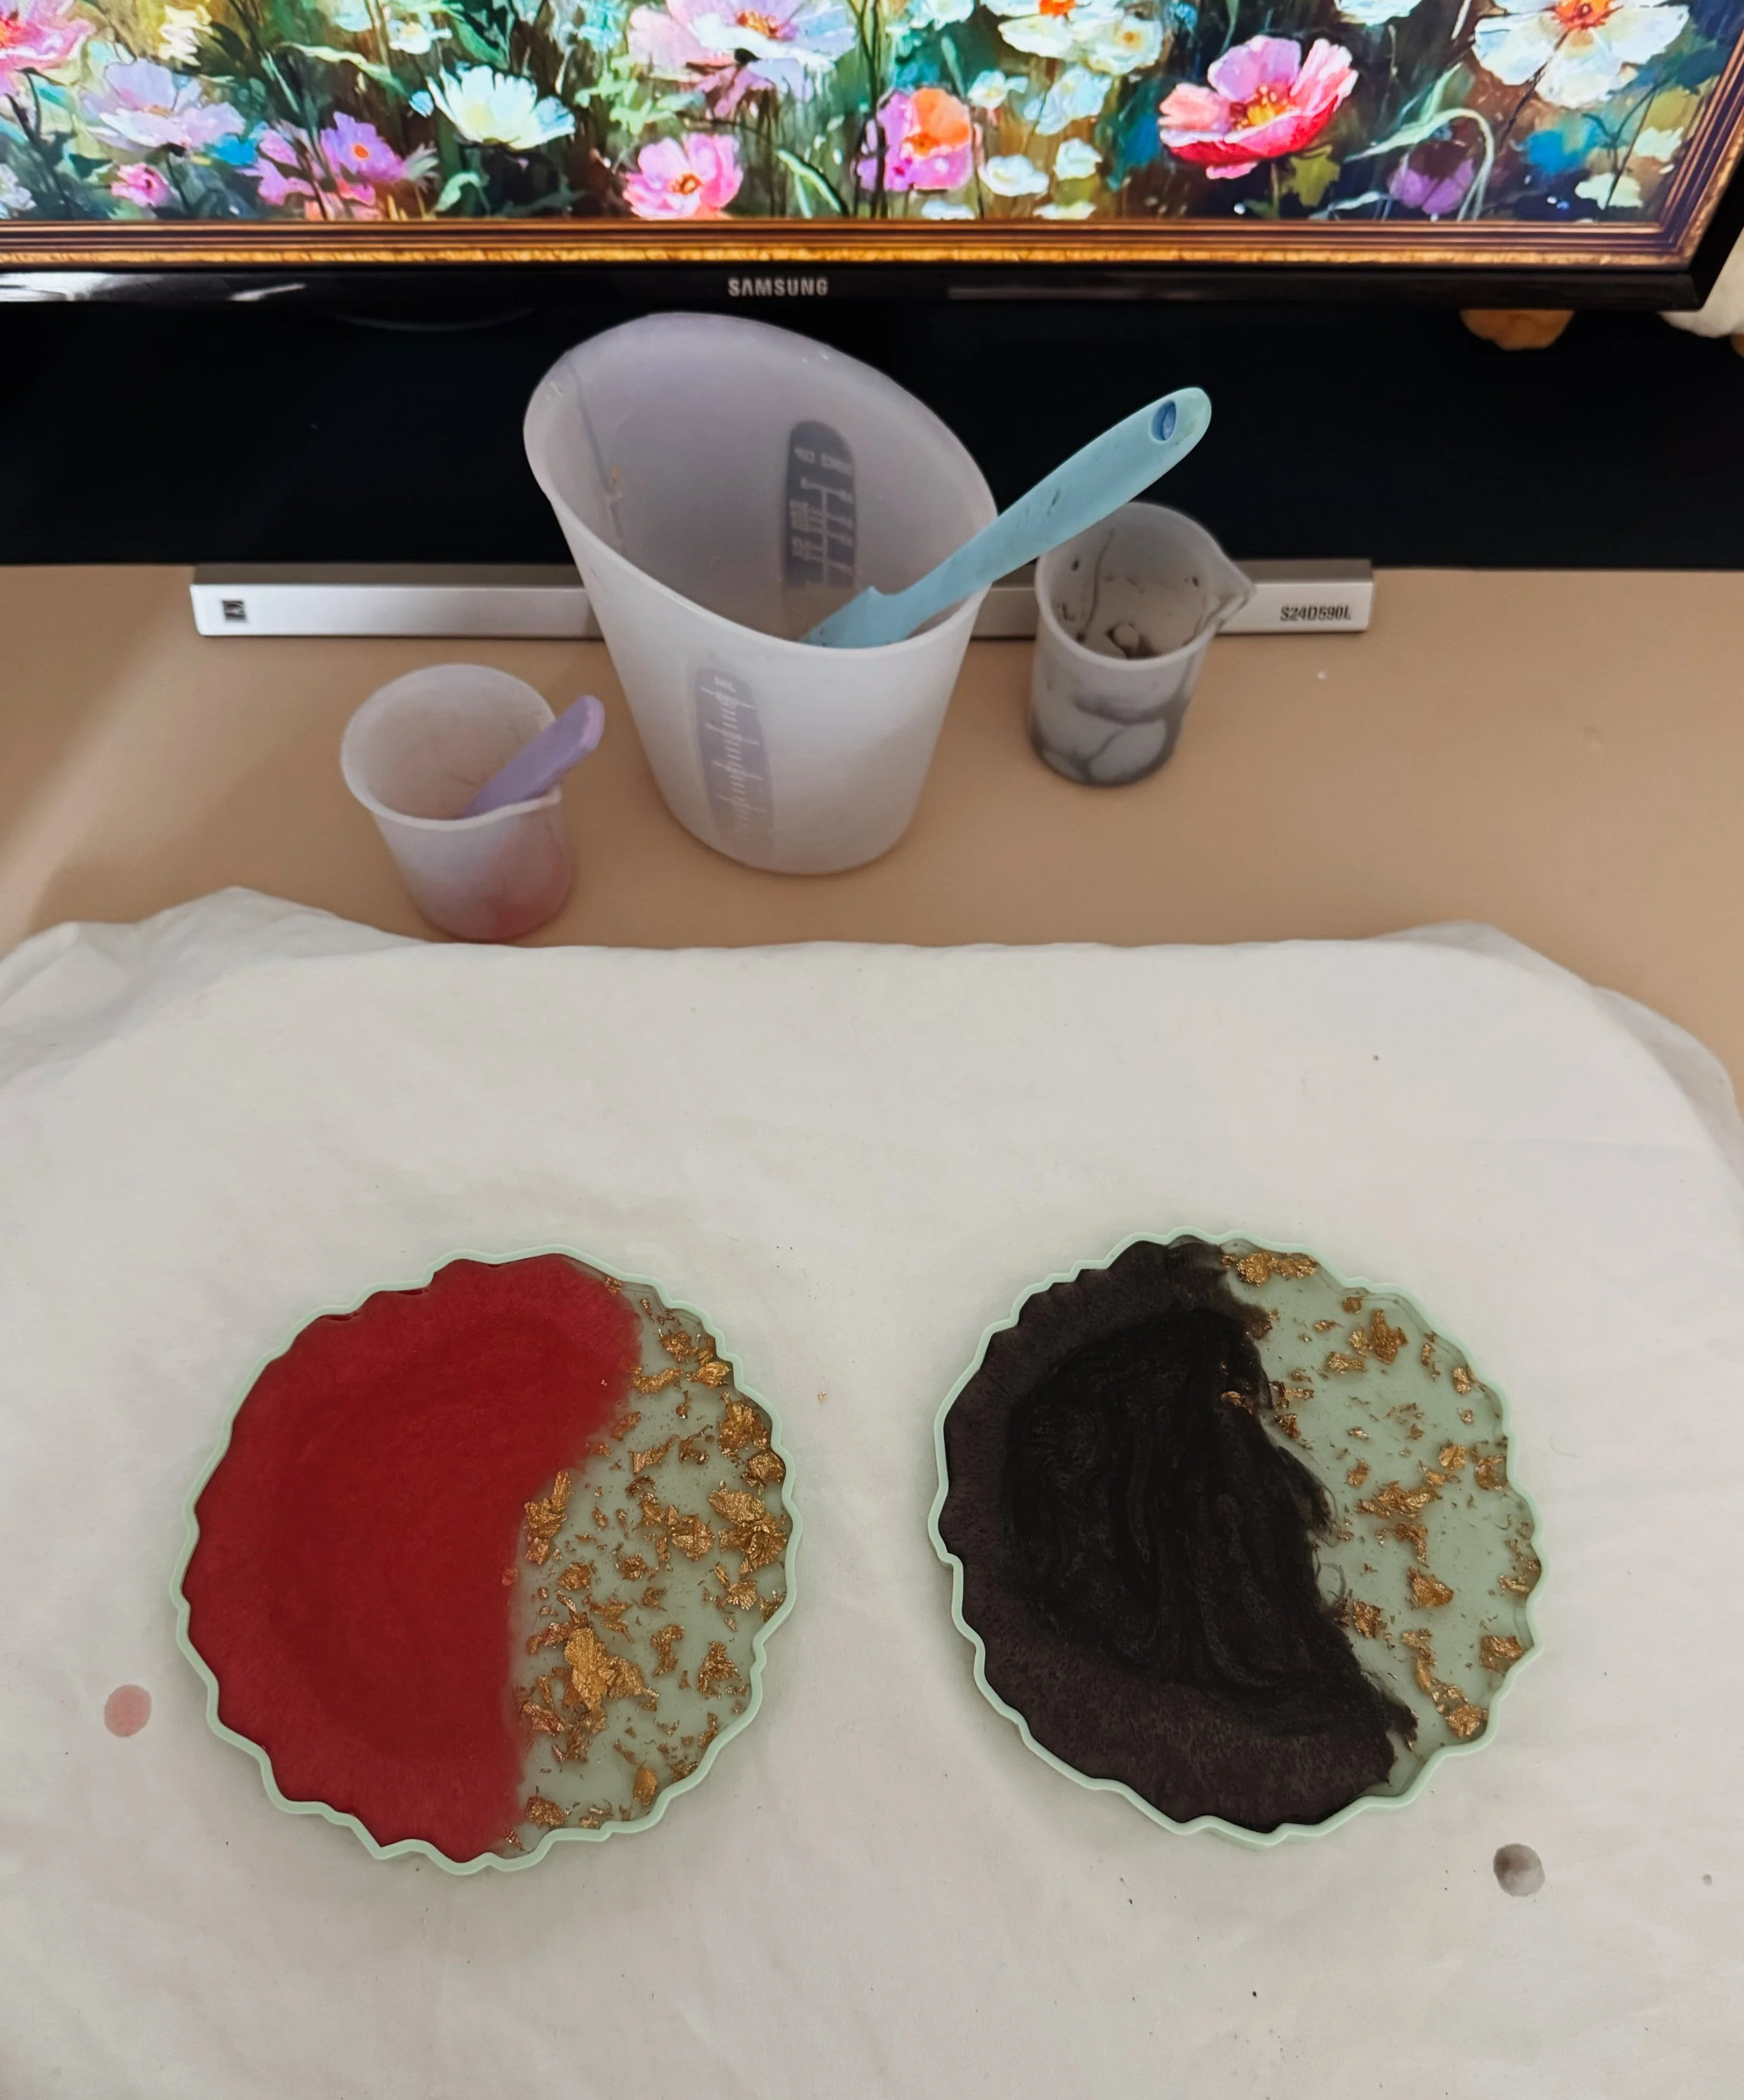
This is the most exciting part! Once the resin has been prepared, it’s time to create the coasters.
Take your resin and pour it slowly into the mould until it’s been filled evenly. There are lots of techniques that you can use at this stage to create different coaster designs. For this one I poured the clear resin and one of the coloured resins at the same time and love the way they have blended together.
6. Remove Air Bubbles
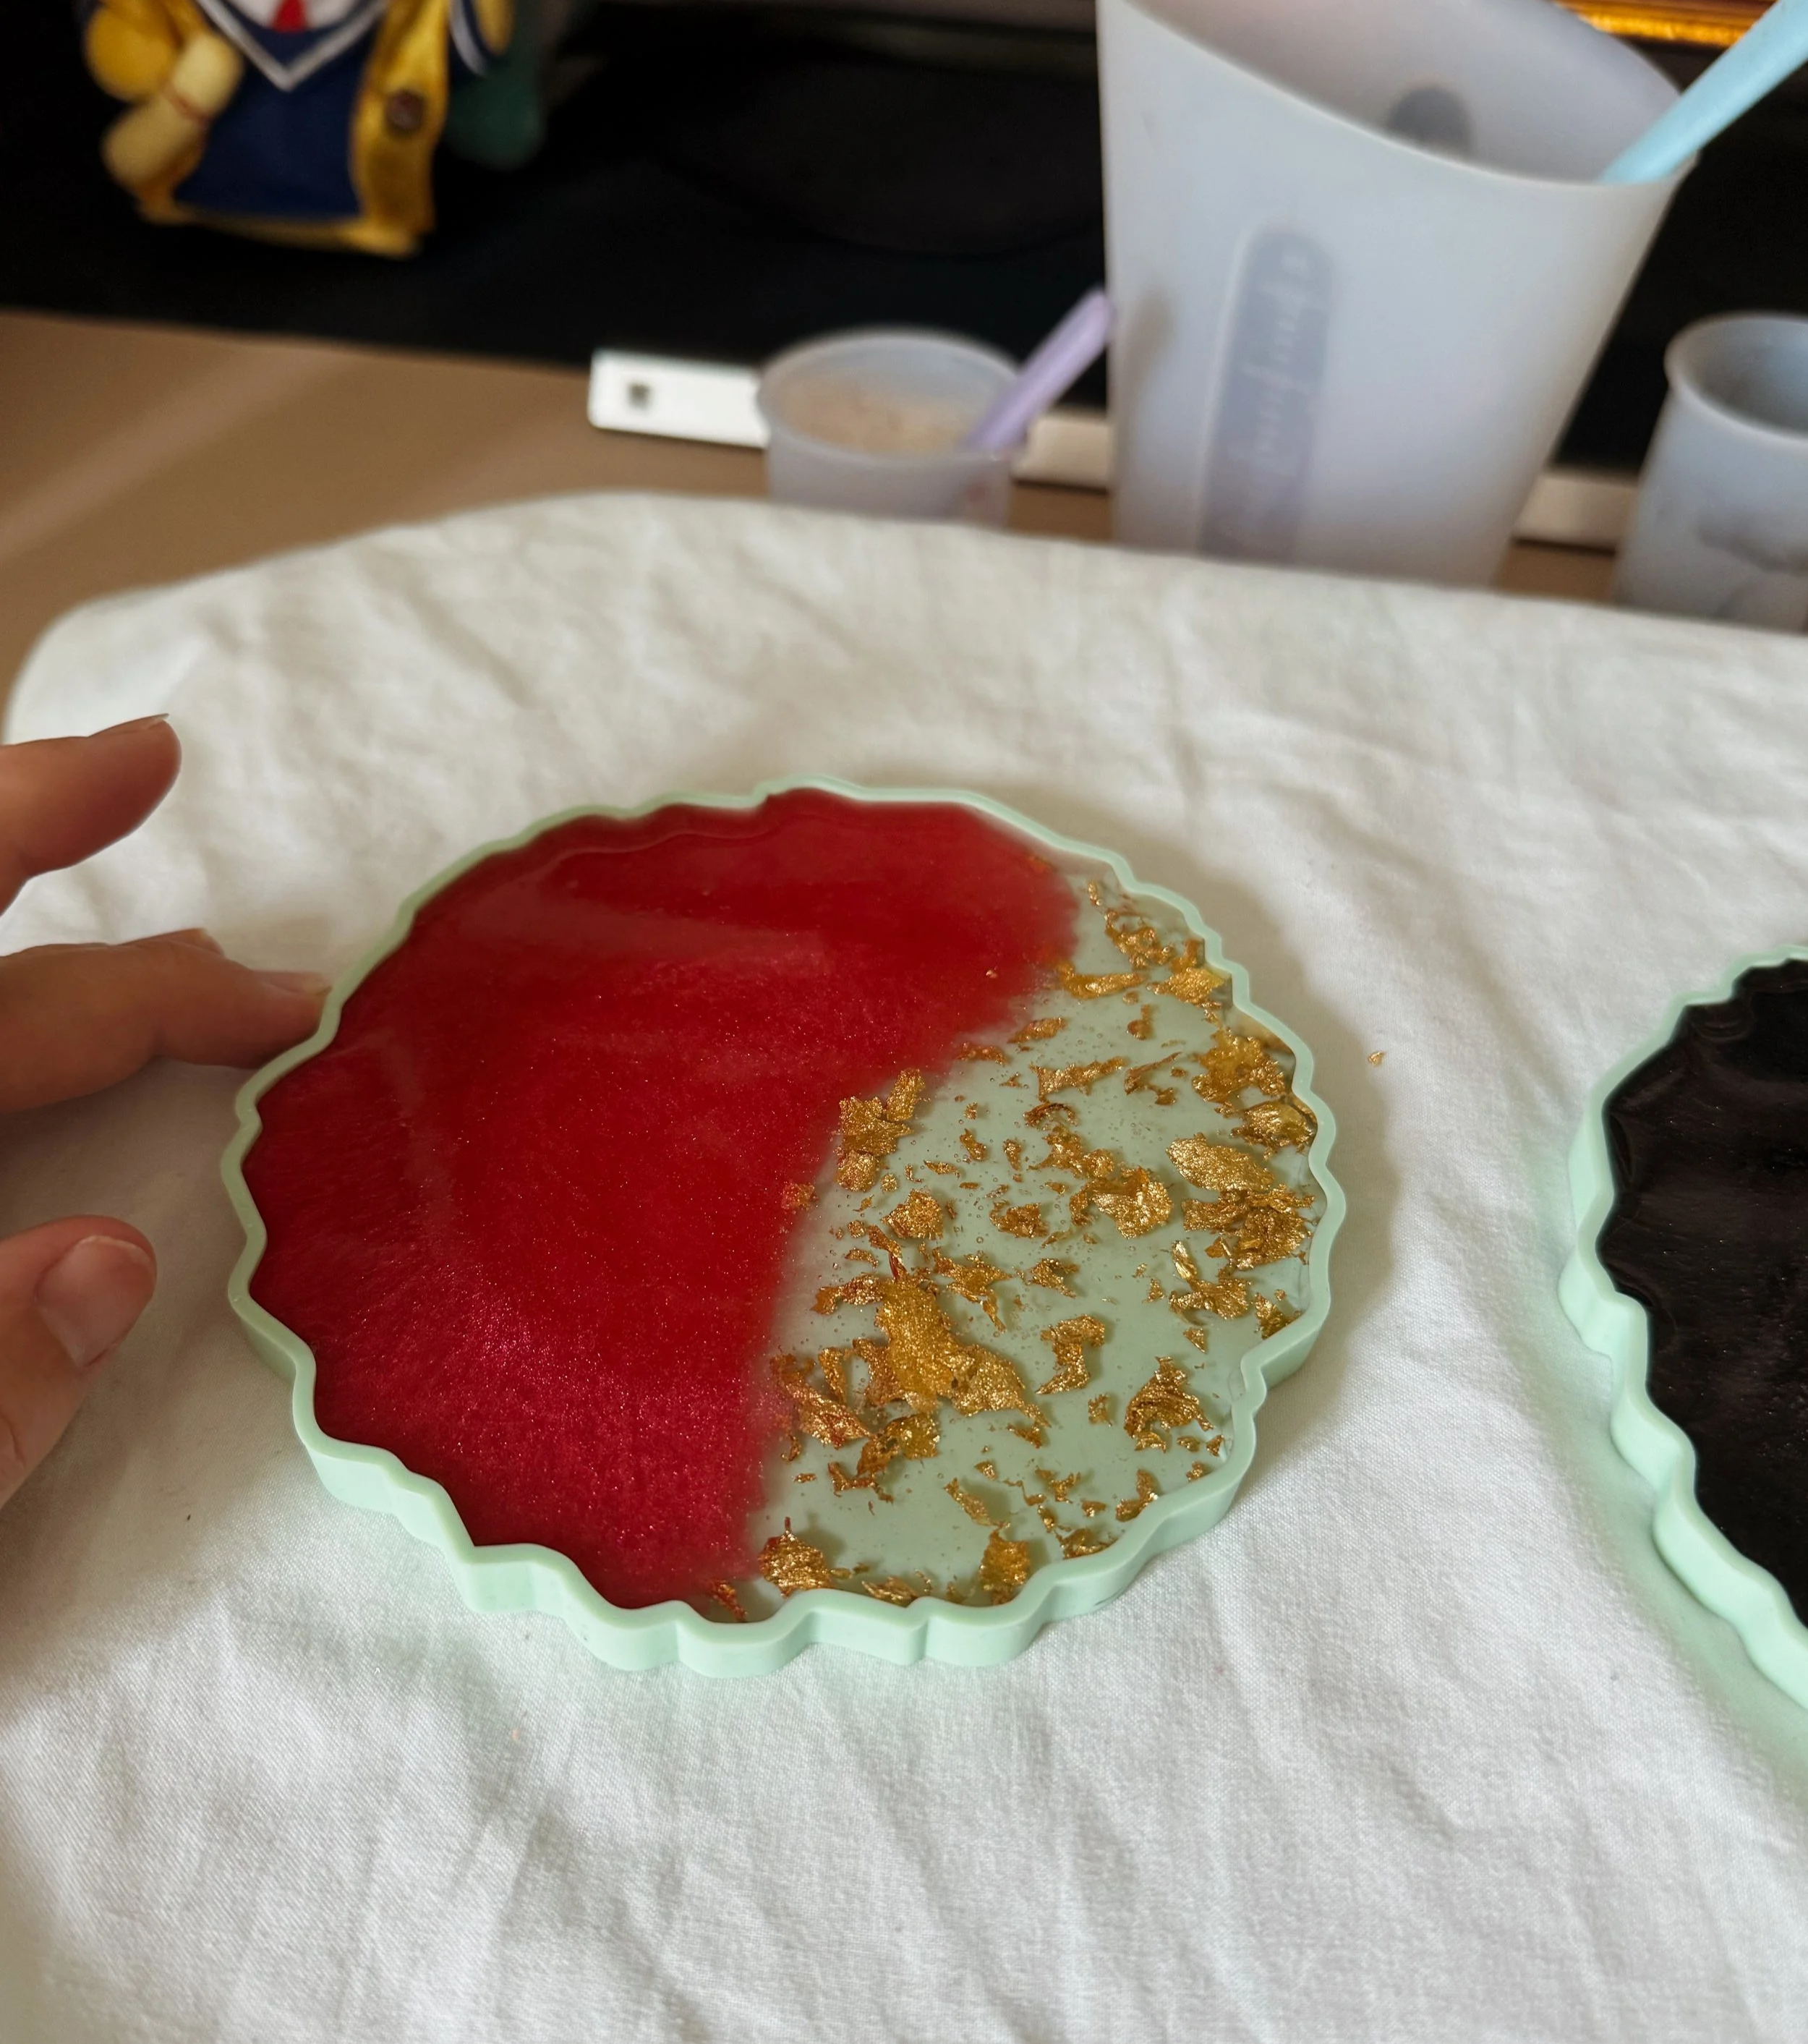
Try not to worry if you can see air bubbles appearing in your mixture. Gently tap the mould to encourage any stuck bubbles to rise to the surface.
Some artists use a heat gun or torch to pop the bubbles, but this is optional, and I didn’t use anything like this for my coasters.
7. Let the Coasters Cure
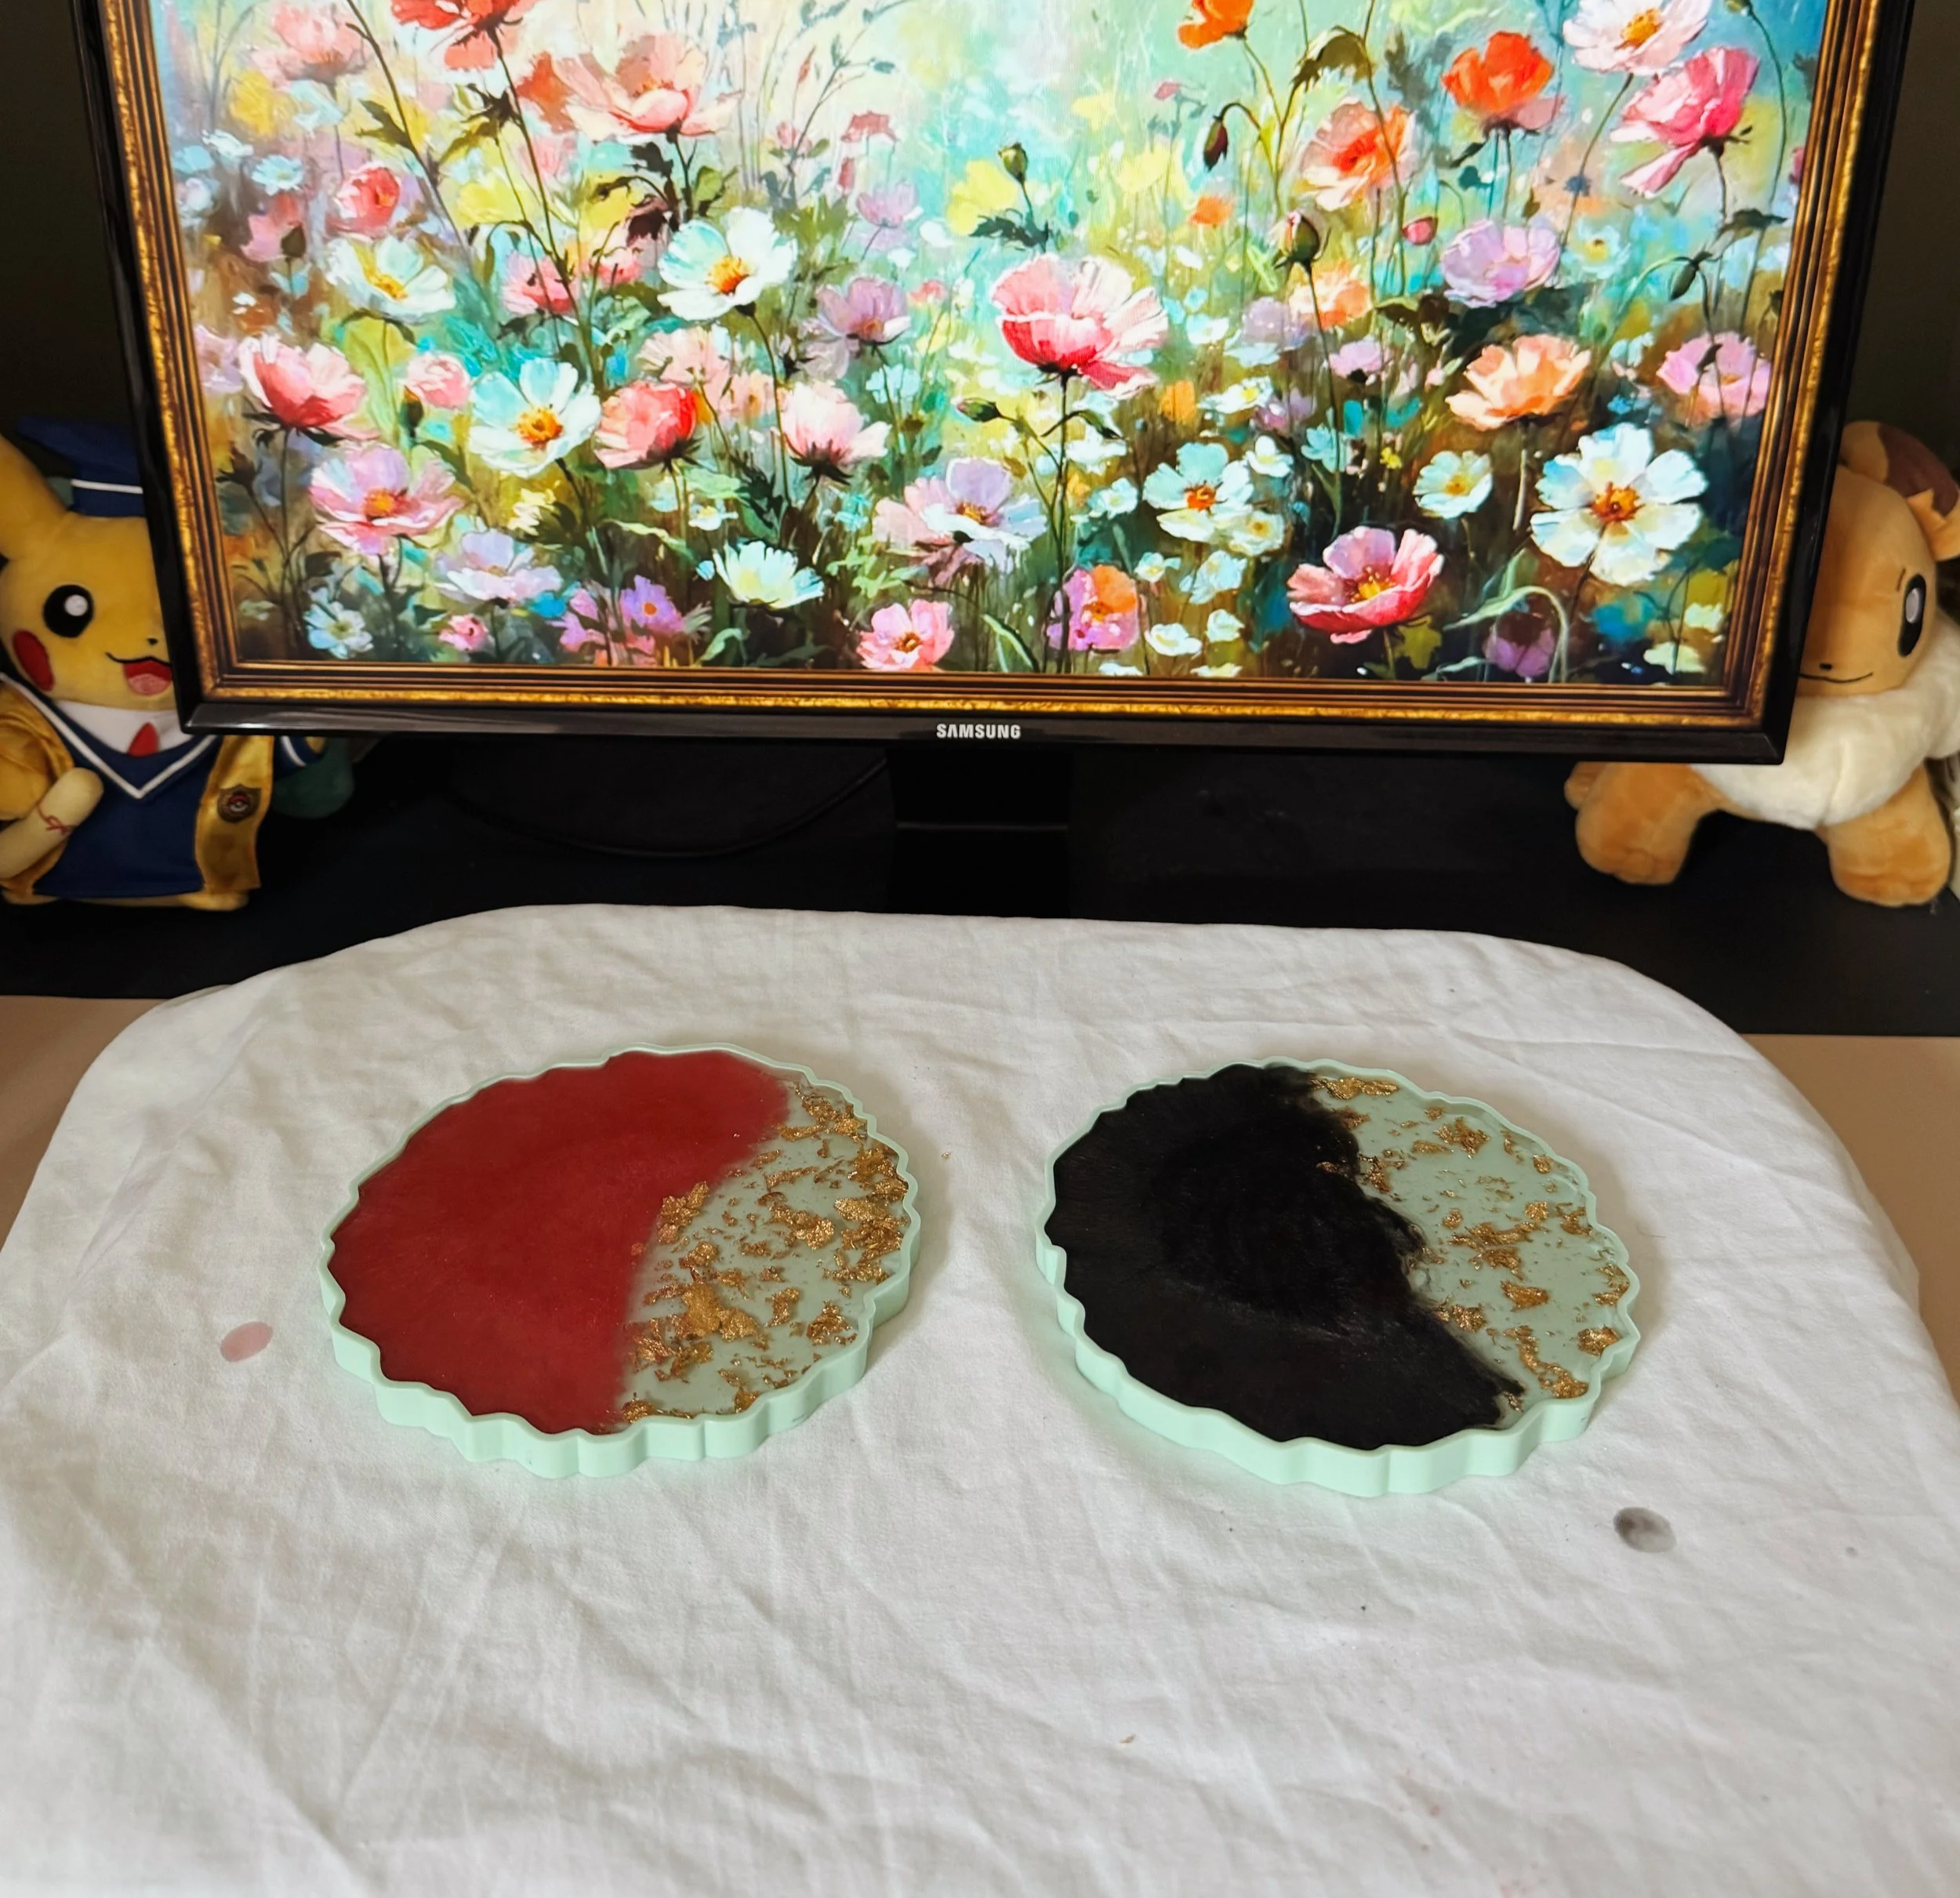
This step requires patience. Leave your coasters in a covered, dry space until they have finished curing. This process is a chemical reaction called polymerisation, which turns the resin liquid into a solid object.
Mouldd’s epoxy resin is ready to demould in 24 hours and fully cured within 72.
8. Demould and Finish Your Coasters
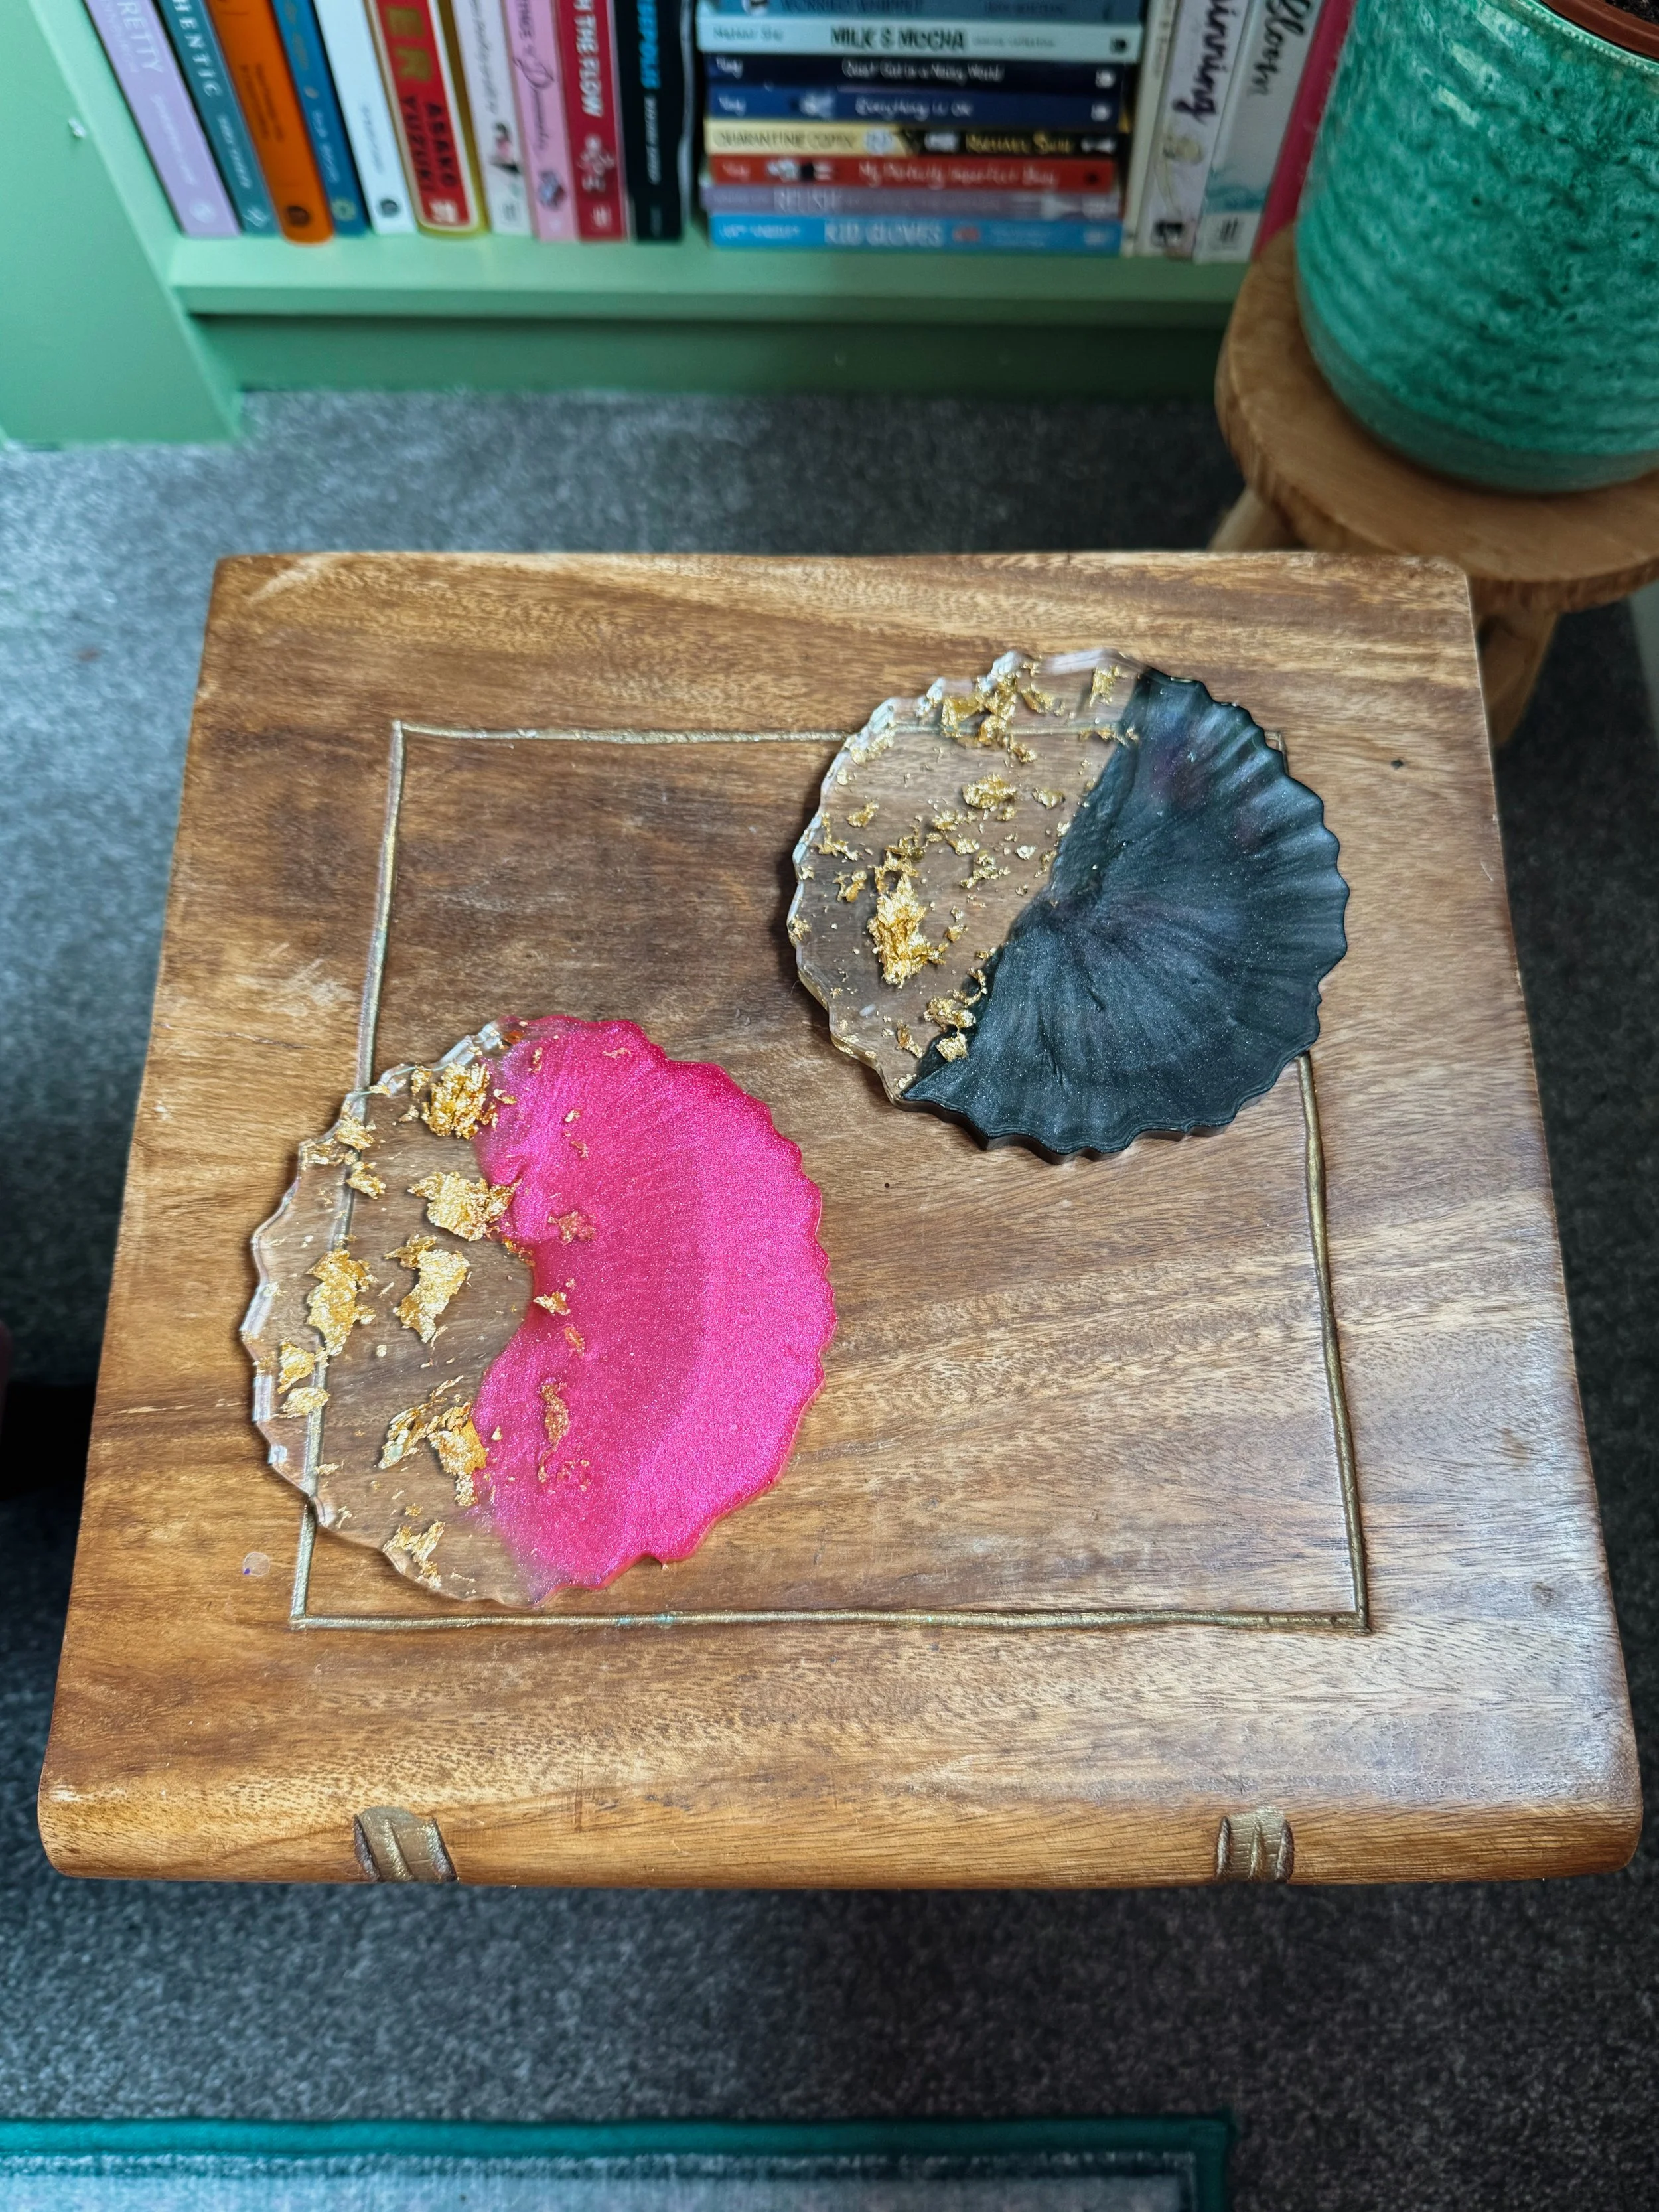
Once the coasters have cured, it’s time to remove them from the silicone moulds!
If you’re using Mouldd resin, the coaster moulds should easily peel away from the resin after 24 hours, and the final pieces should be fully hardened after 72 hours. I found that mine were still a bit flexible when they first came out of the moulds, but had fully hardened after another two days.
How to Make Resin Coasters Without Bubbles
This is one of the most common problems that new resin artists face when crafting with resin. Any bubbles that remain in the mixture while it is curing will remain after it has set, meaning that you may end up with visible bubbles in your designs.
While this is not the end of the world, too many bubbles can ruin the overall effect. I find that they can be particularly visible when pouring clear resin without any glitter or colouring.
To avoid bubbles from forming in the first place, make sure you mix the resin and hardener together slowly. It can be tempting to mix faster so that you can get to pouring more quickly, but the risk is that you can end up whipping air into the mixture.
Make sure to let the resin rest for a few minute after mixing, which allows any trapped air bubbles to disperse naturally. Once you’ve finished pouring, tap gently on the edges of the silicone moulds as this also encourages bubbles to rise to the surface.
As mentioned before, you can also use a heat gun or torch to pop any bubbles that remain in the mixture after pouring.
Common Mistakes When Making Resin Coasters
While resin pouring is generally a simple craft that’s ideal for beginners, there are several easy-to-make mistakes that can result in imperfect finished pieces.
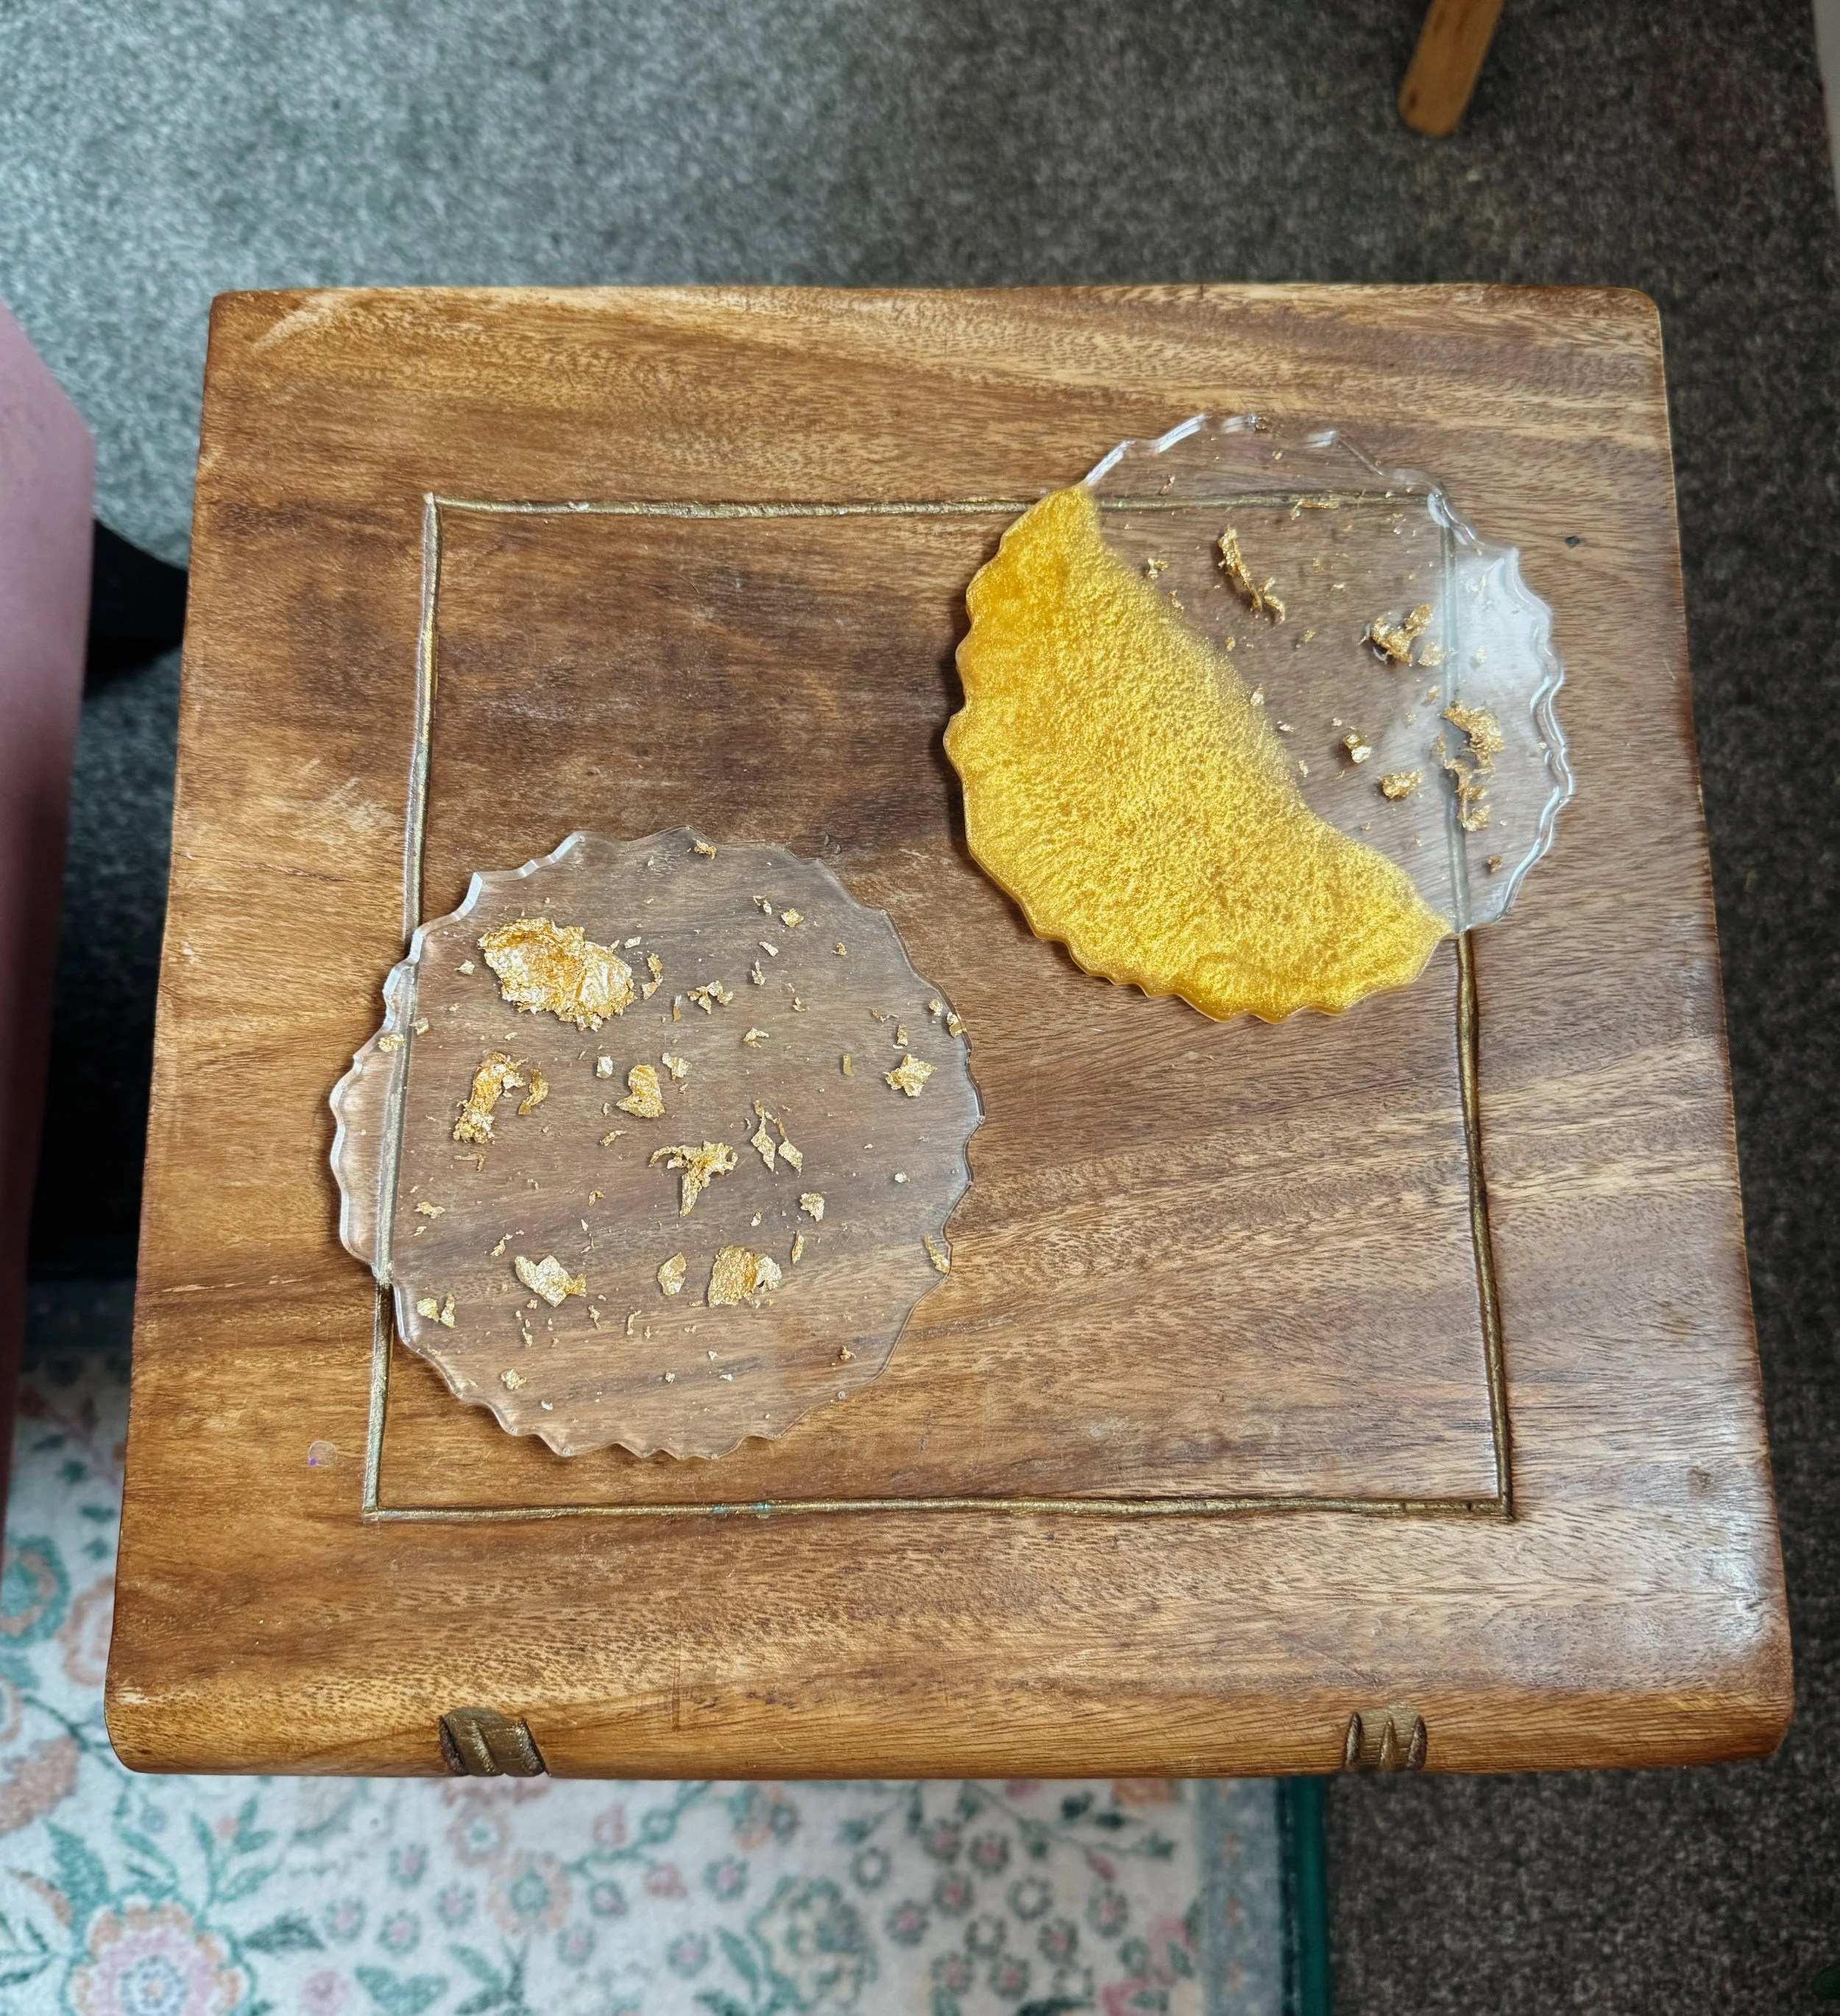
Here are some of the most common mistakes people make when creating resin coasters.
Incorrect resin-to-hardener ratio
Accurately measuring out and combining your resin mixture is an important part of the process. I like Mouldd resin as it requires 50% of part A (resin) and 50% of part B (hardener), so there’s not too much maths involved.
Incomplete mixing
The resin mixture needs to be mixed thoroughly and slowly, until there are no more streaks and it looks clear. Incomplete mixing can cause the finished resin to look cloudy or streaky, and can even prevent it from curing fully.
Pouring too quickly
This can cause air to get trapped in the resin, causing bubbles
Demoulding before the resin has fully cured
I know it’s tempting, but don’t do it! Make sure you wait at least 24 hours before removing the moulds from your resin coasters. Demoulding too early can result in coasters that lose their shape and don’t fully harden, with soft spots and stickiness.
Frequently Asked Questions
Can beginners make resin coasters?
Absolutely! Coasters are the perfect first project for anyone wanting to create resin art.
What resin is best for making coasters?
Epoxy resin is easily the best type of resin for making coasters. Not only does it cure waterproof and heat resistant, but its also extremely durable.
How long do resin coasters take to cure?
Epoxy resin coasters take between 24 and 72 hours to fully cure. I found that they were able to be demoulded after the first 24 hours, but were still flexible and not fully hardened before 72 hours.
How do you prevent bubbles in resin coasters?
The best way to prevent bubbles is by mixing the resin thoroughly and slowly. You can also tap the resin mould after pouring to encourage any bubbles to rise to the surface.
Some artists use a heat gun or resin torch for removing bubbles from their pieces, but this is optional.
How much resin do I need to make four coasters?
The amount of resin you need will depend on the size of the mould. The ones I used are from Mouldd and require 90ml of resin per coaster.
Can you put hot drinks on resin coasters?
Yes you can - the epoxy resin I used here is heat resistant, as long as it has fully cured.
Can you use dried flowers in resin coasters?
You absolutely can use dried flowers in resin coasters. Mouldd sell a kit for this which explains the entire step-by-step process here.
Do resin coasters need a sealant?
Epoxy resin coasters do not need a sealant, and are fully waterproof and protected once sealed.
Why are my resin coasters sticky?
If your resin coasters are sticky, it may be that they haven’t had enough time to cure. Leave the coasters for 72 hours to ensure that they have fully cured. If they are still sticky after this, it may be that the resin wasn’t prepared correctly.
For example, the coasters may remain sticky if parts A or B were measured incorrectly, or if it wasn’t mixed for an adequate amount of time.
Why did my resin coaster turn cloudy?
If your coasters have turned cloudy, then it’s likely the resin either wasn’t mixed properly, or was tool cold prior to mixing.
Final Tips for Making Resin Coasters
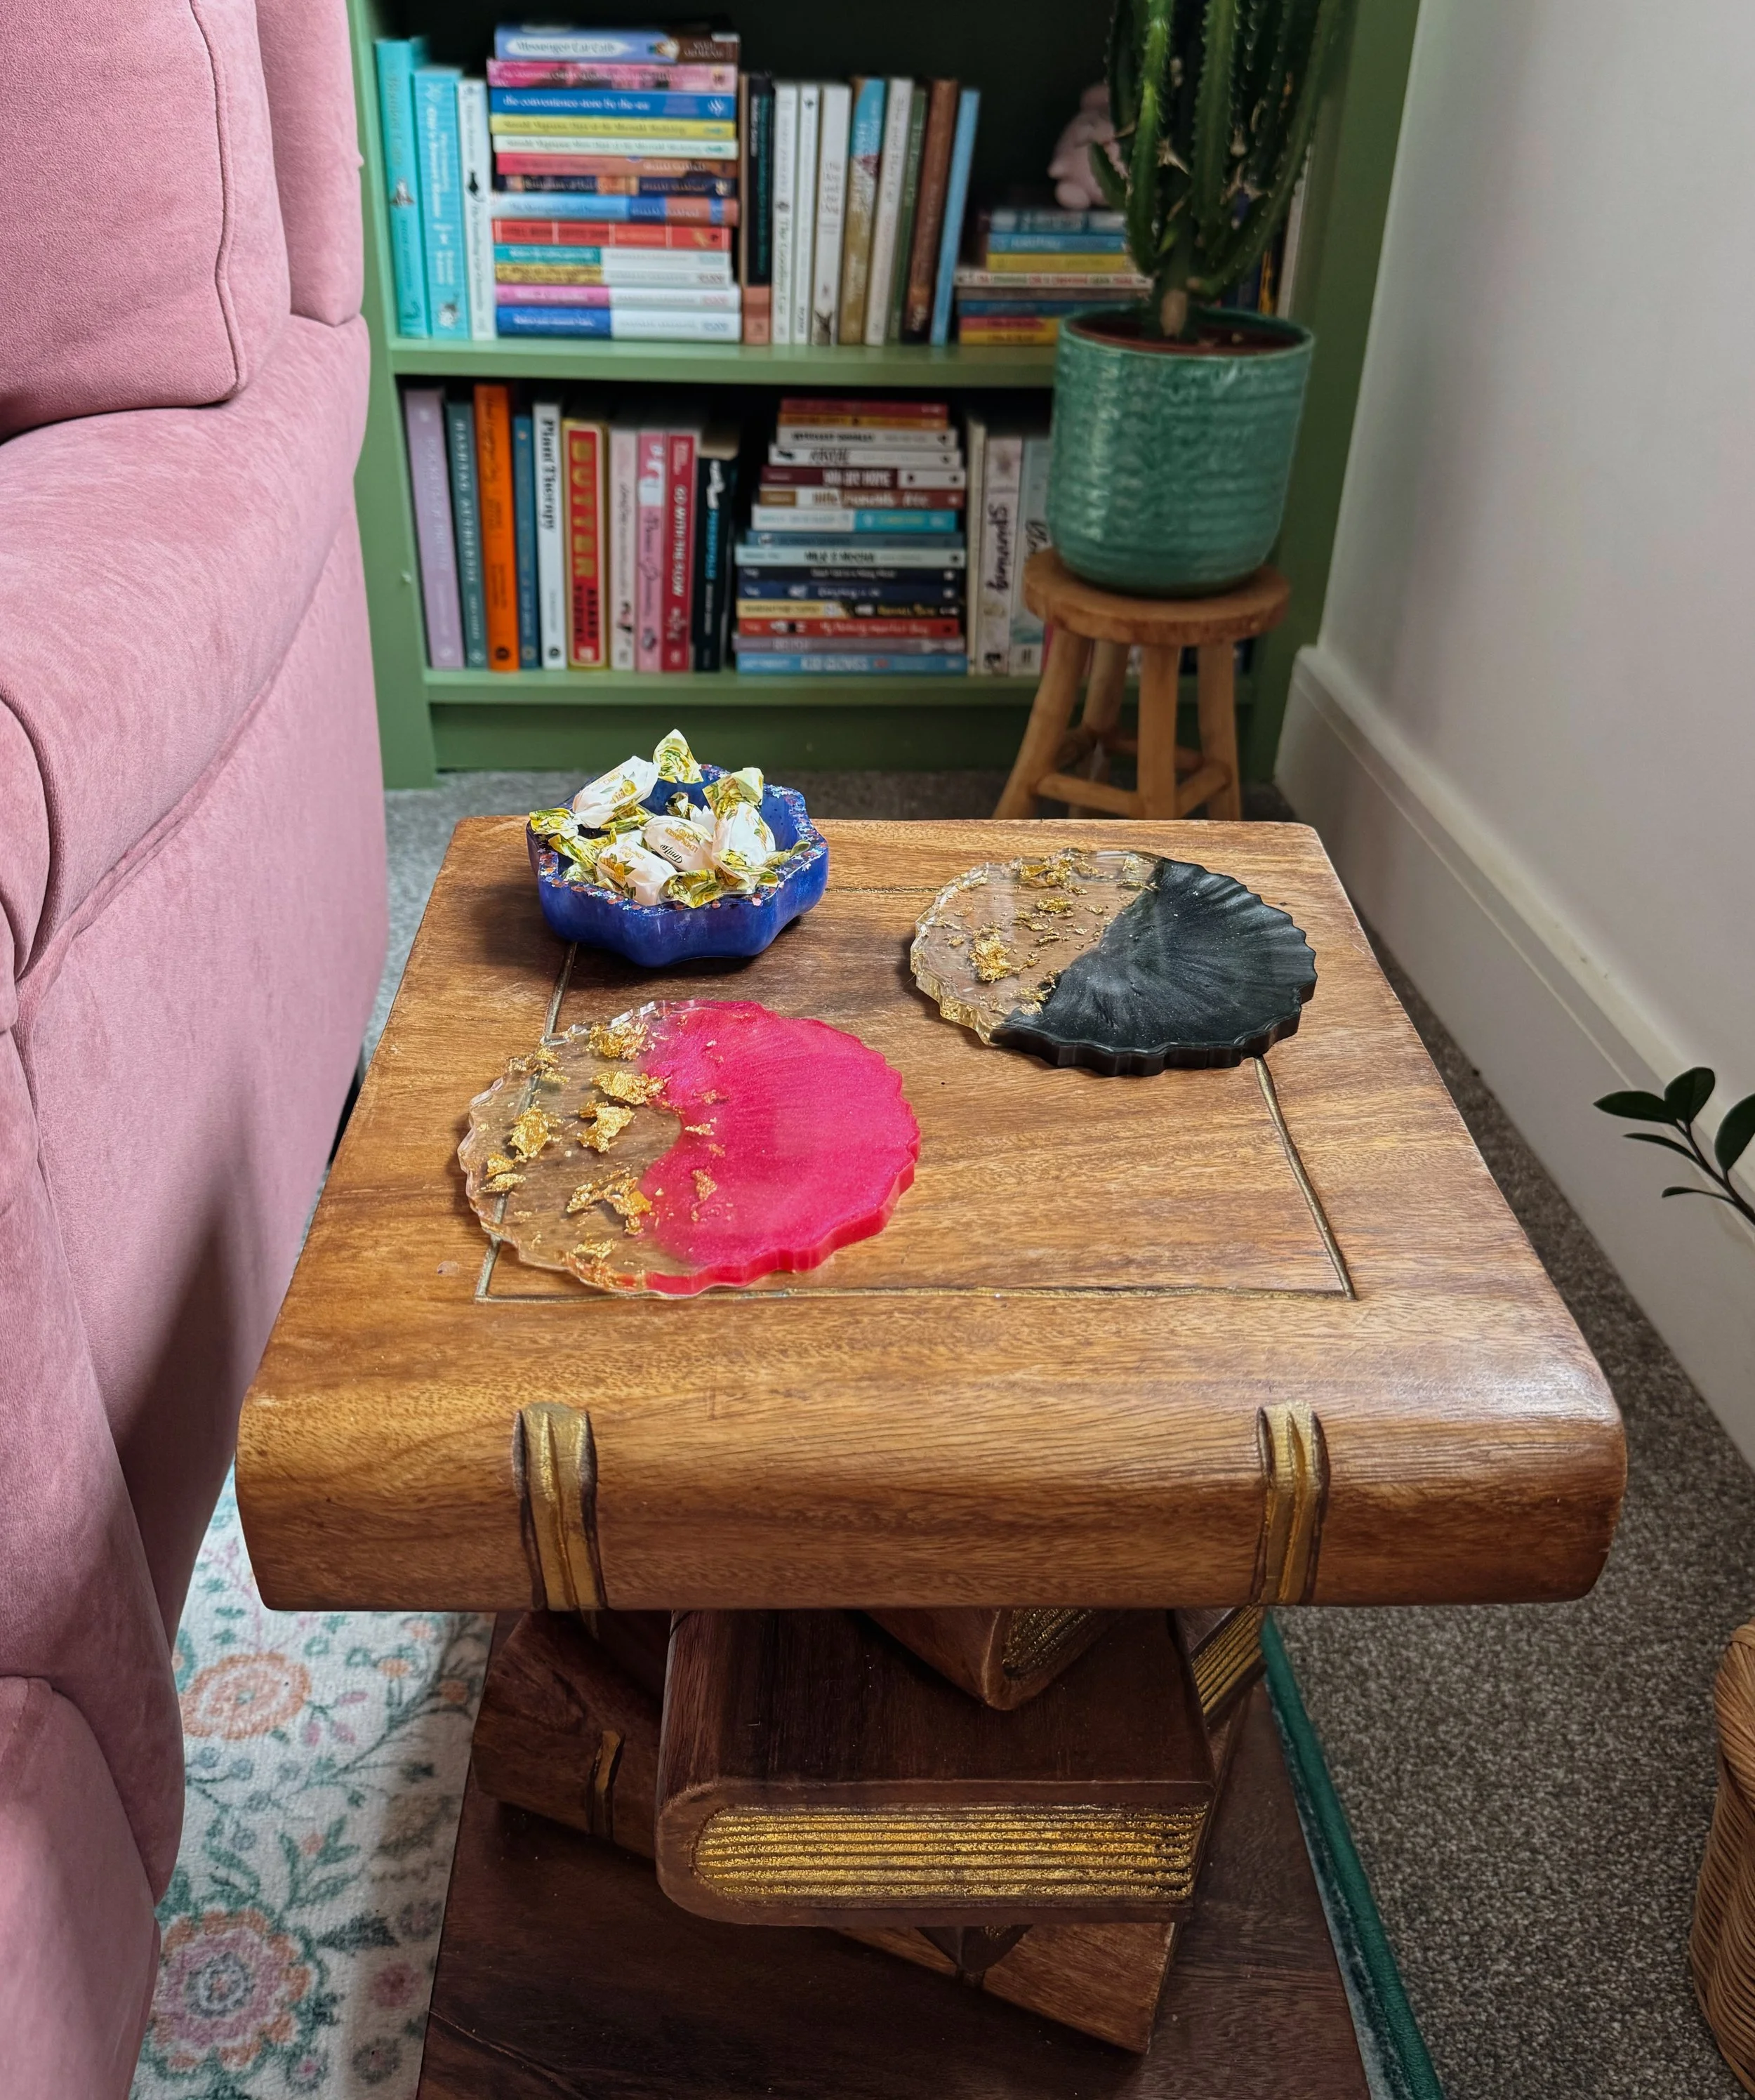
Resin pouring doesn’t need to be difficult, as long as you follow the steps and don’t rush the process.
Make sure you measure the mixture carefully and mix the two parts together thoroughly but slowly. Keep your workspace flat, and take your time when pouring the resin into the moulds. Allow the finished coasters to cure for at least 24 hours, and make sure you don’t attempt to demould them early.
Once you’ve mastered the basics, take the time to experiment with designs and colours as the possibilities are endless.
Ready to start making Resin coasters?
The Mouldd Epoxy Resin Coaster kit includes everything you need to make 10 coasters straight out of the box.
Make sure you use my discount code ‘JULIAMITCHELL’ for 10% off your entire order!
Read More About Resin Art
10 Epoxy Resin Projects For Beginners
Halloween Resin Moulds: 4 Spooky Designs for Your Next Project
Other Craft Ideas
Latch Hook Cushion Kit Reviews (to come)