Craft Club Woven Tote Bag - Review
(This post contains affiliate links, which means that I may receive a small commission at no extra cost to you. I was sent this product to review by Craft Club, but as always, all opinions are my own)
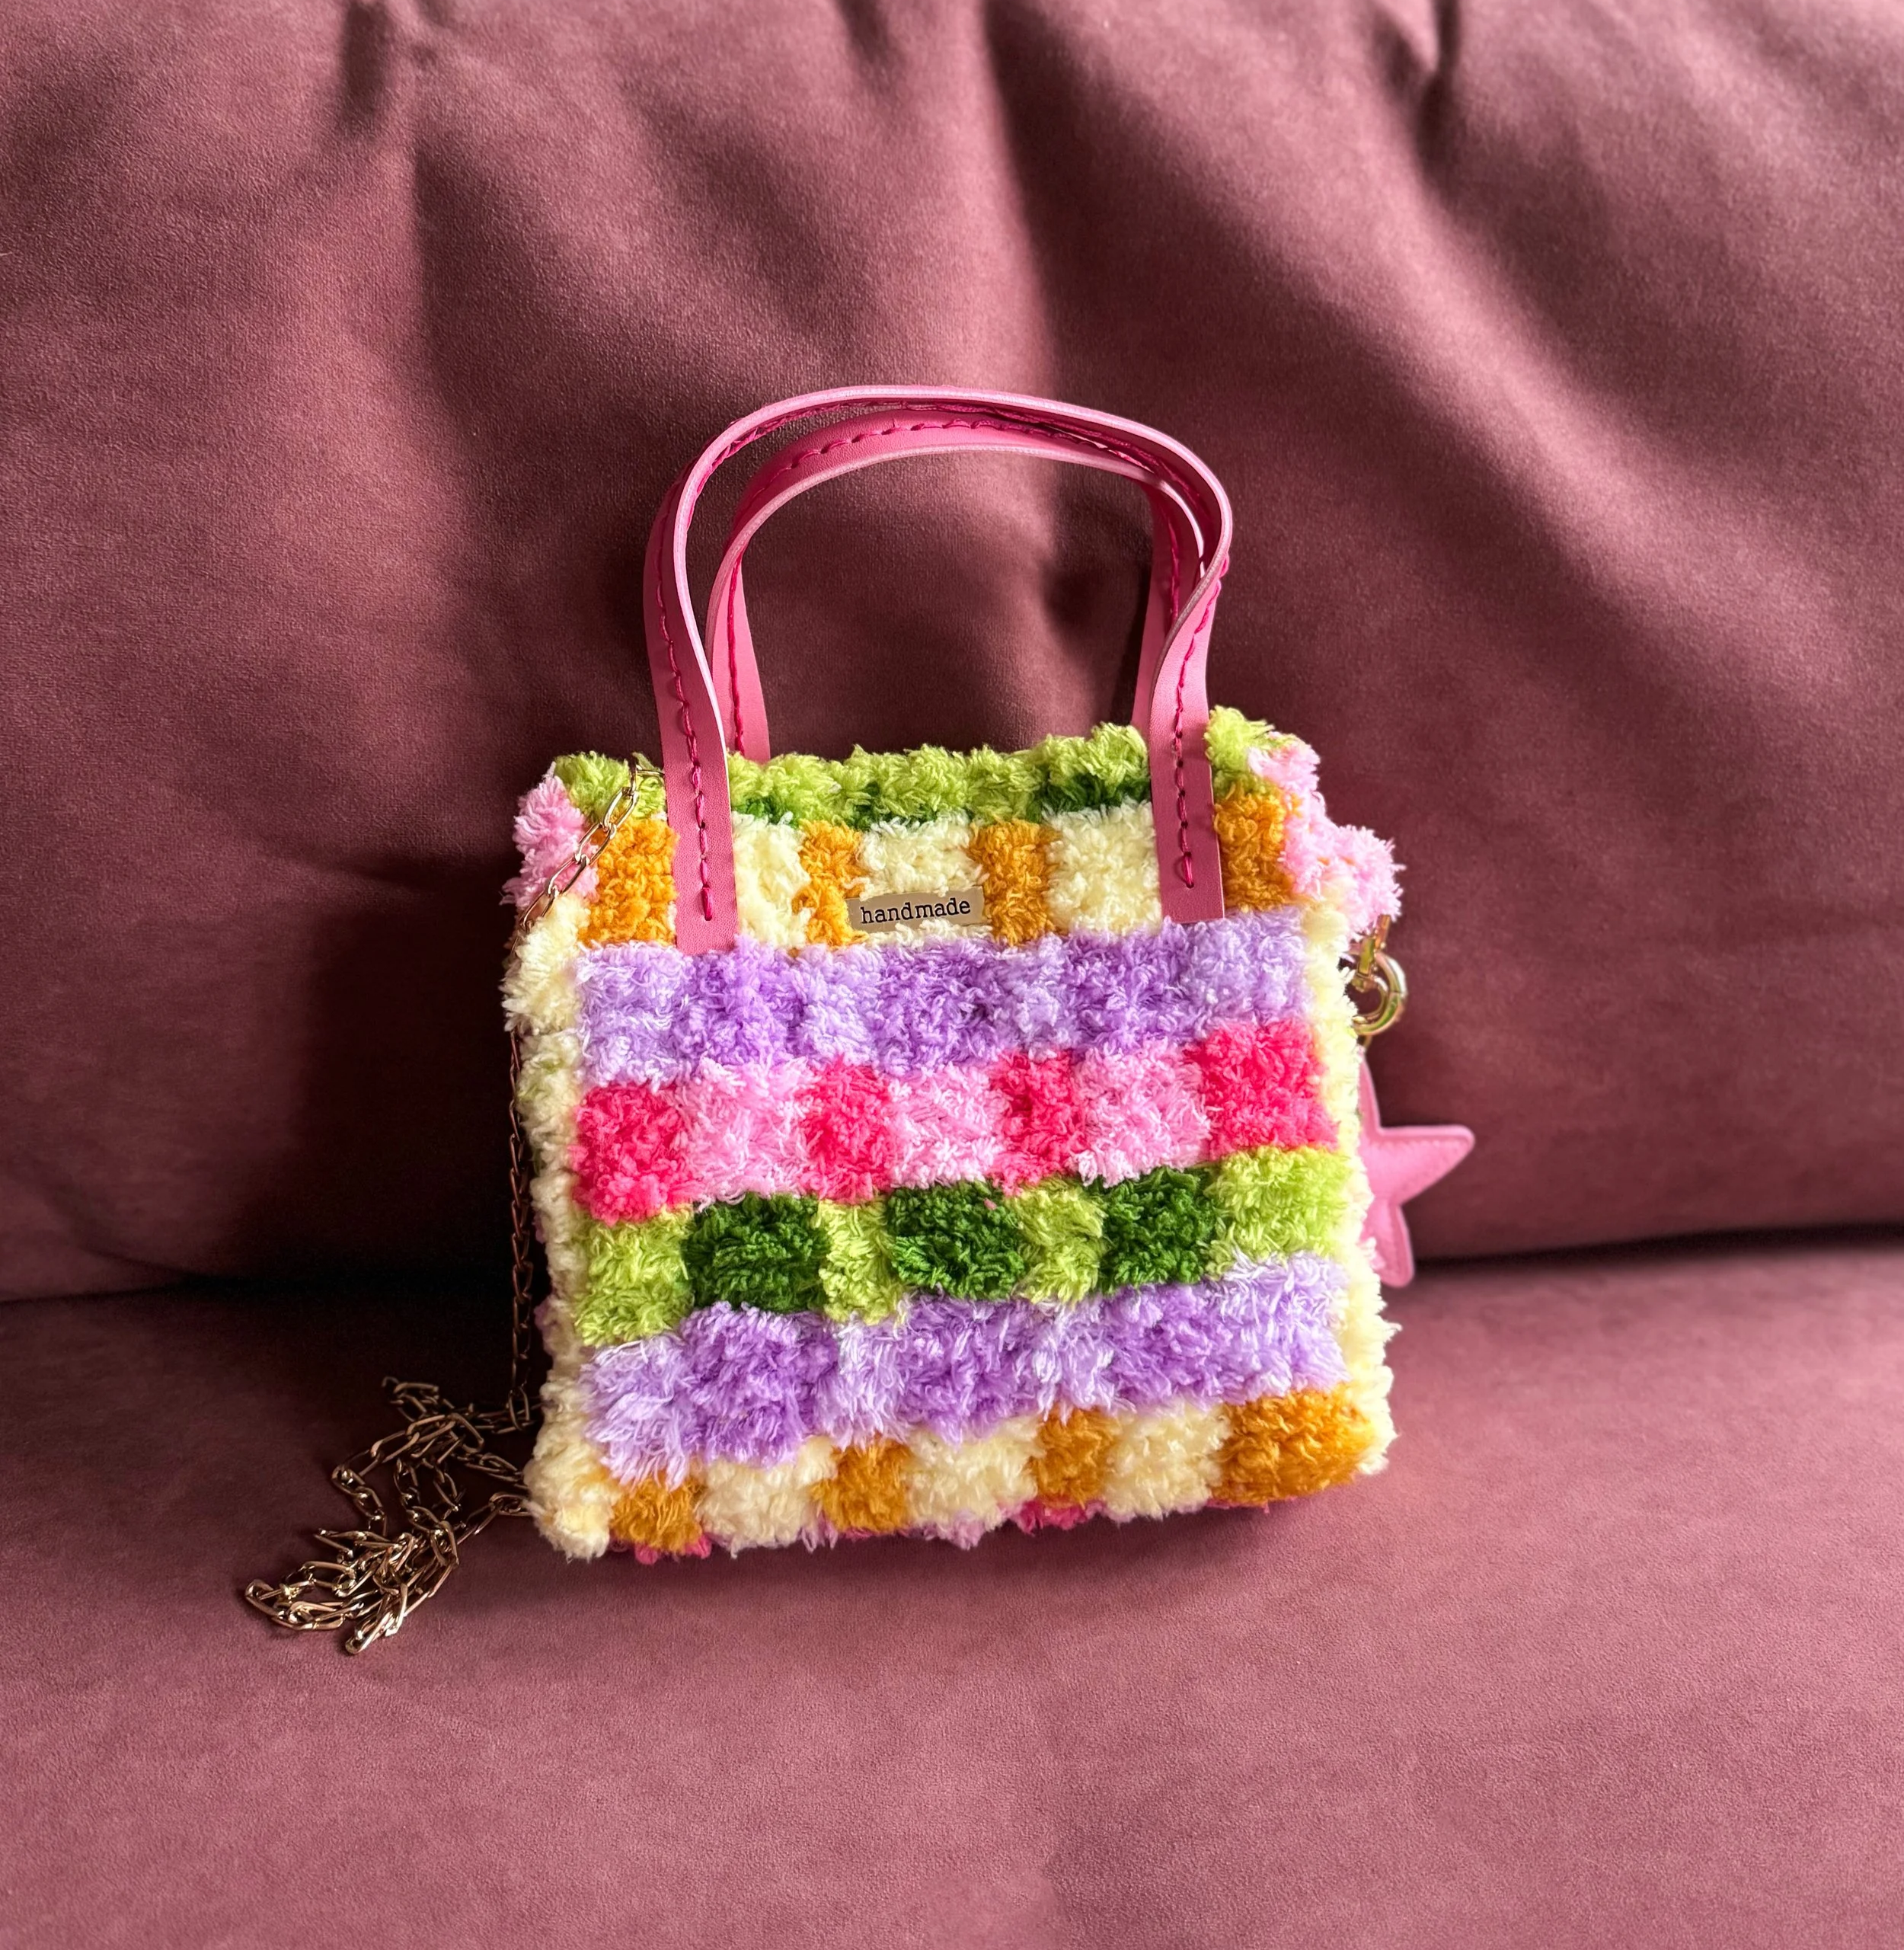
Here’s my review of Craft Club Co’s Rainbow Checker Woven Bag Kit.
Don’t have time to read this post?
Use my code ‘JULIAMITCHELL10’ for 10% off your entire order on the Craft Club Co website!
What Comes in the Craft Club Woven Bag Kit?
This project comes with enough yarn and all the tools needed to create your own woven bag.
This includes:
A plastic canvas base
Super soft feather yarn in a variety of colours
Weaving and sewing needles
Leather-style bag handles
Gold crossbody chain
Stitching markers
Sewing thread
Gold embossed name plate
How Difficult Is the Craft Club Woven Bag Kit?
Is it suitable for complete beginners?
This kit is more complicated than some of the others on the Craft Club Co website. While it is still suitable for beginners, it’s worth noting that the woven bags use several techniques and do not come with a pre-printed canvas.
Personally, I found this kit to be harder than the moss coaster and latch hook rug kits I’d already tried, but still managed to complete it successfully.
If you are a beginner, then I’d recommend starting with one of the simpler woven bag designs. I chose the rainbow checker design because I liked how it looked, but the number of colours in the pattern actually made it quite challenging!
For an easier woven bag option, I’d recommend one of the heart, tulip or wavy designs.
How easy are the instructions?
As always, the instructions were great.
The kit comes with a QR code that provides access to video tutorials that explain every step, from preparing the plastic base, to putting it all together and adding the final details. The box also includes a life size print out of the pattern that’s useful when transferring it onto the plastic base.
My Experience Making the Craft Club Woven Bag
When I first opened the kit and looked at the materials, I was puzzled, and unsure how the pieces of plastic and yarn would come together.
It all started to make sense when I watched the first video tutorial and learned how to transfer the pattern. Once I’d done that, weaving the feather yarn onto the base was easy, and similar to how I’d created my moss coasters.
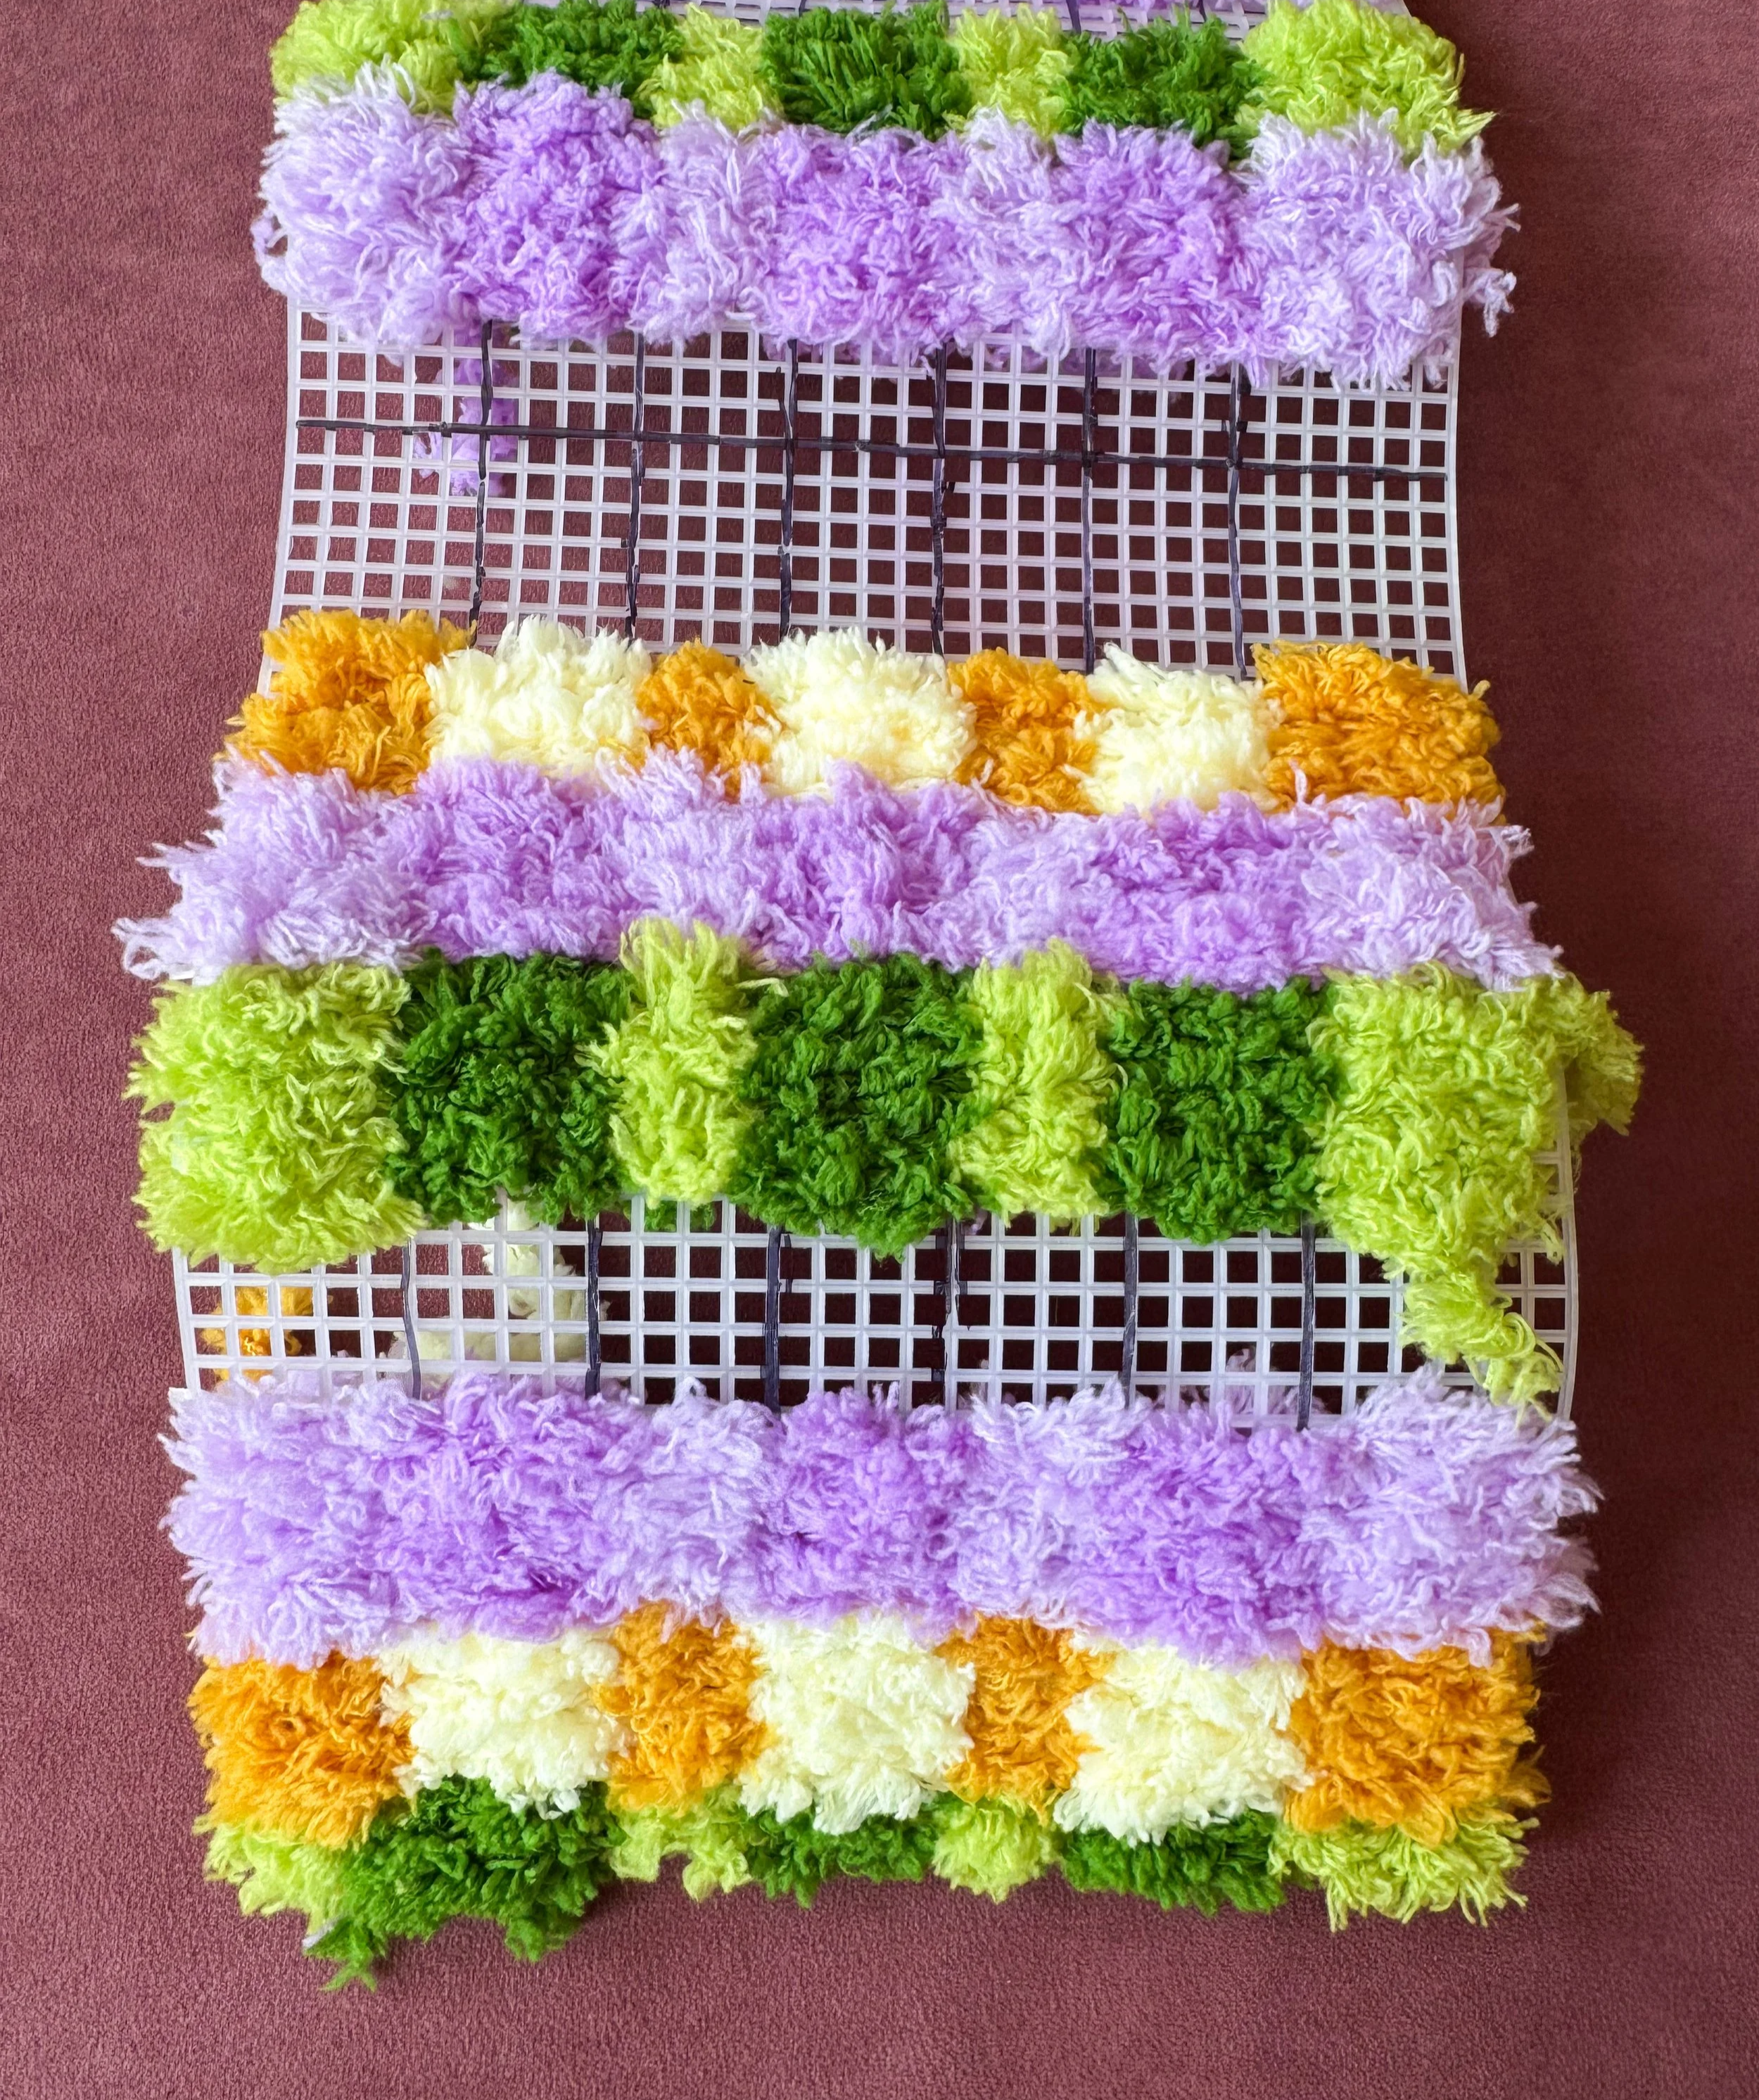
Marked out the pattern and started weaving the feather yarn.
I do really enjoy working with feather yarn, as it’s super soft and pleasant to touch.
The next challenge was assembling the bag, and although this was pretty easy, I did manage to accidentally sew the side panels on upside down! By the time I realised they were already well secured, and I didn’t fancy taking it apart and doing it again.
Instead, I’ve decided that the upside down panels make my version of the bag unique.
The hardest part of the whole process was sewing on the handles, as it took me a while to get the hang of the stitching technique. I got there in the end though, and I appreciated that the handles already had holes punched in the material, which made stitching a lot easier.
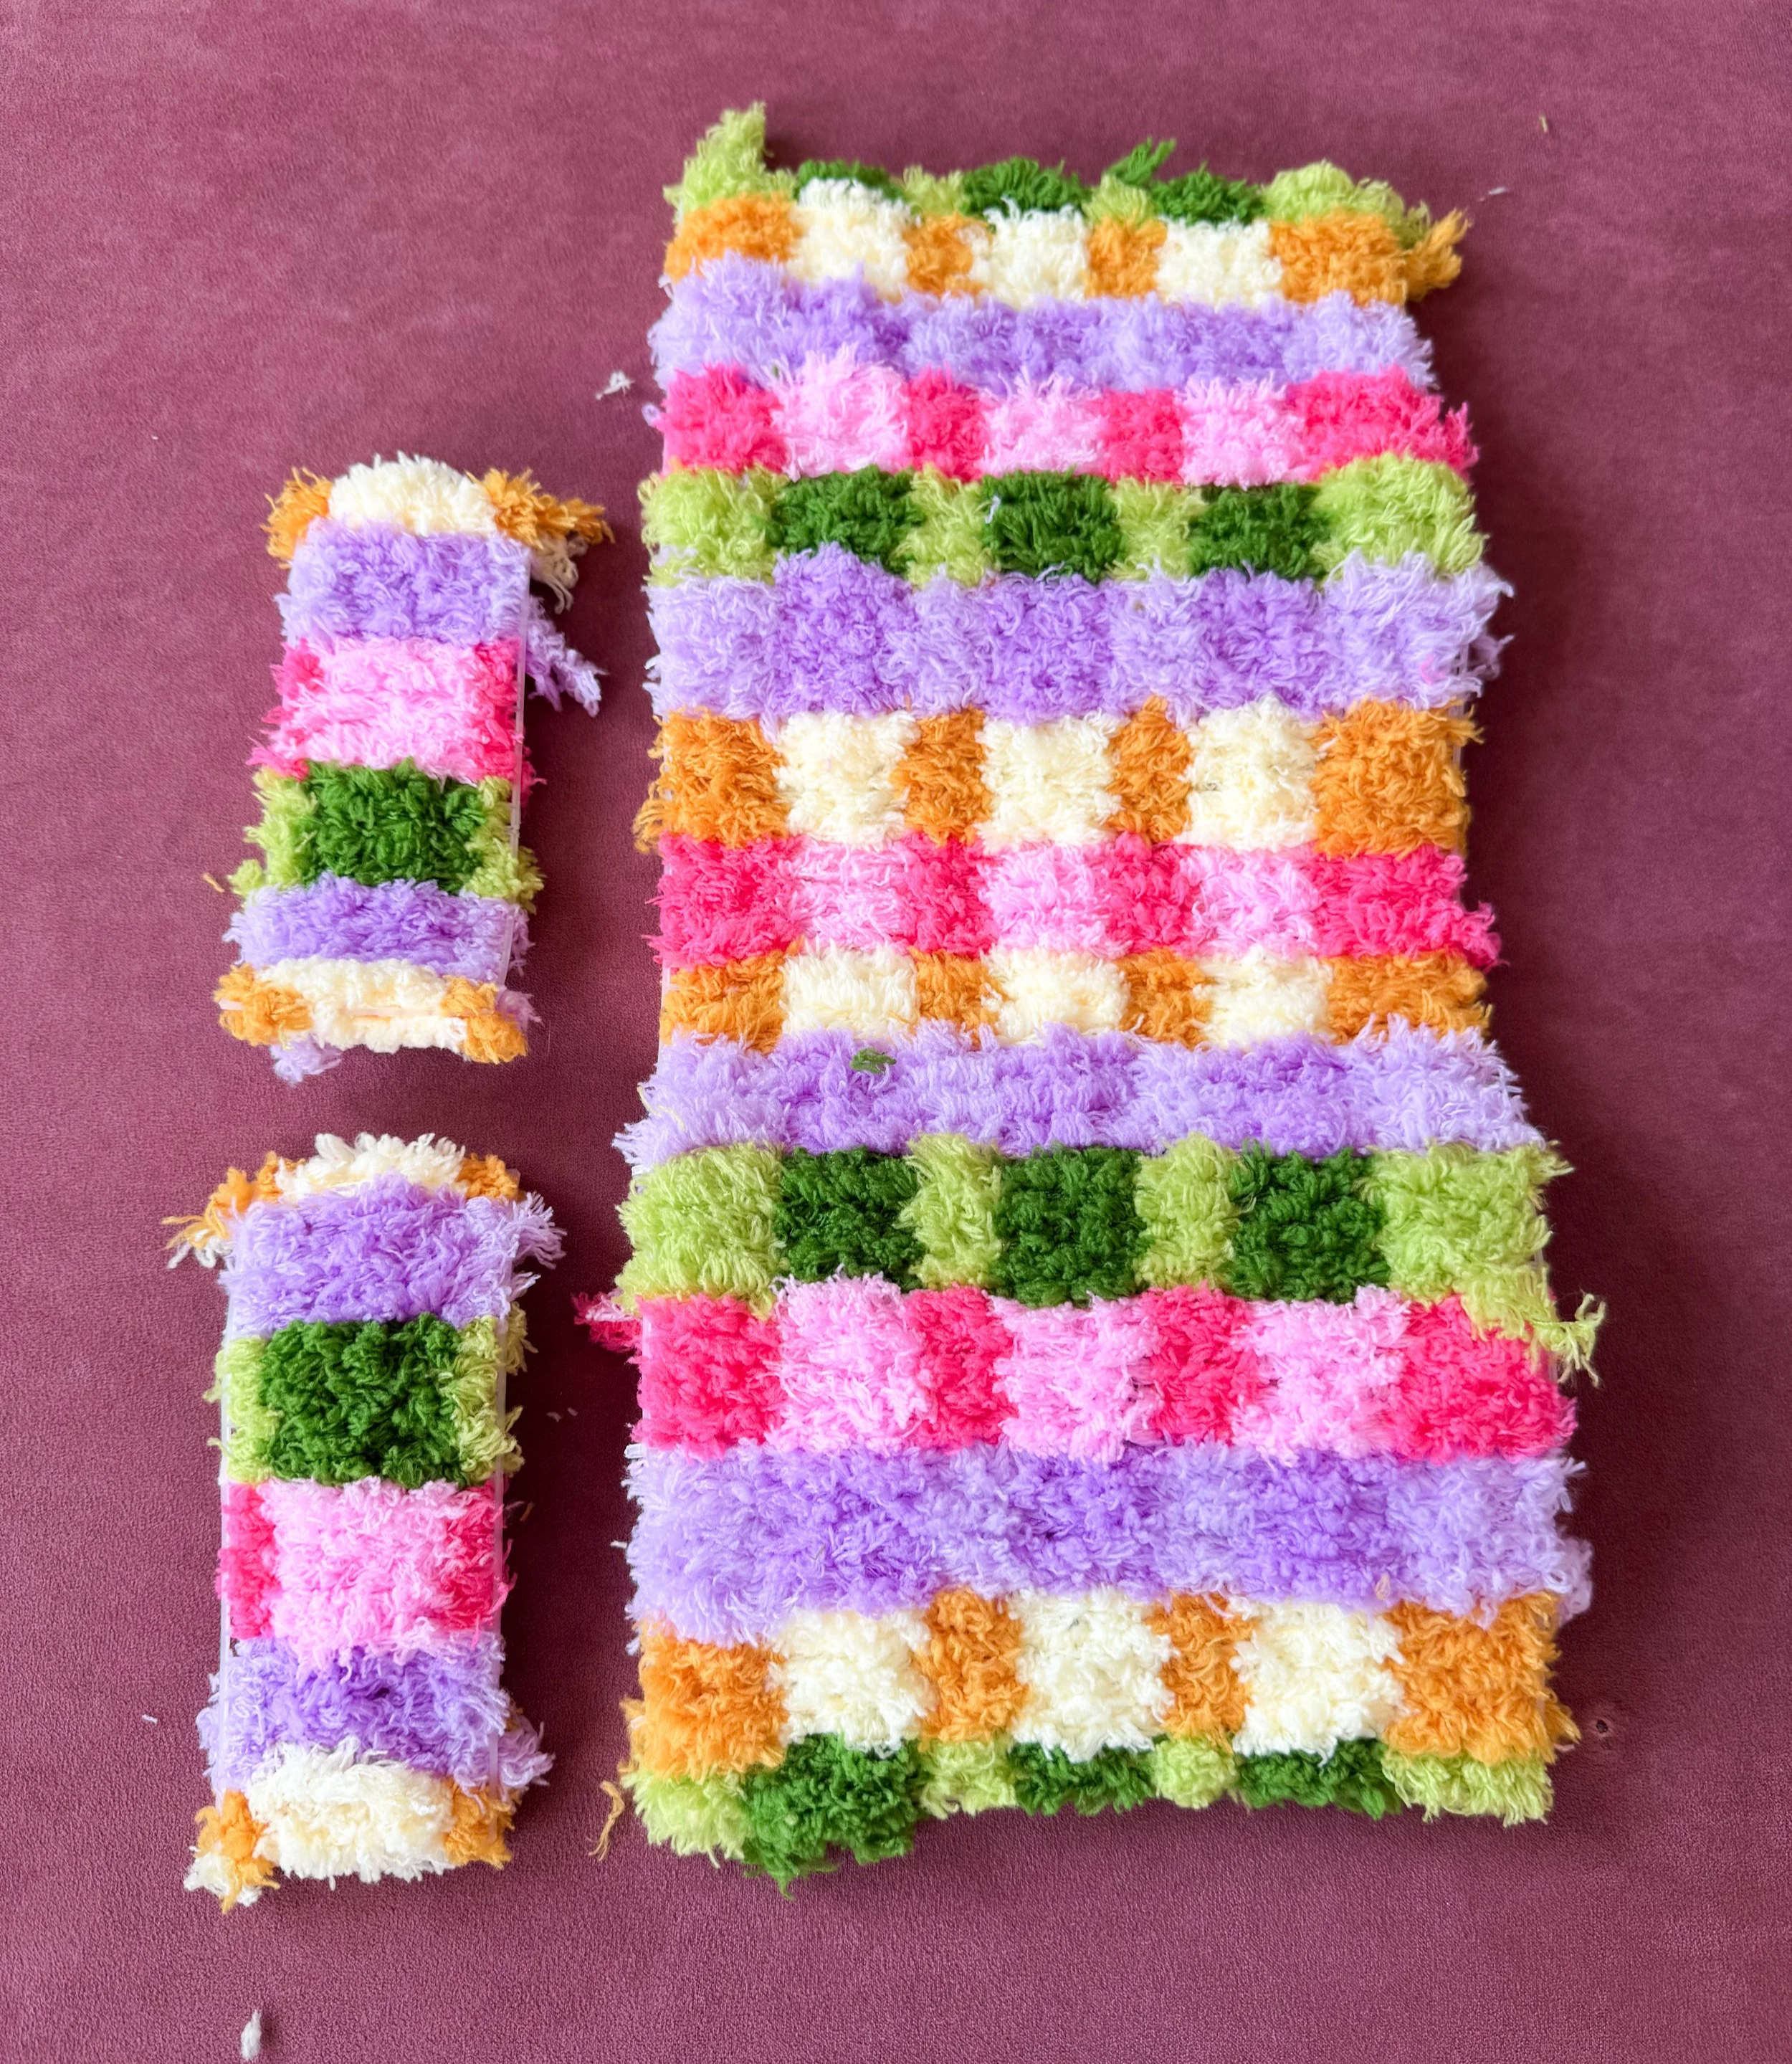
Finished weaving the feather yarn and ready to assemble the bag!
The last step was the quickest, and required attaching the final details such as the gold chain and handmade name plate. This step was simple and easily completed.
What Is the Finished Craft Club Woven Tote Bag Actually Like?
I’m so happy with how my final bag turned out! Despite sewing the side panels on upside down, I think the pattern looks great and I can’t believe it started off as a few squares of plastic.
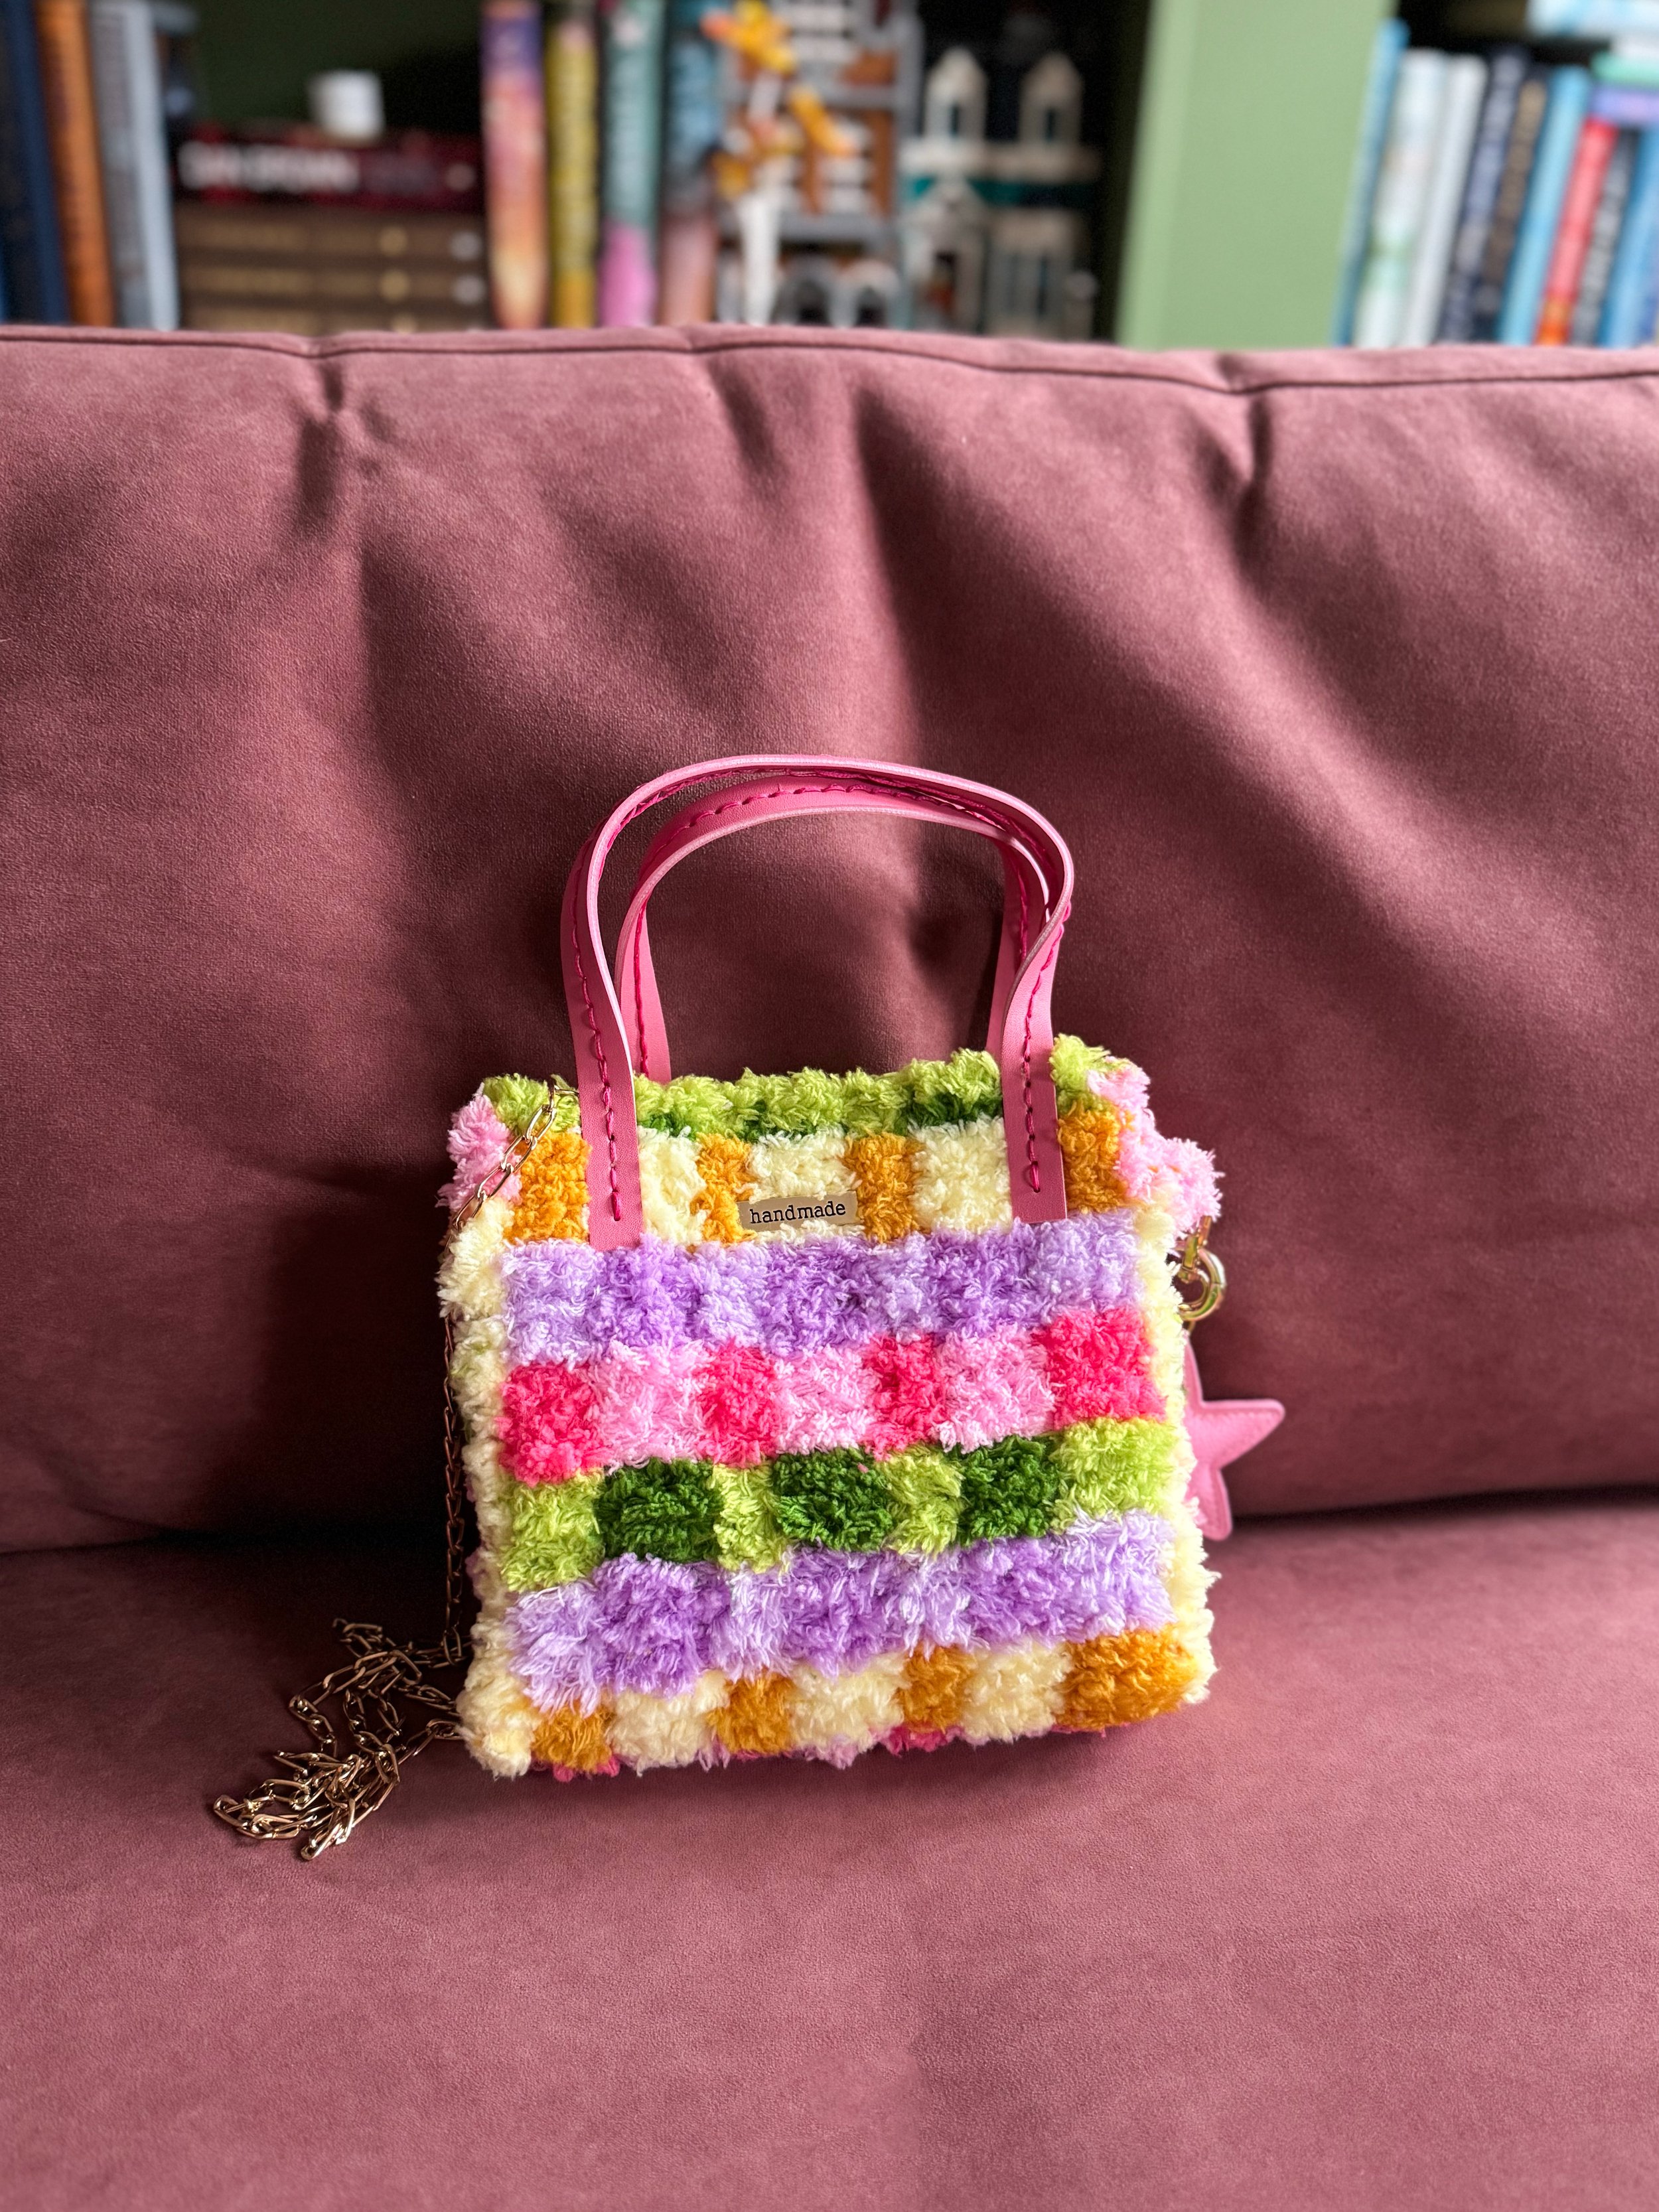
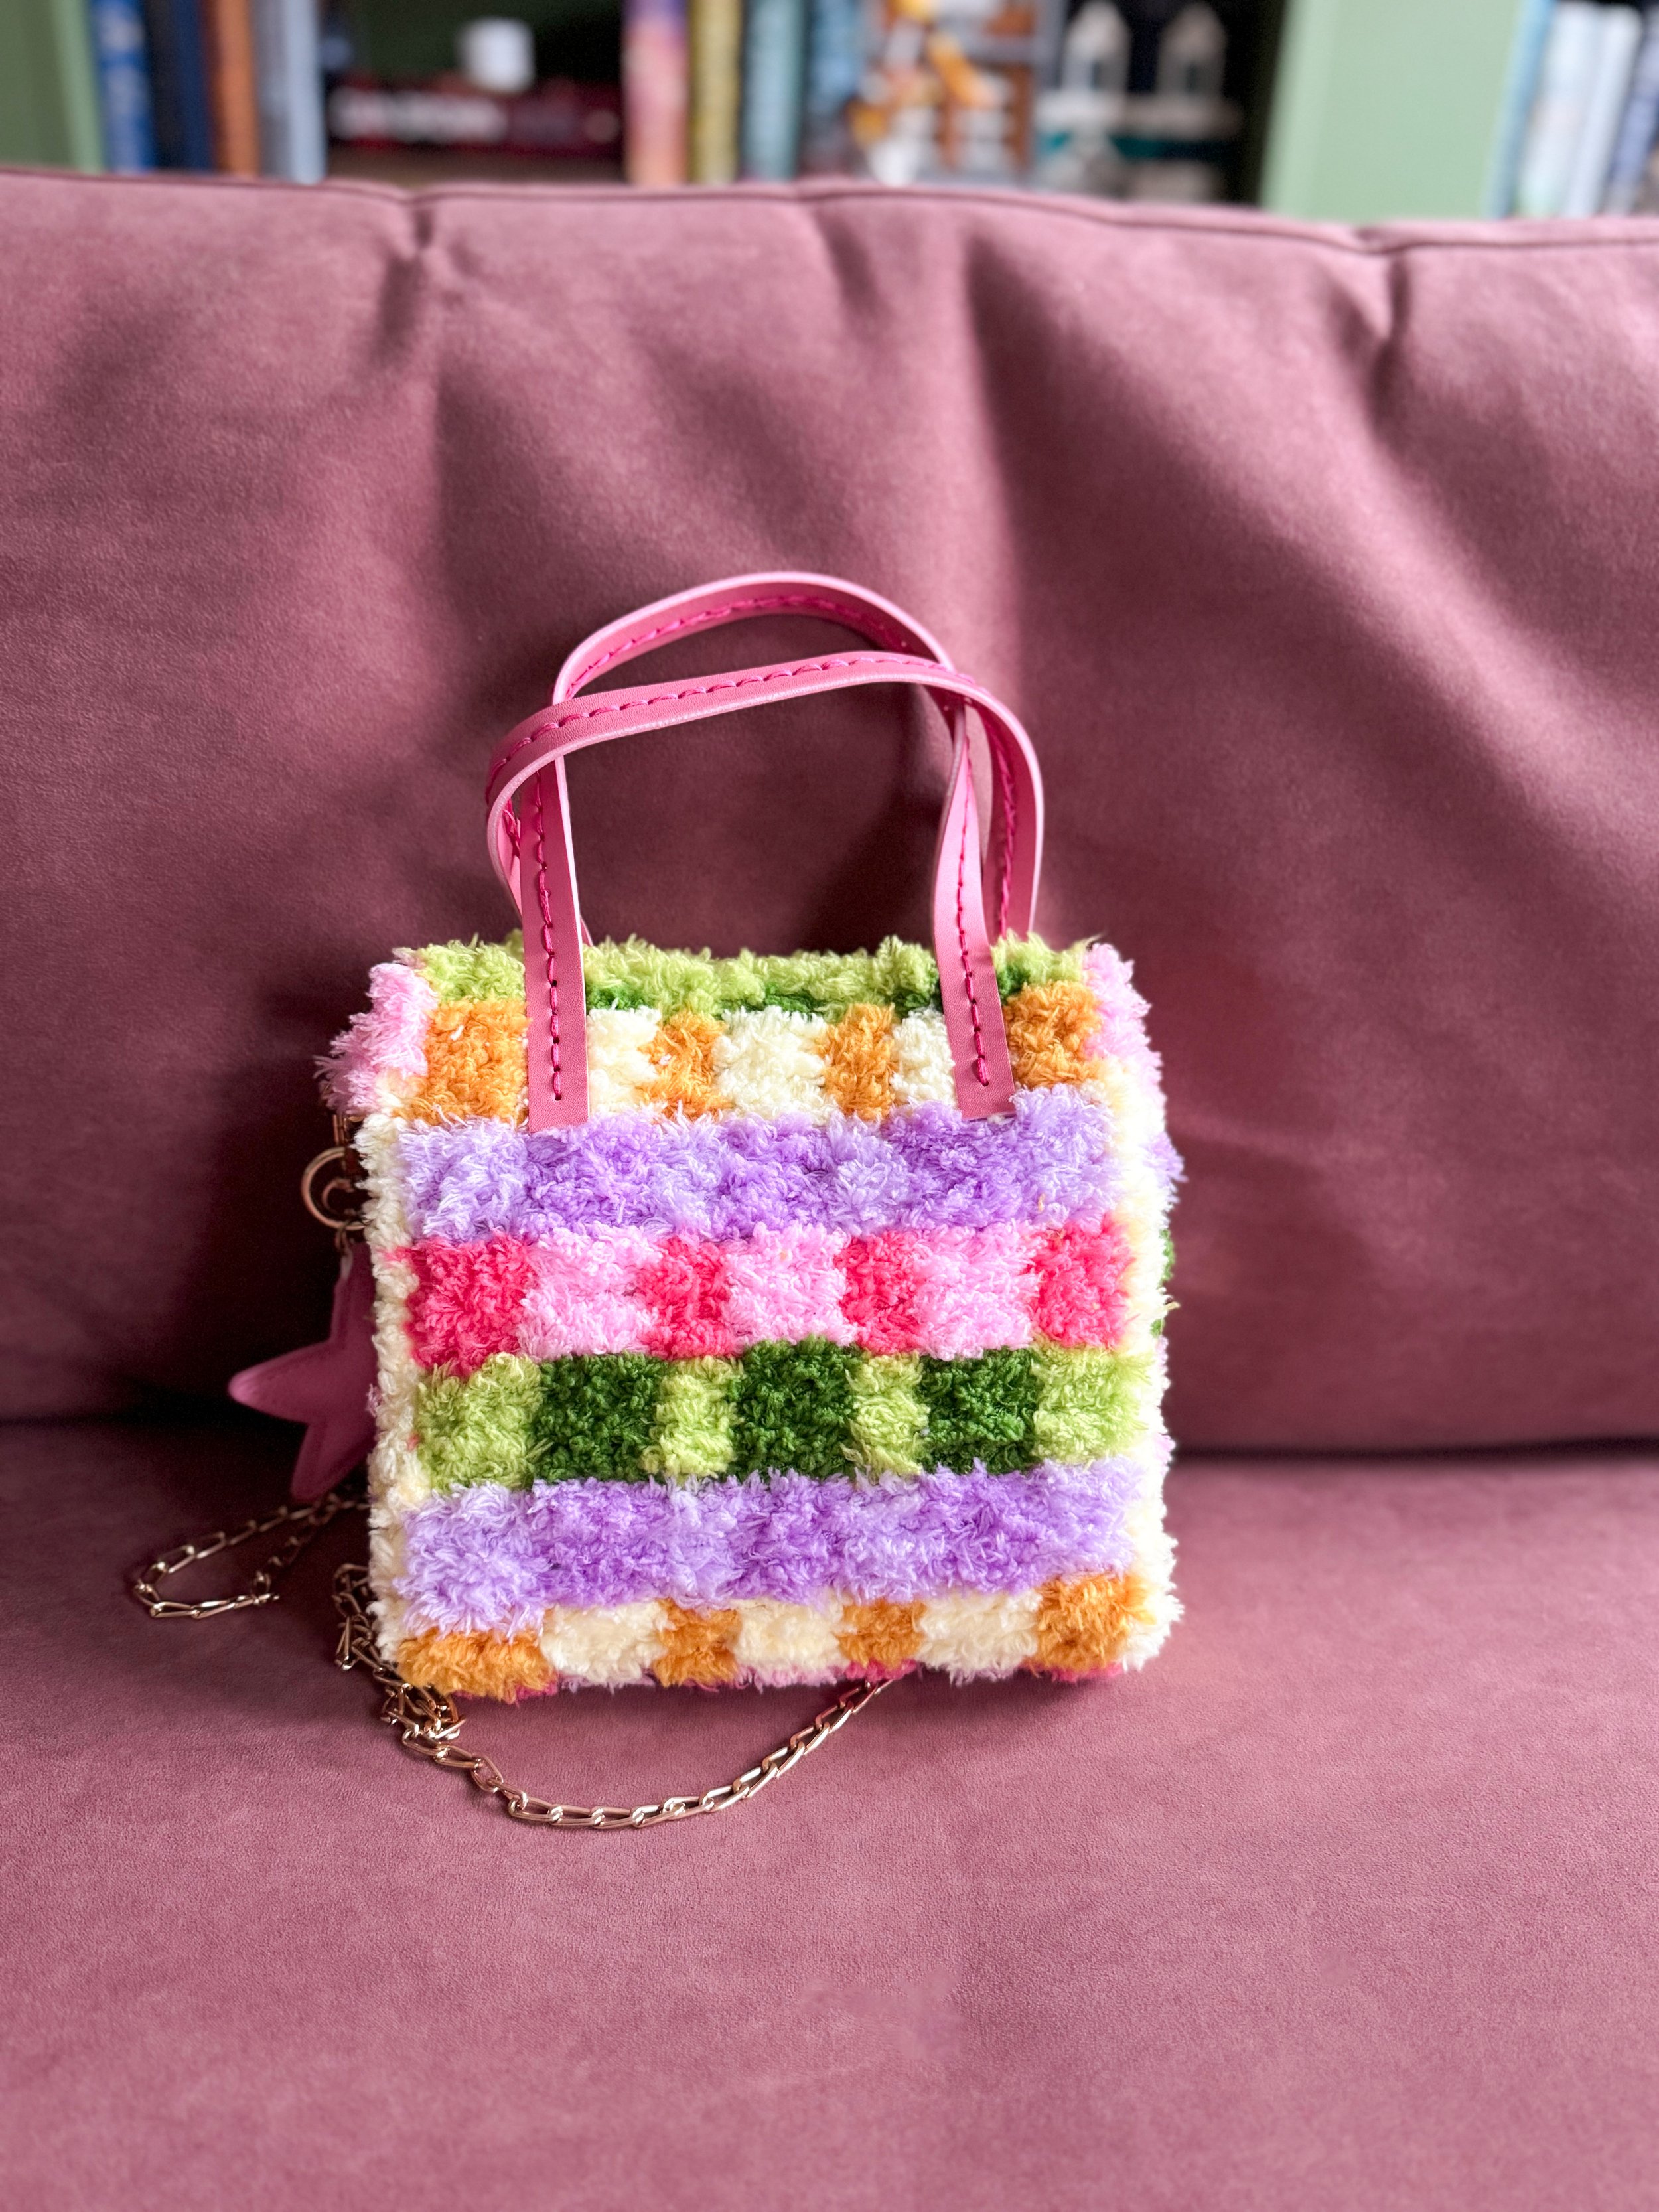
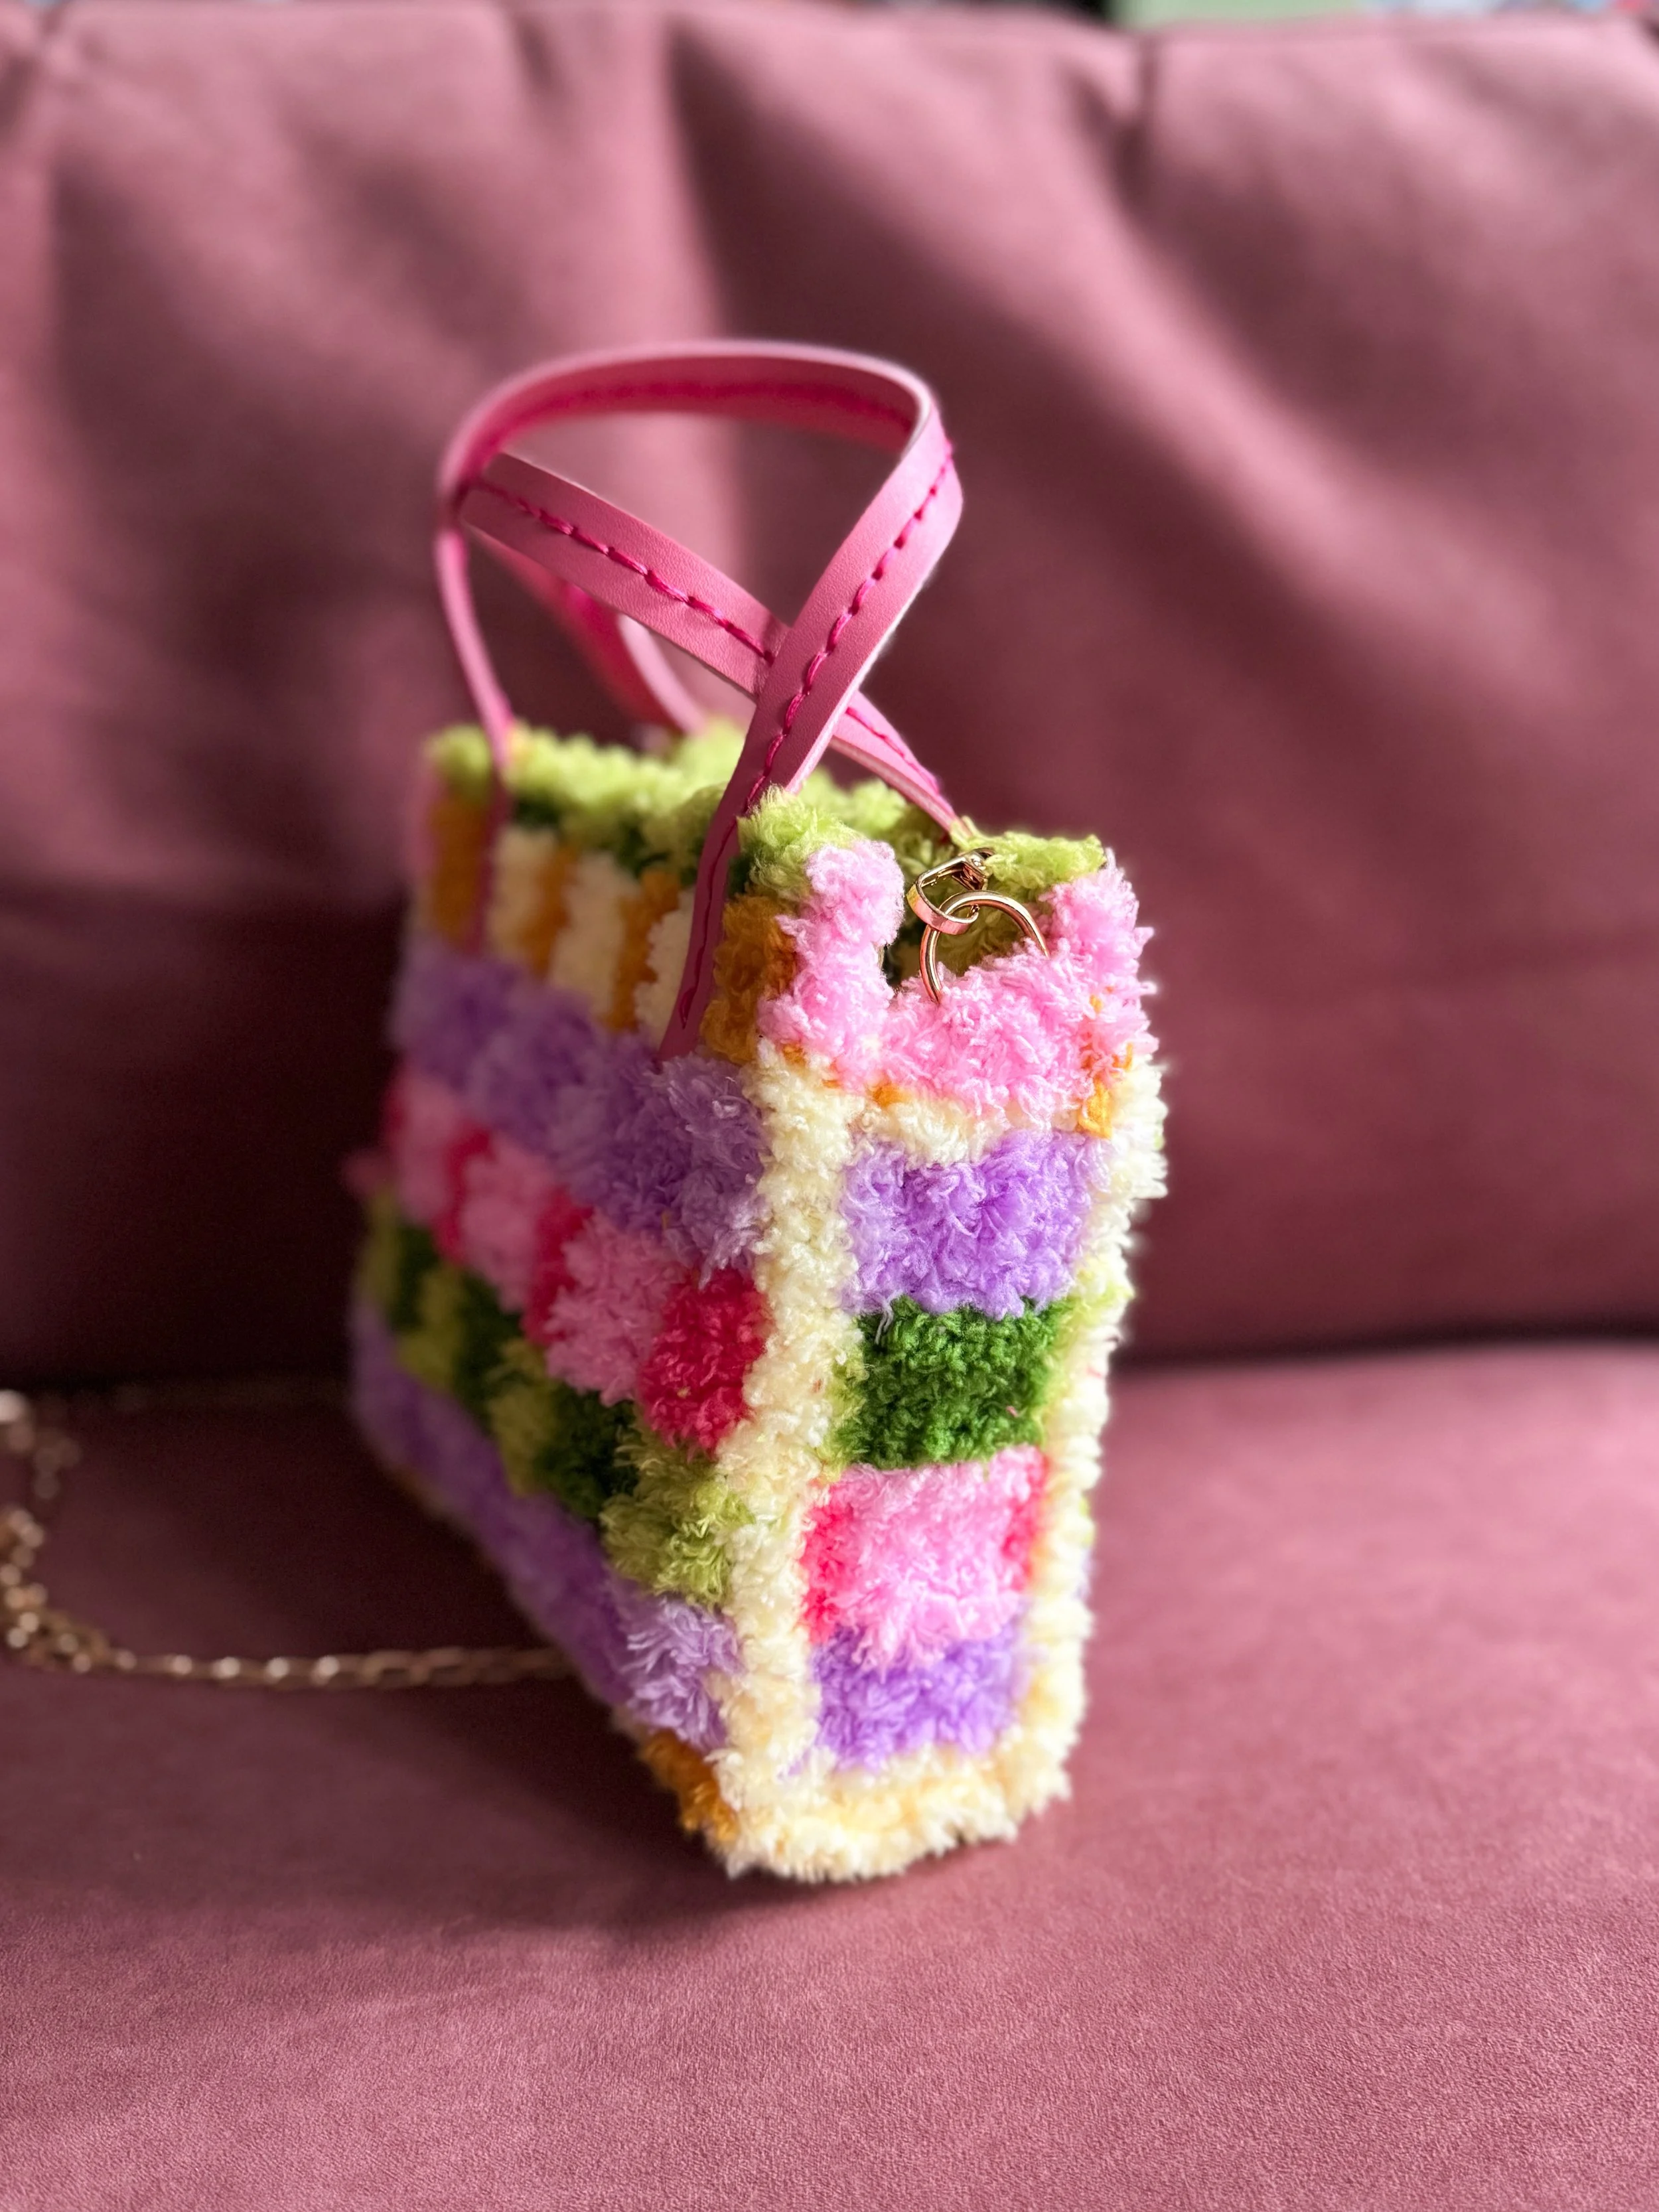
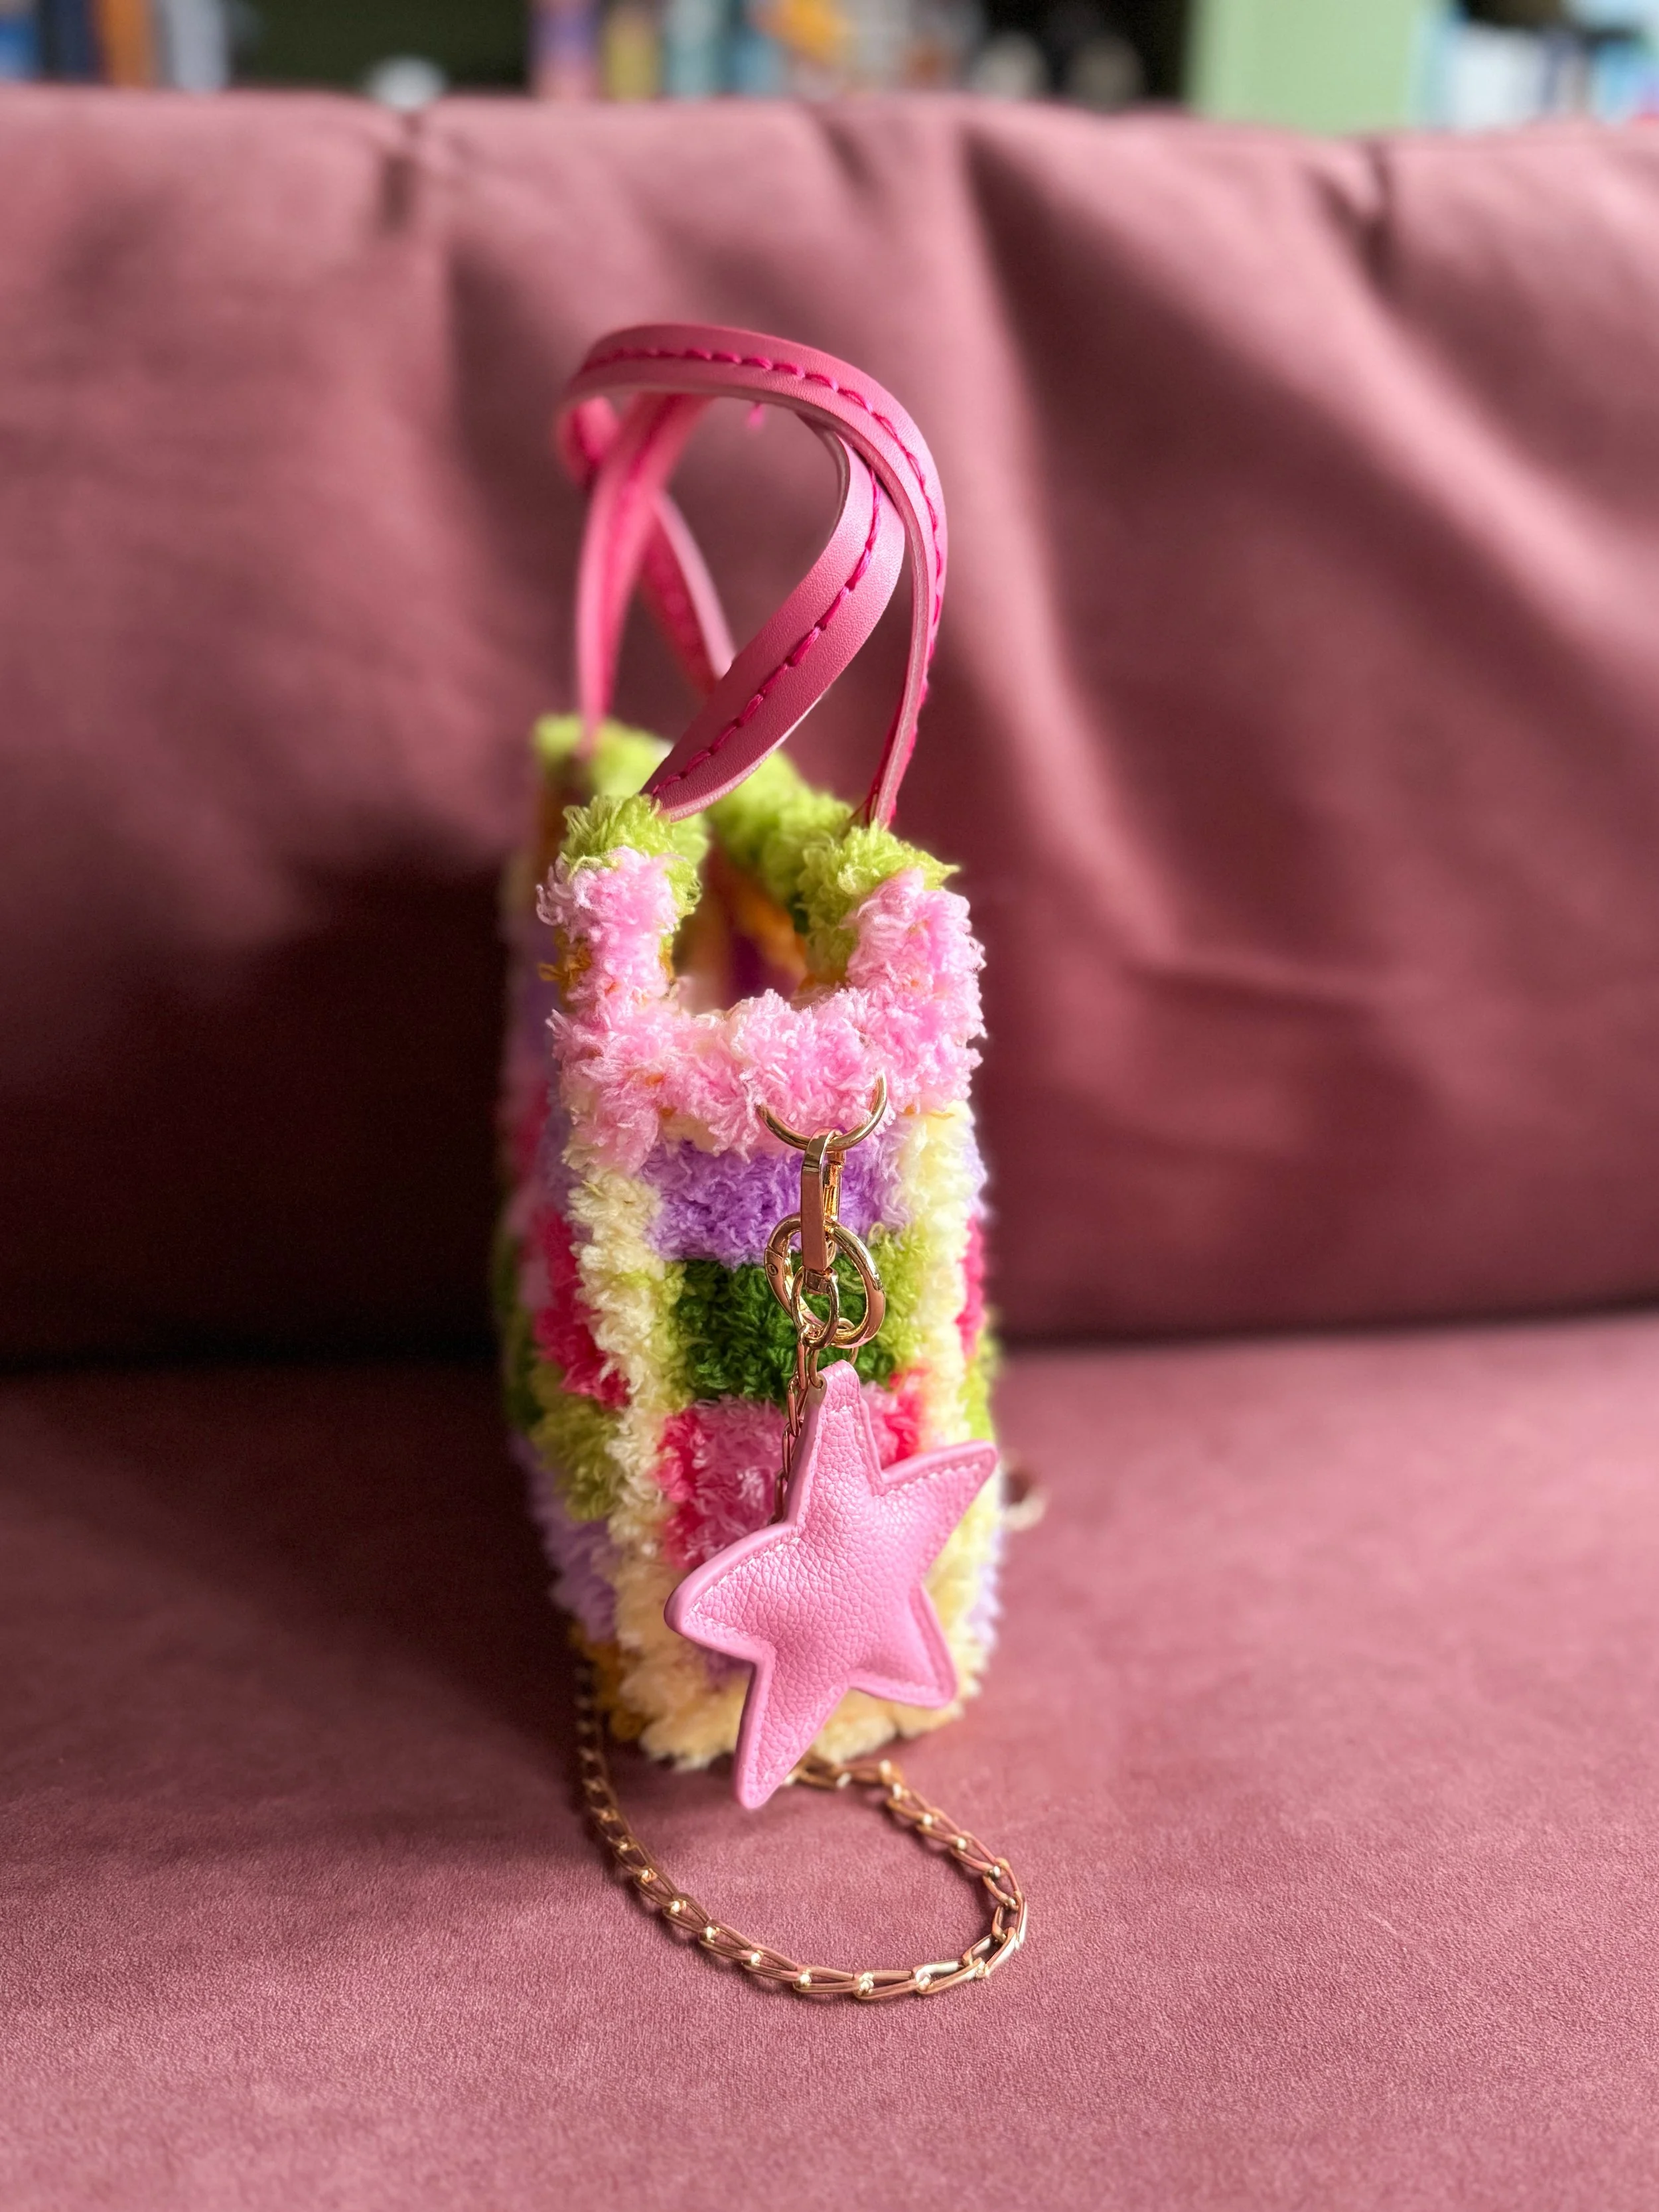
This is definitely the most challenged I’ve felt when making a Craft Club kit, but I’ve learned a lot and now I’m keen to make another one too. I’ll make sure to leave a link here when I get round to attempting another woven bag!
Want to buy a Woven Tote Bag Kit for yourself?
Head to the Craft Club Co website and use my code ‘JULIAMITCHELL10’ for 10% off your entire purchase.
Read More of my Craft Club Co Reviews
Latch Hooking Kits
Latch Hook Cushion Kit Reviews